
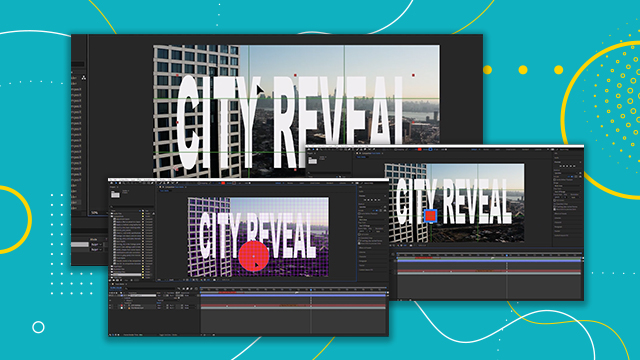
Precomposing and parenting
Learn about pre-composing, parenting, null objects, render order, synchronizing/ aligning audio with visual effects, etc.
This summary is AI generated
Learning Outcomes:
Learning outcomes not available.
Level: Intermediate
Skills you'll gain:
Skills not available.
Key Insights
Key insights not available.
Did the AI summary help? Let us know.
Learning outcomes
Learning outcomes not available.
Key insights
Key insights not available.
Skills
Skills not available.
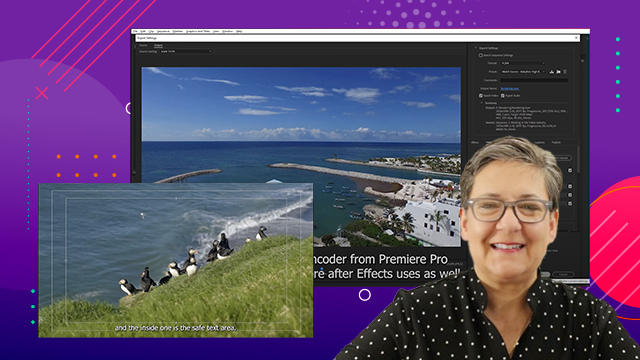
Transcript
[00:00:00] [Music]
[00:00:00] thank you
[00:00:00] [Music]
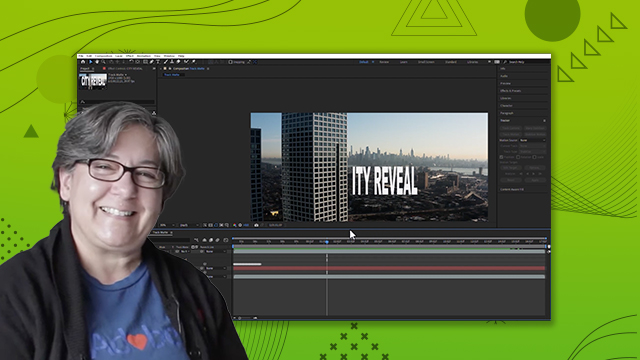
[00:00:00] hello and welcome to this after effects
[00:00:00] certification preparation series of
[00:00:00] videos I'm Louisa Winters in this video
[00:00:00] I want to cover objective 3.1 C which is
[00:00:00] to manage multiple layers in a complex
[00:00:00] composition so let's talk about
[00:00:00] pre-composing parenting null objects
[00:00:00] render order synchronizing aligning
[00:00:00] audio with visual effects and that sort
[00:00:00] of thing all right so let's go on to
[00:00:00] After Effects and if you haven't done so
[00:00:00] please download the exercise files or if
[00:00:00] you prefer to work with your own files
[00:00:00] please just create an After Effects
[00:00:00] project and create a couple of
[00:00:00] compositions alrighty so let's go ahead
[00:00:00] and open this same composition that
[00:00:00] we've been working with which is the
[00:00:00] footage a text solid
[00:00:00] etc etc so I reset it I reverted to the
[00:00:00] original and you can do that by going to
[00:00:00] file
[00:00:00] revert and of course for me it's now
[00:00:00] grayed out because I haven't made any
[00:00:00] changes and remember After Effects Grays
[00:00:00] out anything that is not applicable to
[00:00:00] what you're doing alrighty so let's talk
[00:00:00] about pre-composing right so we talked
[00:00:00] about it a little bit now imagine I want
[00:00:00] to do something with this as a whole
[00:00:00] right uh maybe I'll hide this I want to
[00:00:00] do something with this entire
[00:00:00] composition as a whole maybe I want to
[00:00:00] make it bigger maybe I want to fade it
[00:00:00] in fade it out whatever it is I can
[00:00:00] select all of these layers right click
[00:00:00] and then I can go pre-compose
[00:00:00] done I have now a couple of choices I
[00:00:00] can move all attributes into the new
[00:00:00] composition that's the one I always
[00:00:00] choose or I can adjust the composition
[00:00:00] to the duration of the time span of the
[00:00:00] selected layers and I can also open the
[00:00:00] new composition right I can name it
[00:00:00] anything I want I'll name it uh new
[00:00:00] pre-comp right and once I click OK there
[00:00:00] you go all of these layers are now
[00:00:00] inside of this it would be like a smart
[00:00:00] object in Photoshop very very similar so
[00:00:00] if I want to go inside of this
[00:00:00] composition all I have to do is double
[00:00:00] click it and it opens the original
[00:00:00] notice that I have two tabs now
[00:00:00] I have the composition called footage
[00:00:00] text solid blah blah blah and then I
[00:00:00] have the one that I created called new
[00:00:00] precomp and there are a myriad of really
[00:00:00] cool uses for this let me just give you
[00:00:00] one and
[00:00:00] um
[00:00:00] I'm going to select all of the video
[00:00:00] files and I'm going to create a new comp
[00:00:00] from selection
[00:00:00] uh it doesn't matter which one of these
[00:00:00] I select because they're all the same
[00:00:00] size we talked about this before and I
[00:00:00] am going to sequence uh the layers but
[00:00:00] not yet so I'm going to deselect that
[00:00:00] and now I'm going to click ok
[00:00:00] uh the green screen one is very short so
[00:00:00] I'm going to delete it now I'm going to
[00:00:00] make sure that all of these layers are
[00:00:00] the same length so I'm going to select
[00:00:00] them and I'm going to go a little bit to
[00:00:00] the left of the shortest one
[00:00:00] and now alt option on the Mac right
[00:00:00] bracket and now all of them are the same
[00:00:00] length
[00:00:00] this is important for what I want to do
[00:00:00] as for scale and now I'm going to make
[00:00:00] these a little bit
[00:00:00] smaller like yay
[00:00:00] and now I'm going to animate all of them
[00:00:00] at the same time so that they go from
[00:00:00] left to right so I'll select all of
[00:00:00] these again P for position I get it we
[00:00:00] haven't covered keyframing yet we
[00:00:00] haven't covered any of that but again
[00:00:00] this is a certification preparation
[00:00:00] series of videos so I am assuming that
[00:00:00] you are ready to take the test and this
[00:00:00] is merely a review alrighty so I'm just
[00:00:00] gonna go here all the way to the left
[00:00:00] let me scrub it a little bit more there
[00:00:00] you go and I'm going to keyframe them
[00:00:00] and now I'll move my playhead and I'm
[00:00:00] just going to go all the way to the
[00:00:00] right
[00:00:00] and this is what I have right all of my
[00:00:00] Clips are going at the same time and I
[00:00:00] can only see one because there is a
[00:00:00] layer stacking order thing right so here
[00:00:00] we go
[00:00:00] I'm going to put my playhead where I can
[00:00:00] see
[00:00:00] one that I can see all of the layers
[00:00:00] right just the top one in this case and
[00:00:00] now I'm going to drag to the right
[00:00:00] the second one
[00:00:00] and I'm going to keep on dragging until
[00:00:00] I like that Gap in between them
[00:00:00] now I'm going to see by how much they
[00:00:00] overlap and do a b here and then do an
[00:00:00] an O here and by the way you can scrub
[00:00:00] as you press the shift key and then the
[00:00:00] n and now you can say trim comp to to
[00:00:00] work area right and then you can go
[00:00:00] composition composition settings and
[00:00:00] copy these numbers click OK and now
[00:00:00] let's undo
[00:00:00] all right let's undo I'm going to reset
[00:00:00] the work area bar right and now I'm
[00:00:00] going to select all of my clips all
[00:00:00] right all of my Clips right click
[00:00:00] keyframe assistant
[00:00:00] sequence layers overlap
[00:00:00] I'll select these numbers and paste
[00:00:00] remember I copied them from the
[00:00:00] composition settings I'll click OK and
[00:00:00] now I'm going to get a perfect
[00:00:00] film strip from the videos and you know
[00:00:00] this works the same whether you do it
[00:00:00] with six videos or 600 all right so you
[00:00:00] know the how many videos you have
[00:00:00] doesn't really matter but we're talking
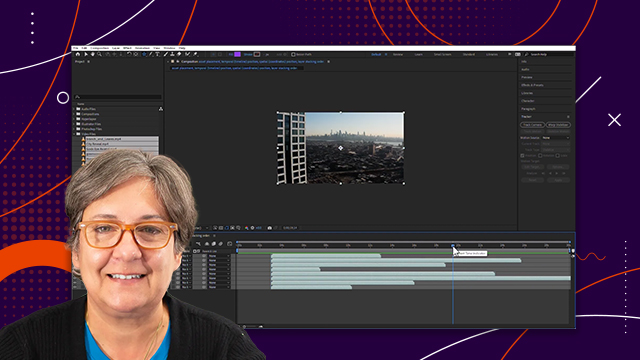
[00:00:00] about pre-composing so I can select all
[00:00:00] of these guys right click one of the
[00:00:00] layers and now go to pre-compose I'll
[00:00:00] name it films
[00:00:00] strip
[00:00:00] and now this is just one right
[00:00:00] but it's even better than that because
[00:00:00] now I can duplicate this command d right
[00:00:00] and I can move this up say I want to
[00:00:00] move this to here and I'm going to
[00:00:00] duplicate this again and I'm going to
[00:00:00] move this to here right
[00:00:00] now I have three of them right
[00:00:00] now they don't have to be all the same I
[00:00:00] can simply select one of them and I can
[00:00:00] go layer transform
[00:00:00] and I can flip horizontal
[00:00:00] and now look at what I have
[00:00:00] I can even offset them a little bit
[00:00:00] right so they don't have to all come in
[00:00:00] at the same time
[00:00:00] I can have this
[00:00:00] I can even take those and pre-compose
[00:00:00] those layer
[00:00:00] pre-compose
[00:00:00] film
[00:00:00] strip
[00:00:00] many whatever right
[00:00:00] and now I have just one I can make that
[00:00:00] layer 3D and now I can manipulate this
[00:00:00] in 3D space I can give it an X rotation
[00:00:00] I'll make it go like yay I can give it a
[00:00:00] z rotation and now I can make it larger
[00:00:00] again and now I have this kind of effect
[00:00:00] and quite frankly it's very easy to do
[00:00:00] and
[00:00:00] um
[00:00:00] people love this stuff and in fact I can
[00:00:00] make this a tiny little bit bigger there
[00:00:00] you go
[00:00:00] I can add light shine all kinds of stuff
[00:00:00] so imagine you're doing a series or
[00:00:00] whatever what a great intro this makes
[00:00:00] right and it's all possible because of
[00:00:00] the pre-composing so pre-composing
[00:00:00] becomes an important part of our After
[00:00:00] Effects workflow now let's talk about
[00:00:00] synchronizing and aligning things uh
[00:00:00] time wise so let's go ahead to the audio
[00:00:00] files and right click the drums clip
[00:00:00] drums remember this is Audio Only now
[00:00:00] let's do a new comp from selection and
[00:00:00] you can play it if you want
[00:00:00] right so you could do something on the
[00:00:00] downbeat for example this is the one
[00:00:00] two
[00:00:00] three
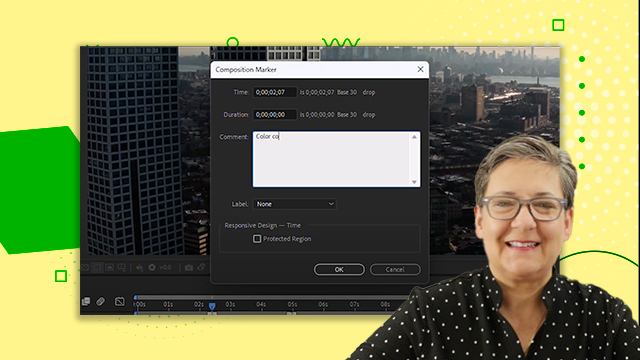
[00:00:00] right and we can add markers remember
[00:00:00] how to add markers we can add
[00:00:00] composition and layer markers I'm going
[00:00:00] to add layer markers this time and just
[00:00:00] as a little reminder if we go to the
[00:00:00] keyboard shortcuts
[00:00:00] and we go to markers so add layer marker
[00:00:00] is shift eight all right shift eight
[00:00:00] I'm going to cancel out of this and here
[00:00:00] we go I'm going to add one at the
[00:00:00] beginning
[00:00:00] shift 8 and I'm just gonna play it
[00:00:00] foreign
[00:00:00] [Music]
[00:00:00] so now that I have this I could do
[00:00:00] something like I don't know I'll just
[00:00:00] type uh talk whatever right
[00:00:00] so I have just the word
[00:00:00] talk and every time
[00:00:00] this appears I want for a new talk to
[00:00:00] appear that's fine all I have to do is
[00:00:00] duplicate this and now as I drag this
[00:00:00] I'll press and hold the shift key right
[00:00:00] so start dragging and then press and
[00:00:00] hold the shift key and these layers snap
[00:00:00] to the markers that you already have and
[00:00:00] I'm just going to do these it's not too
[00:00:00] uh
[00:00:00] not too difficult now I'm gonna go to
[00:00:00] where I can see all of the talks
[00:00:00] and I'm just gonna put them like yay
[00:00:00] doesn't really matter right it doesn't
[00:00:00] really matter at all but right now the
[00:00:00] appearance of those talks
[00:00:00] it agrees with the rhythms of the drum
[00:00:00] foreign
[00:00:00] [Music]
[00:00:00] and right now we're just synchronizing
[00:00:00] the appearance of text to sound but it
[00:00:00] works with anything if you want to
[00:00:00] synchronize anything to anything else
[00:00:00] you can use markers whether they are
[00:00:00] timeline markers or composition markers
[00:00:00] remember they come from here or layer
[00:00:00] markers which is what I did in this case
[00:00:00] so don't forget you have here AIDs that
[00:00:00] help you with positioning not just in
[00:00:00] the uh in the comp panel so here we have
[00:00:00] grids and guides right you also have
[00:00:00] things that help you with the
[00:00:00] positioning or the timing of things in
[00:00:00] the timeline and the main one is markers
[00:00:00] it's not the only one but markers would
[00:00:00] be the main one
[00:00:00] alrighty let's talk about parenting so
[00:00:00] let's start a new composition so Ctrl n
[00:00:00] which is command n on the Mac and then
[00:00:00] just name it parent
[00:00:00] or parenting right leave the defaults is
[00:00:00] all good and let's create
[00:00:00] three solids
[00:00:00] layer new solid look at the shortcut
[00:00:00] Ctrl Y which is command y on the Mac
[00:00:00] right so there you go let's make one
[00:00:00] white sure why not white
[00:00:00] Ctrl y let's make this one red
[00:00:00] I'll call it red
[00:00:00] and the next one let's make it blue
[00:00:00] doesn't really matter right
[00:00:00] blue I just want to wait for us to
[00:00:00] differentiate them easily all right so
[00:00:00] now I'm going to select all three of
[00:00:00] them and I'm going to make them smaller
[00:00:00] so that we can see things a little bit
[00:00:00] better and right now I'm going to hide
[00:00:00] that and I'm going to hide Keys as well
[00:00:00] all right so here we go
[00:00:00] I'm going to put this one here this one
[00:00:00] here and I'm going to put the
[00:00:00] white here in the middle so I'm going to
[00:00:00] talk to my white layer and I'm going to
[00:00:00] say hey white you are the parent of blue
[00:00:00] and red
[00:00:00] in After Effects you tell a layer who
[00:00:00] its parent is you don't tell a layer who
[00:00:00] its children are you talk to the
[00:00:00] children and you say hey children
[00:00:00] here is your parent so we're going to
[00:00:00] talk to blue and red and we're going to
[00:00:00] say hey blue and red white is your
[00:00:00] parent so there is a parent and Link
[00:00:00] column here if you don't see it right
[00:00:00] click one of the column names column
[00:00:00] header go to column and choose parent
[00:00:00] and Link
[00:00:00] all right so remember we're talking to
[00:00:00] blue and red we're going to go to this
[00:00:00] drop down menu and we're going to say
[00:00:00] hey
[00:00:00] white is the parent white is the parent
[00:00:00] we could have also done it by using this
[00:00:00] pick whip we just click and select white
[00:00:00] same thing so you can either use the
[00:00:00] drop down menu or the pick whip it's
[00:00:00] makes no difference right look what
[00:00:00] happens now when I modify White
[00:00:00] as for scale right
[00:00:00] Boom everybody becomes bigger
[00:00:00] P for position yep everybody comes with
[00:00:00] are for rotation yep and they are all
[00:00:00] rotating around the Anchor Point of
[00:00:00] white in other words the parent so I can
[00:00:00] again make this these much smaller I can
[00:00:00] move the position they all come with and
[00:00:00] now I'm going to keyframe the rotation
[00:00:00] of all of them so R for rotation I'm
[00:00:00] going to keyframe
[00:00:00] all of them and then just go to about
[00:00:00] here doesn't really matter and have them
[00:00:00] go three times look what happens they
[00:00:00] are rotating around their own axis and
[00:00:00] also around the axis of the parent
[00:00:00] so parenting works with transform
[00:00:00] properties the child layer in this case
[00:00:00] red and blue
[00:00:00] will follow the parent which is white in
[00:00:00] everything the parent changes transform
[00:00:00] wise so transform wise what are we
[00:00:00] really talking about we're talking about
[00:00:00] Anchor Point position scale and rotation
[00:00:00] yes opacity is part of uh transform but
[00:00:00] it's not affected by parenting it's the
[00:00:00] only one that is not affected by
[00:00:00] parenting
[00:00:00] and remember that when the child layers
[00:00:00] when the child layers follow the parent
[00:00:00] they are using the Anchor Point of the
[00:00:00] parent and not their own so right now
[00:00:00] when you see all of these rotating
[00:00:00] they're rotating around their own axis
[00:00:00] because they have their own keyframes
[00:00:00] but they are also rotating around the
[00:00:00] white axis all right
[00:00:00] the next thing that you need to know
[00:00:00] about parenting is that where your
[00:00:00] playhead is when you parent matters and
[00:00:00] it matters a lot
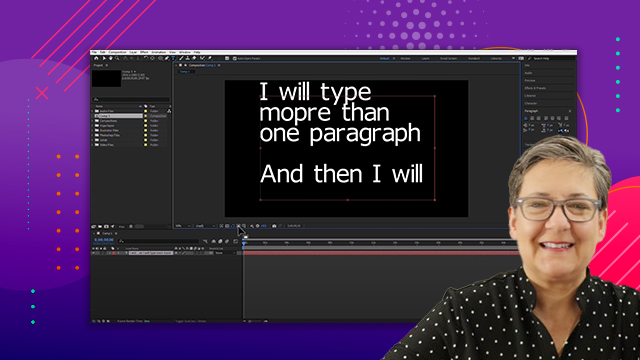
[00:00:00] so if I type in a word let's say I'm
[00:00:00] just gonna this is my first
[00:00:00] sentence
[00:00:00] right I'm going to go to my paragraph
[00:00:00] I'm going to have it yay and I'm gonna
[00:00:00] make it a little bit smaller oops it
[00:00:00] helps if I select the text no this is
[00:00:00] not a lesson on text I'm just talking
[00:00:00] about parenting right
[00:00:00] and now I am going to
[00:00:00] keyframe this so I'm going to move it
[00:00:00] here
[00:00:00] there you go and now R for rotation and
[00:00:00] it's gonna last one second and this is
[00:00:00] going to be 90 degrees right so it's
[00:00:00] going to be that
[00:00:00] making sense that
[00:00:00] that's it well this is what's going to
[00:00:00] happen when this rotates like that it's
[00:00:00] going to bring a second layer here so
[00:00:00] I'm going to type that layer
[00:00:00] second layer whatever right and now I am
[00:00:00] going to rotate this layer right so R
[00:00:00] for rotation at a 90 degree angle and I
[00:00:00] know I want it to be here
[00:00:00] right here so right now nobody has
[00:00:00] parented so who cares what the one layer
[00:00:00] is doing but I'm going to move now my
[00:00:00] playhead to the right of that second
[00:00:00] keyframe to the right in other words
[00:00:00] after it finished and now I'm gonna tell
[00:00:00] the second layer hey your parent
[00:00:00] is the first one look what happens when
[00:00:00] you go backwards
[00:00:00] and there you go
[00:00:00] that first sentence brings the second
[00:00:00] layer with it but had I not done it then
[00:00:00] imagine I do the parenting here
[00:00:00] look what happens I'm going to use the
[00:00:00] pick whip this time
[00:00:00] see it
[00:00:00] that's not at all what we wanted
[00:00:00] see it
[00:00:00] um
[00:00:00] so I'm going to not parent it there and
[00:00:00] I'm going to go to after that second
[00:00:00] keyframe and now I'll parent it and
[00:00:00] that's the animation exactly the way
[00:00:00] that I want it so parenting becomes a
[00:00:00] very powerful thing in After Effects
[00:00:00] especially in 3D where you can parent
[00:00:00] all of the layers to an all and then
[00:00:00] manipulate the null or parent a camera
[00:00:00] to a null object and then manipulate
[00:00:00] that and all of that but parenting is a
[00:00:00] very very powerful thing to do in After
[00:00:00] Effects all right the last thing that I
[00:00:00] want to talk about in this one video is
[00:00:00] the render order so I want you to know
[00:00:00] that after effects renders from the
[00:00:00] bottom up
[00:00:00] so it looks from the top down so uh
[00:00:00] whatever layer is on top let me uh you
[00:00:00] know what I'm going to revert
[00:00:00] um
[00:00:00] and I'm going to open the same
[00:00:00] composition
[00:00:00] so even though it's looking from the top
[00:00:00] down because we we see this right we see
[00:00:00] this layer first and it's covering
[00:00:00] everything else it actually renders from
[00:00:00] the bottom up and that's what makes some
[00:00:00] of these
[00:00:00] um blending modes and all of that work
[00:00:00] the way that they do so don't forget
[00:00:00] that so we see it from the top down but
[00:00:00] it renders from the bottom up
[00:00:00] all right and this brings us to the end
[00:00:00] of this video thank you for watching and
[00:00:00] I'll see you on the next video
[00:00:00] [Music]


 AdChoice