
Advanced Project Management
Discover how to efficiently organize multiple videos within a single project and master manual audio syncing for precise clip alignment. Learn to use the "Synchronize" feature and implement a multi-camera sync workflow to streamline complex editing tasks.
This summary is AI generated
Learning Outcomes:
- Organize clips effectively in Premiere Pro
- Synchronize audio and video clips efficiently
- Utilize multi-camera editing techniques
Level: Beginner
Skills you'll gain:
Premiere Pro, Editing, Synchronization, Organization
Key Insights
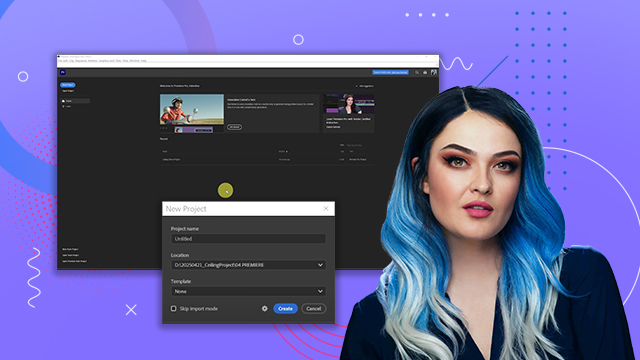
- Create new sequences to manage multiple videos.
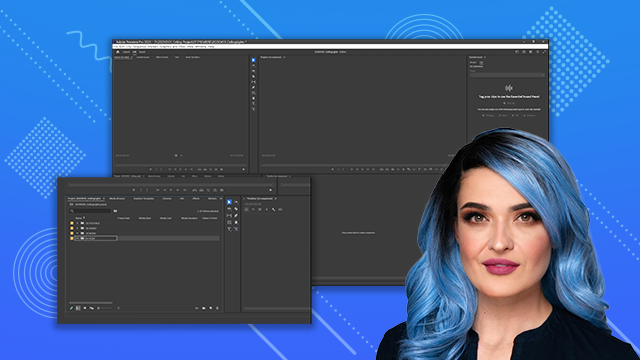
- Organize footage with bins to avoid confusion.
- Label clips and sequences for better navigation.
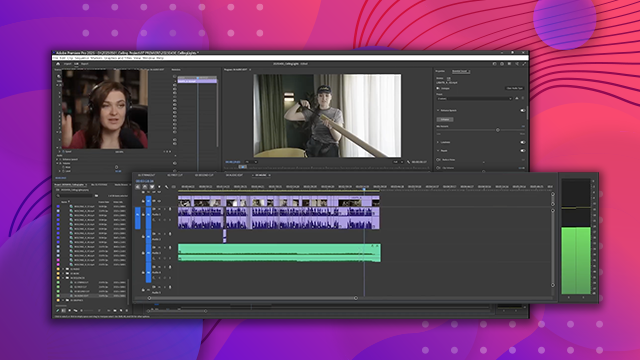
- Use markers to sync audio and video accurately.
- Employ multi-camera source sequences for complex edits.
- Adjust clip scaling to maintain video quality.
- Utilize audio duration to match clips effectively.
- Enable snapping for precise clip alignment.
- Toggle multi-camera view for simultaneous editing.
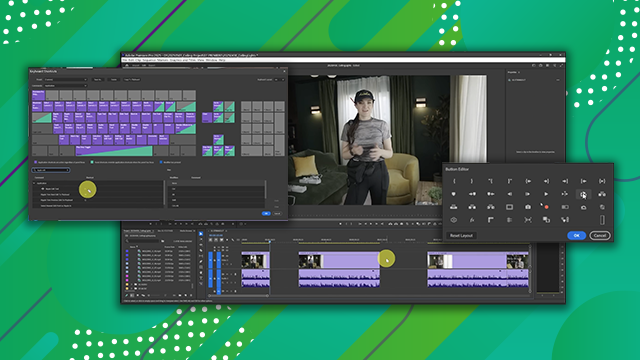
- Use the button editor to customize workspace.

 AdChoice