
Social Media and Final Export
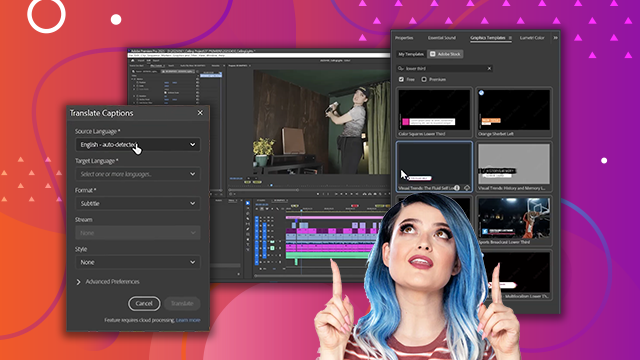
Master the process of adding and editing captions, including translating them for broader accessibility, to enhance your video’s reach. Learn to reframe content for social media platforms and export videos with burned-in captions for a professional, platform-ready final product.
This summary is AI generated
Learning Outcomes:
- Create and customize captions in Premiere Pro.
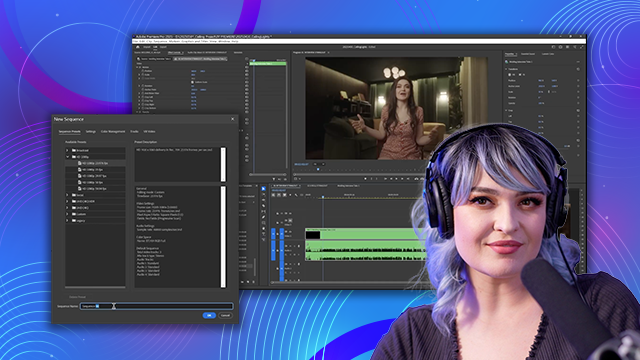
- Render projects for smoother playback.
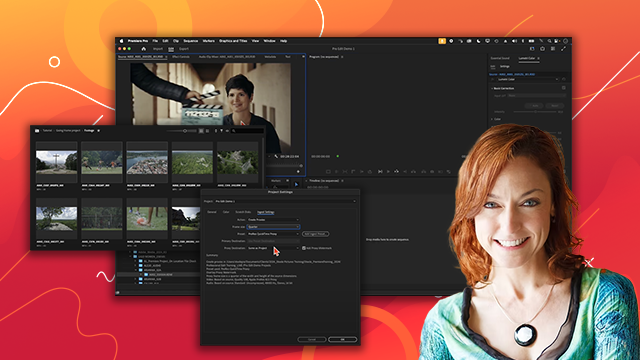
- Auto reframe sequences for social media.
Level: Beginner
Skills you'll gain:
Premiere Pro, Captions, Rendering, Reframing
Key Insights
- Cut clips to eliminate distracting elements.
- Use the transcript to easily add captions.
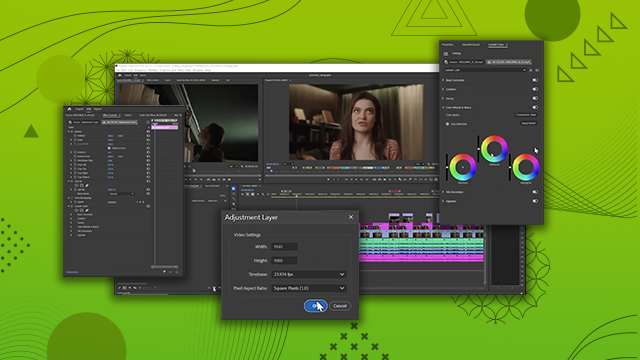
- Adjust caption styles for better visibility.
- Save custom caption styles for future use.
- Render sections of a project for smoother playback.
- Use auto reframe to adapt videos for different formats.
- Edit captions directly without returning to the transcript.
- Ensure captions are burned into the video for exports.
- Utilize sequence settings to change aspect ratios.
- Experiment with different tools for DIY projects.

 AdChoice