
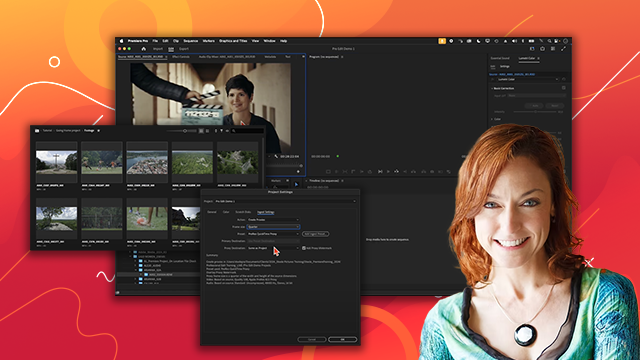
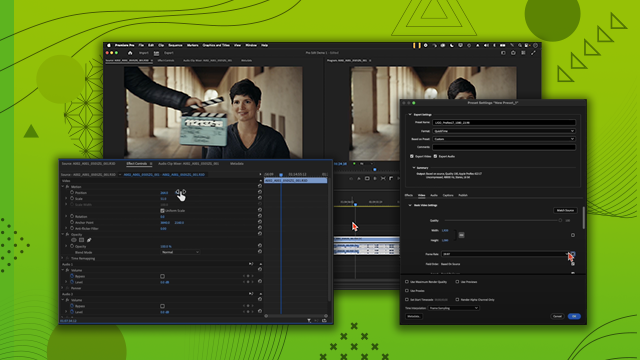
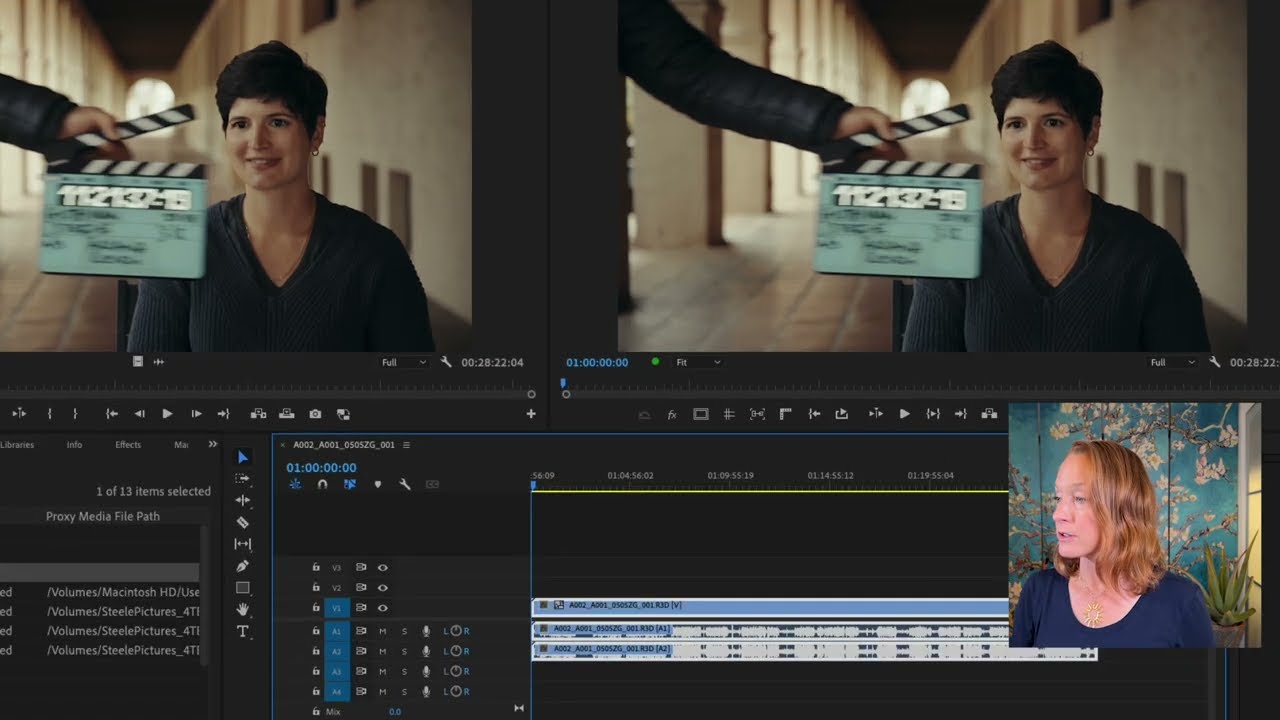
Organizing Your Workspace
Explore the five main windows of the Premiere Pro interface and master import tools for efficient media management. Learn how to organize your workspace to streamline your editing process to boost productivity.
This summary is AI generated
Learning Outcomes:
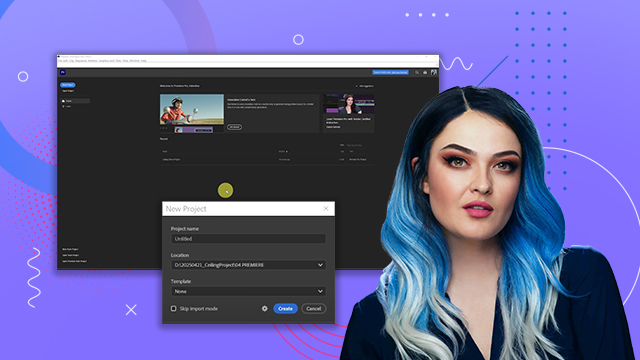
- Navigate Premiere Pro's interface effectively.
- Organize clips using bins and folders.
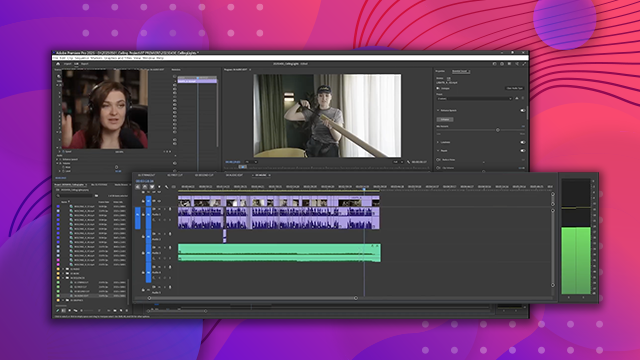
- Adjust audio levels for optimal sound.
Level: Beginner
Skills you'll gain:
Premiere Pro, Editing, Audio, Organization
Key Insights
- Use the project window for organizing clips.
- Preview clips in the source window before editing.
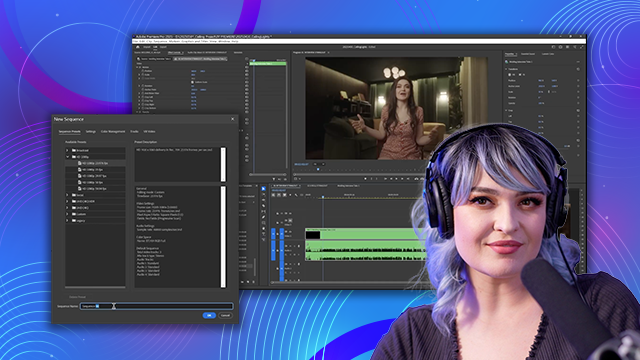
- The timeline window is for sequencing clips.
- Adjust clip properties in the properties panel.
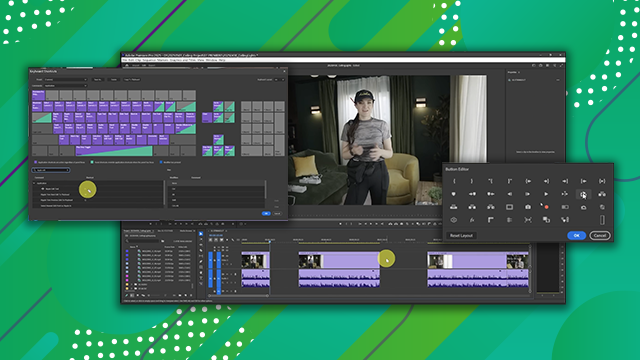
- Learn keyboard shortcuts to enhance efficiency.
- Maintain audio levels between -12 and -18 decibels.
- Utilize workspaces to customize your editing environment.
- Expand and contract panels using the tilde key.
- Switch between list view and icon view for clips.
- Reset to saved layout if workspace is disorganized.

 AdChoice