
Audio Editing
Learn to enhance your video’s audio with techniques like using fade handles, applying transitions to multiple clips, and adjusting audio levels across clips. Discover how to clean up audio with Enhance Speech, auto-match loudness, add music from Essential Sound, shorten tracks with the Remix tool, and apply ducking for balanced audio.
This summary is AI generated
Learning Outcomes:
- Create and paste audio transitions efficiently.
- Adjust audio levels using various techniques.
- Utilize essential sound panel for audio enhancement.
Level: Beginner
Skills you'll gain:
Premiere Pro, Audio Editing, Keyframes, Transitions
Key Insights
- Select multiple clips to apply transitions quickly.
- Use audio gain to lower volume across clips.
- Copy and paste volume adjustments for consistency.
- Utilize keyframes for precise volume control.
- Employ ducking to balance music and dialogue levels.
- Access Adobe Stock for built-in music and sound effects.
- Use remix tool to adjust music length seamlessly.
- Enhance audio quality using essential sound features.
- Visualize audio waveforms for better editing decisions.
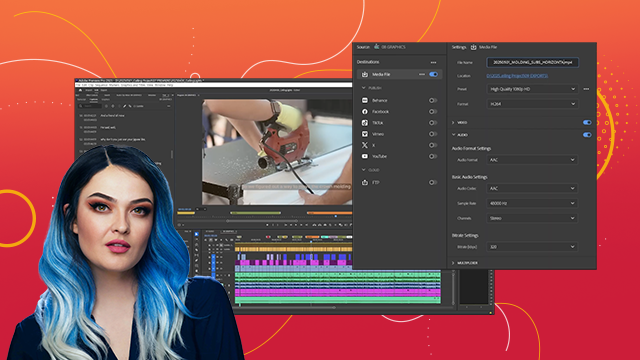
- Export projects using high-quality presets for online sharing.

 AdChoice