
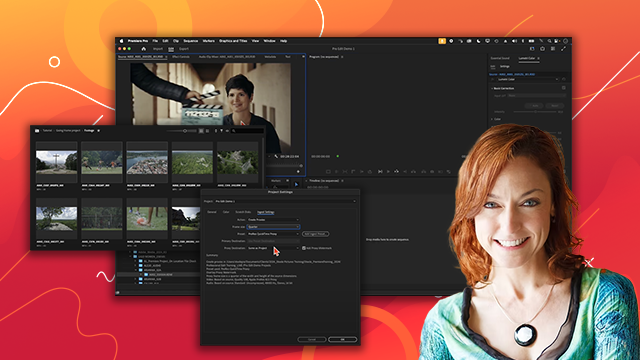
Getting started
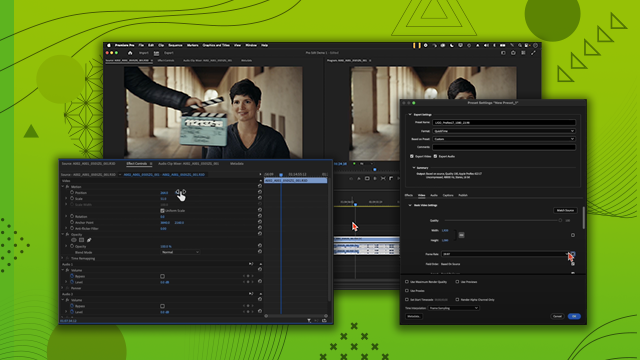
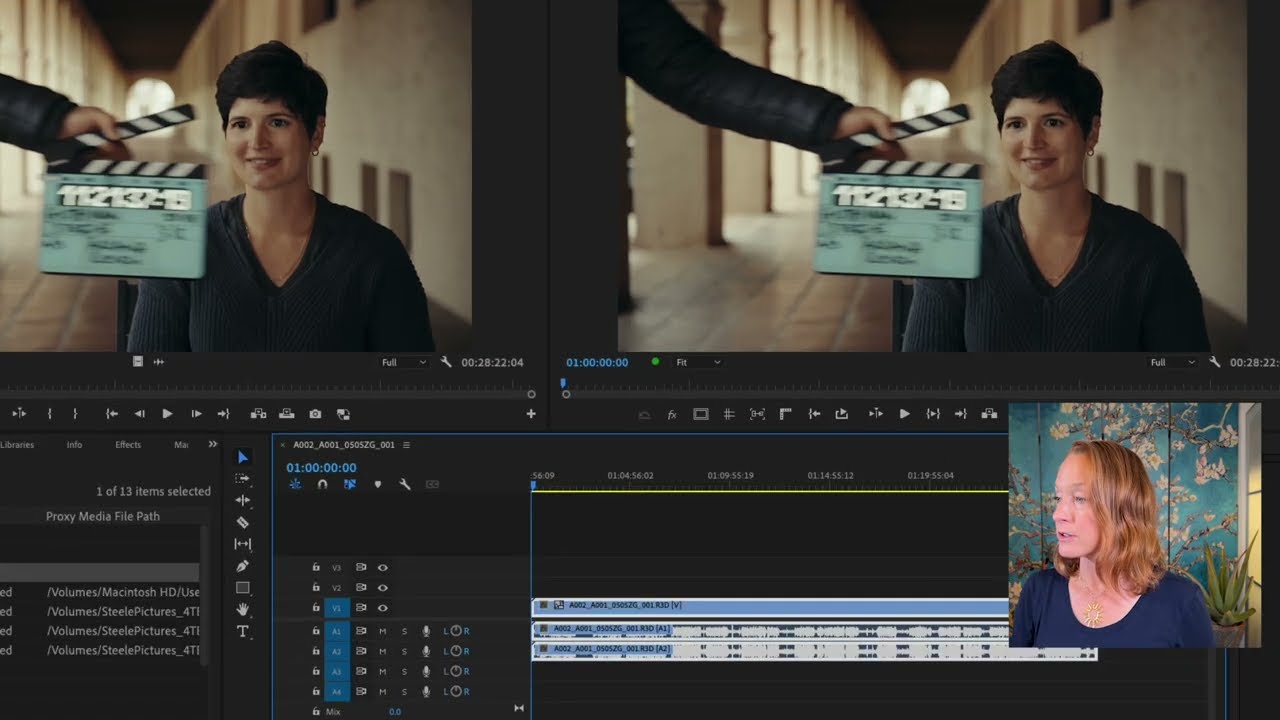
Learn the basics of starting a video editing project and essential file organization techniques. Discover how to create a new project from scratch or set one up using import mode for efficient workflow setup.
This summary is AI generated
Learning Outcomes:
- Organize files effectively for video projects.
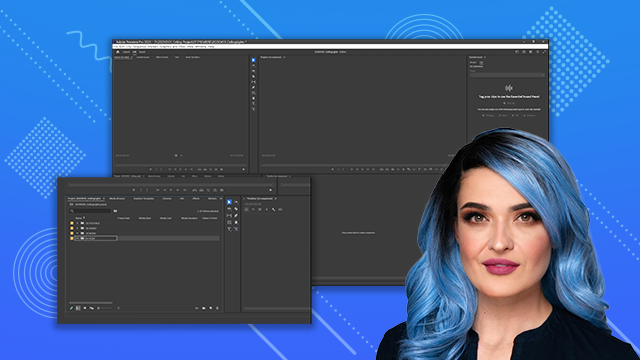
- Navigate Premiere Pro's interface confidently.
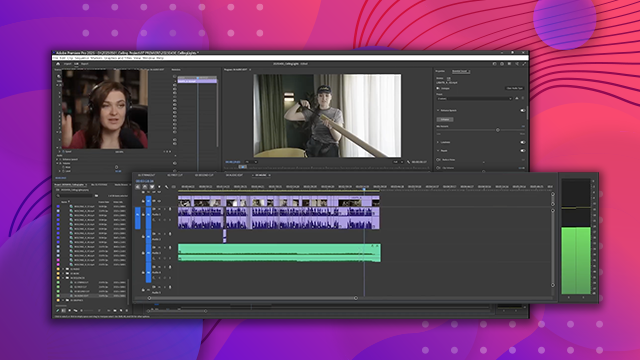
- Import and manage media efficiently.
Level: Beginner
Skills you'll gain:
Premiere Pro, File Organization, Media Management, Video Editing
Key Insights
- Start projects with a clear file organization structure.
- Use timestamps to navigate tutorial sections easily.
- Preview clips in import mode for better selection.
- Utilize hover scrubbing to quickly review footage.
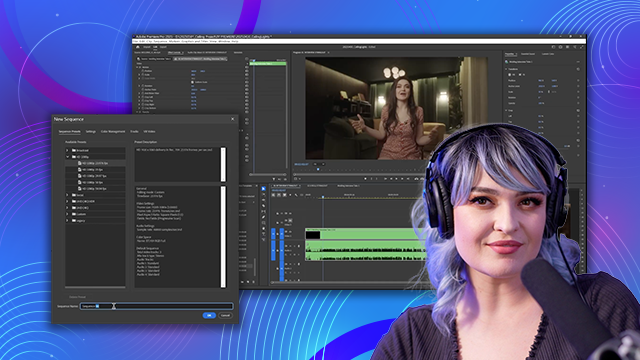
- Create a new project with a consistent naming convention.
- Select multiple clips using the shift key.
- Understand the importance of autosave locations.
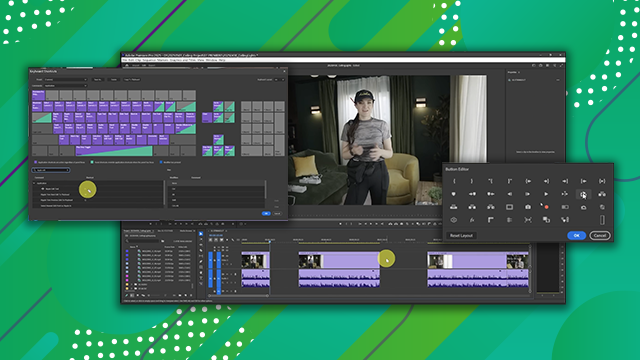
- Familiarize yourself with sequences for editing.
- Refer to provided PDF for shortcuts and tips.

 AdChoice