
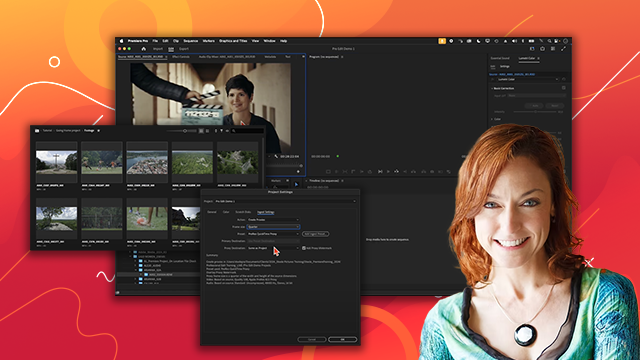
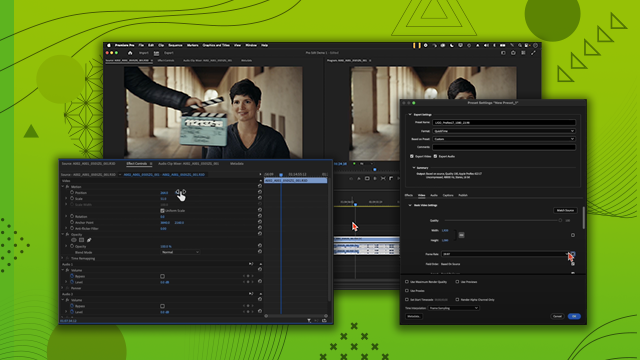
Timeline Basics
Discover how to create sequences, choose appropriate frame rates, and understand image dimensions for optimal video quality. Learn to color-code clips, place them in the timeline, navigate efficiently, and make precise cuts to build your video's foundation.
This summary is AI generated
Learning Outcomes:
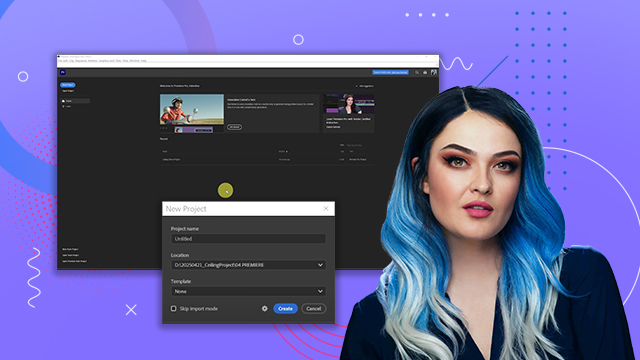
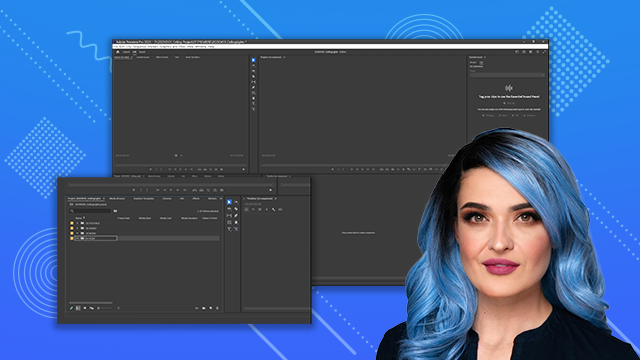
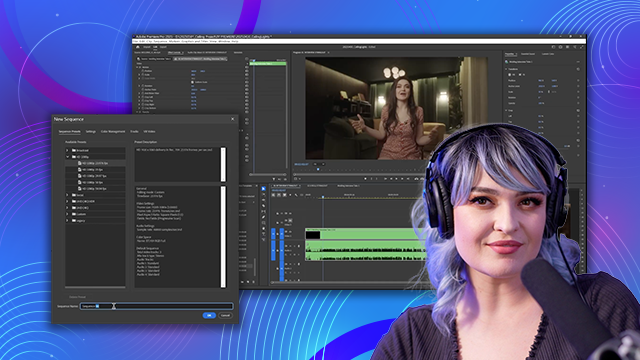
- Create a new sequence in Premiere Pro
- Organize clips using color coding
- Match sequence settings to footage
Level: Beginner
Skills you'll gain:
Premiere Pro, Editing, Organization, Color Coding
Key Insights
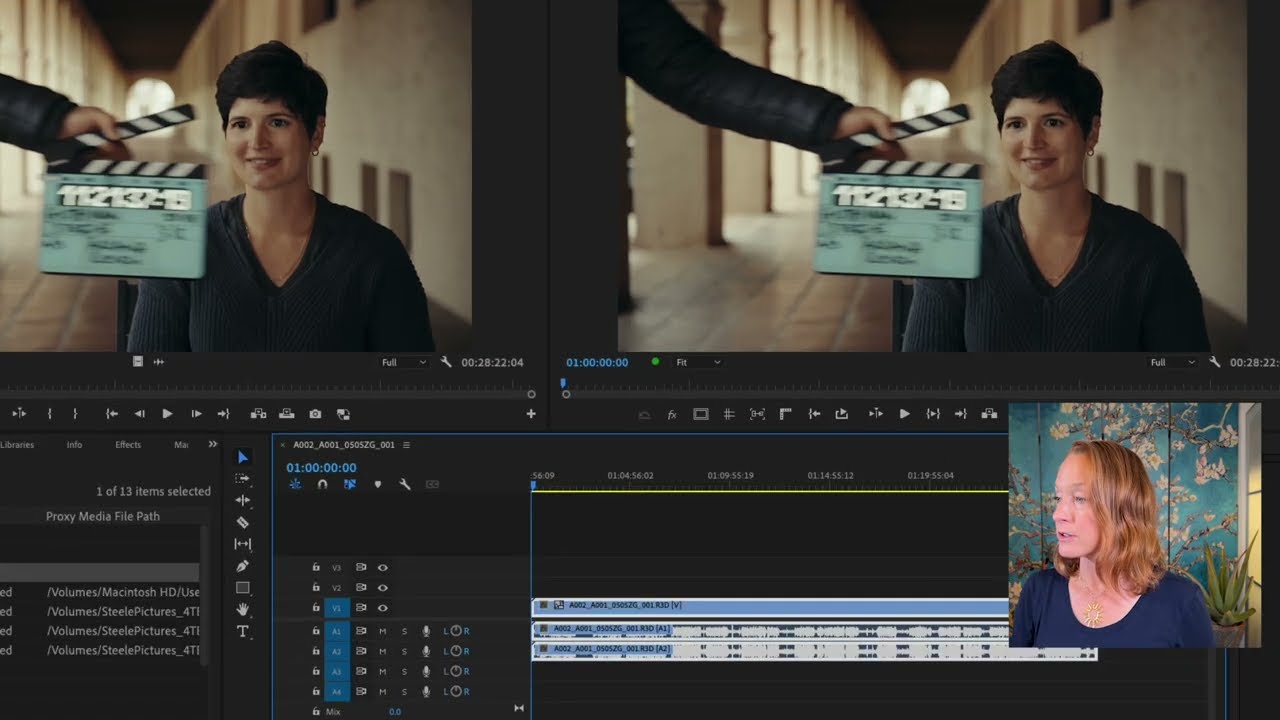
- Use the new item indicator to create sequences.
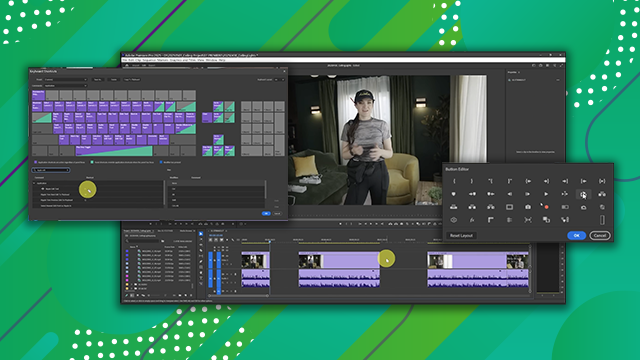
- Select clips and drag them into the timeline.
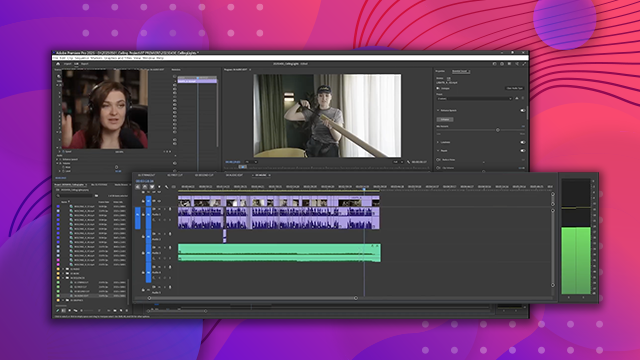
- Label clips for better organization.
- Ensure sequence settings match the lowest frame rate.
- Zoom in and out of the timeline for better navigation.
- Use keyboard shortcuts for efficiency.
- Deselect linked selection to edit audio and video separately.
- Organize clips alphabetically or by frame rate.
- Adjust playback resolution for smoother editing.
- Utilize the snap feature for precise clip placement.
 AdChoice