
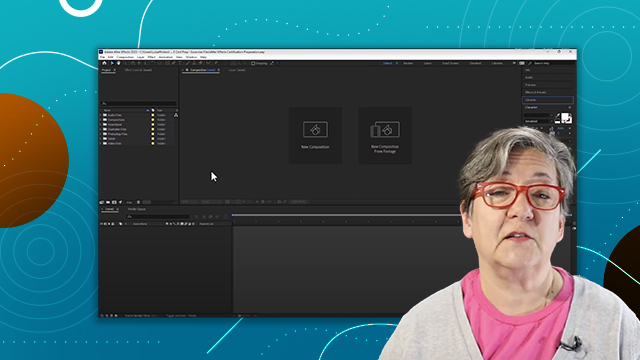
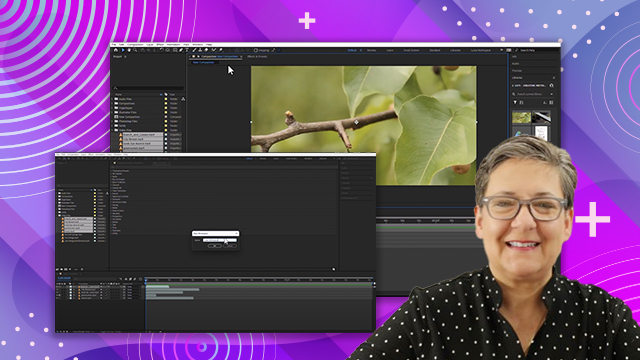
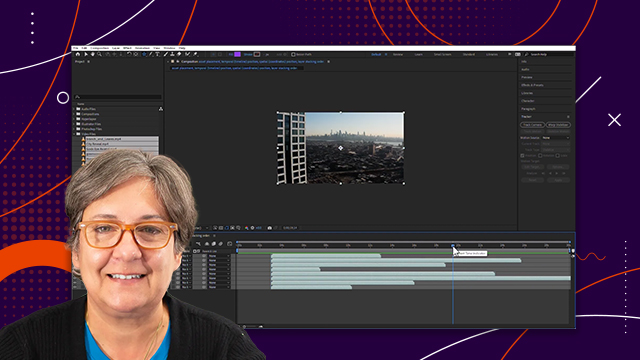
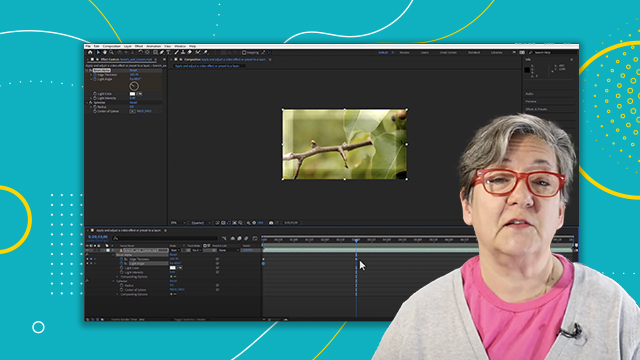
Everything you need to know about the project and timeline panels
Learn how to identify, navigate, and manipulate elements such as Key Panels: Project panel, and Timeline panel.
This summary is AI generated
Learning Outcomes:
- Navigate the After Effects interface effectively.
- Customize project and timeline panels.
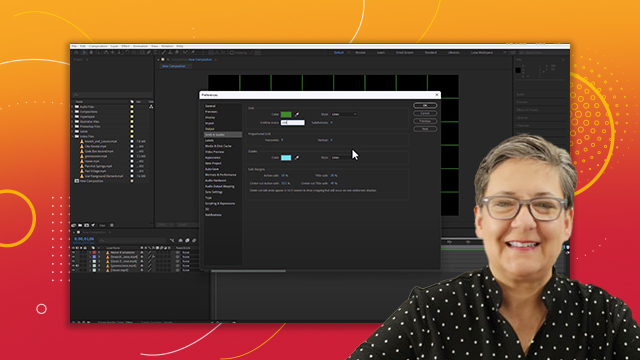
- Interpret footage settings for better control.
Level: Intermediate
Skills you'll gain:
After Effects, Interface Navigation, Customization, Footage Interpretation
Key Insights
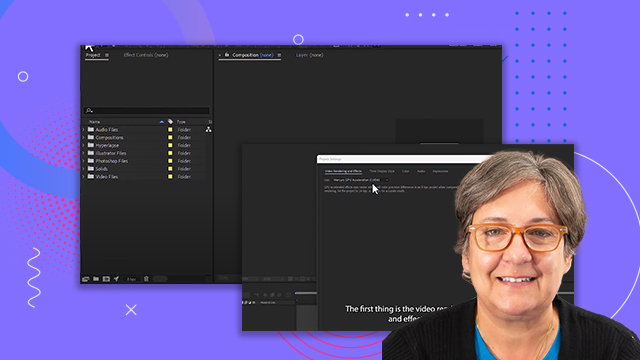
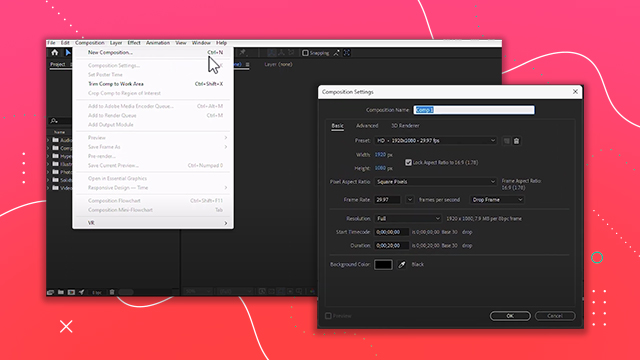
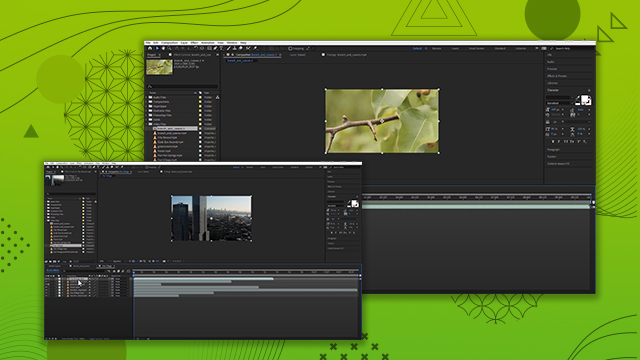
- Use the project panel to manage assets efficiently.
- Customize column visibility in the project panel.
- Utilize the search bar to find specific assets quickly.
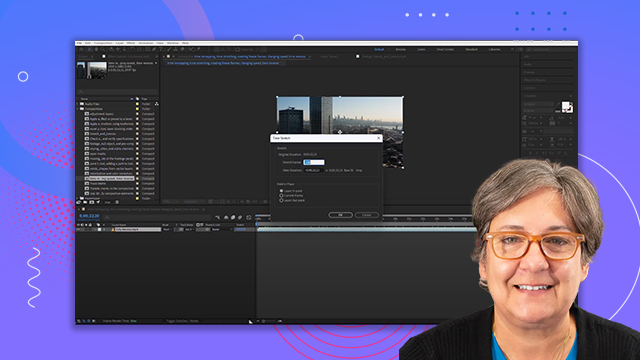
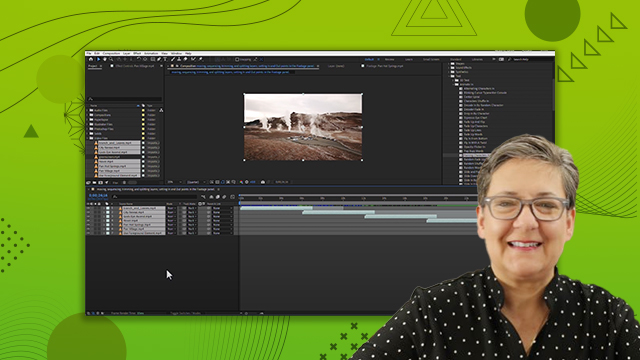
- Interpret footage to adjust frame rates as needed.
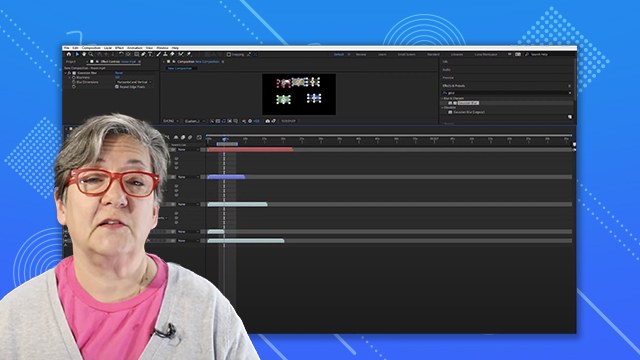
- Rename layers for better organization in the timeline.
- Use switches to control layer visibility and audio.
- Toggle between switches and modes for layer settings.
- Create new folders to organize project files.
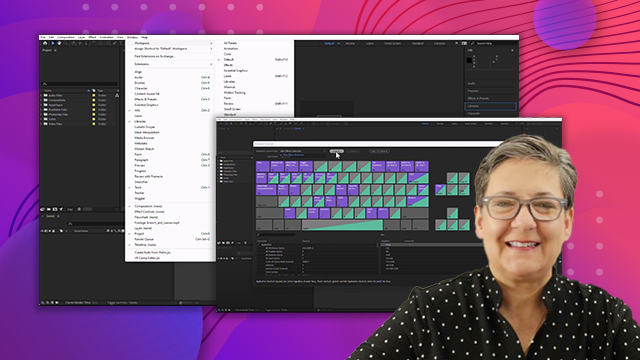
- Reset workspace to default settings easily.


 AdChoice