
Preferences
Navigate, organize, and customize the application workspace and configure application preferences.
This summary is AI generated
Learning Outcomes:
- Configure application preferences in After Effects.
- Optimize memory and performance settings.
Level: Intermediate
Skills you'll gain:
After Effects, Preferences, Performance, Memory
Key Insights
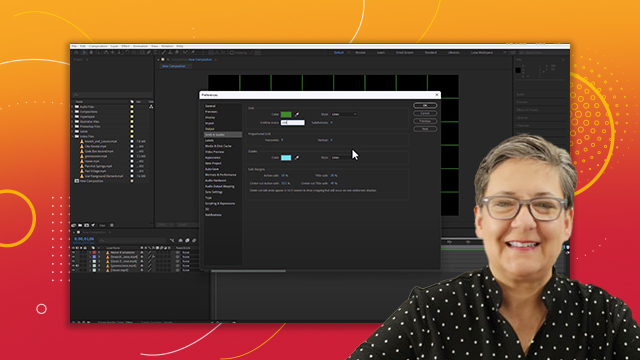
- Adjust appearance settings for better visibility.
- Utilize auto save to prevent data loss.
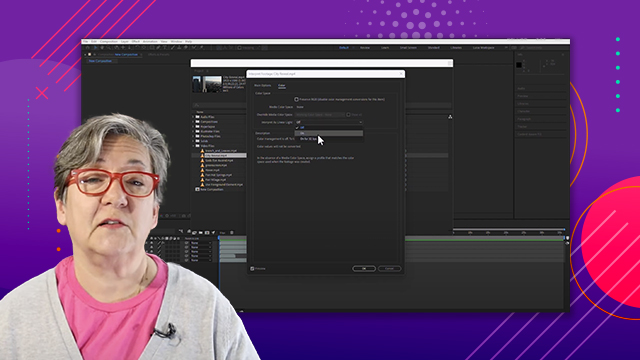
- Manage media and disk cache effectively.
- Enable multi-frame rendering for faster performance.
- Customize tooltips and interface brightness.
- Change audio output settings for better sound management.
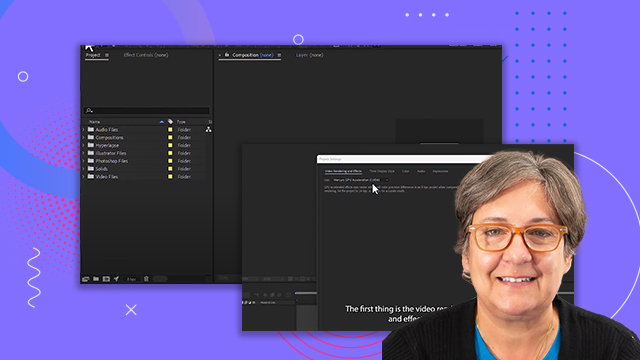
- Explore GPU settings for improved rendering quality.
- Set default interpolation for smoother animations.
- Clean up cache files for troubleshooting.
- Review all preferences for optimal workflow.


 AdChoice