
Shape layers (part 2)
Create visual elements using a variety of tools such as the Pen and vector editing tools.
This summary is AI generated
Learning Outcomes:
- Create visual elements using shape layers
- Modify shapes with fills and gradients
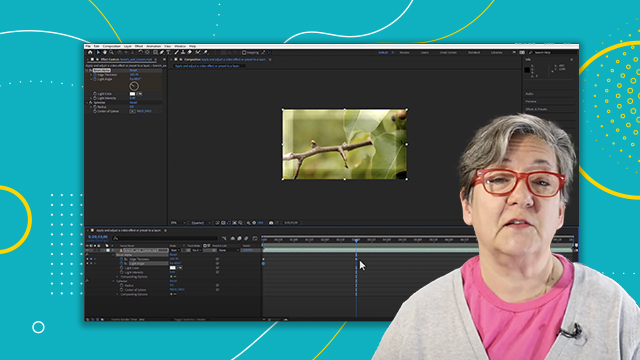
- Convert vector layers into shape layers
Level: Intermediate
Skills you'll gain:
After Effects, Shape Layers, Gradients, Vector Conversion
Key Insights
- Understand the unique properties of shape layers in After Effects.
- Use the 'Add' menu to enhance shape layers with various effects.
- Apply gradients and strokes to shape layers for visual variety.
- Continuously rasterize vector layers to maintain quality when scaling.
- Differentiate between solid fills and gradient fills in shapes.
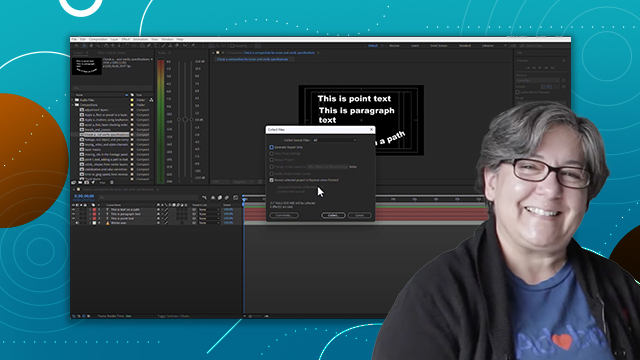
- Utilize Illustrator files effectively by converting them to shape layers.
- Select and modify individual elements within a shape layer.
- Experiment with different tools to create diverse visual elements.
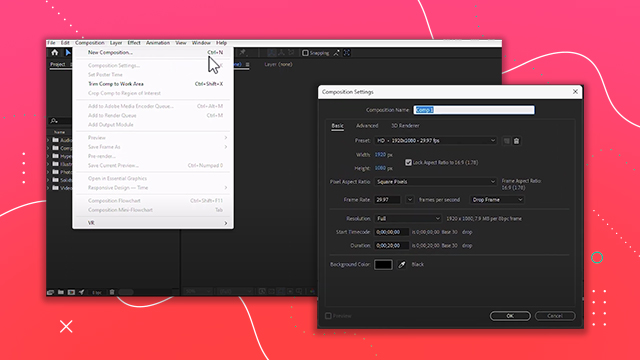
- Learn shortcuts for creating solids and shape layers quickly.
- Recognize the importance of layer selection for applying effects.


 AdChoice