
Layer visibility
Learn how to modify layer visibility using opacity, blending modes, track mattes, and masks.
This summary is AI generated
Learning Outcomes:
- Adjust layer visibility in After Effects
- Utilize blending modes effectively
- Keyframe opacity for dynamic effects
Level: Intermediate
Skills you'll gain:
After Effects, Layer Management, Blending Modes, Keyframing
Key Insights
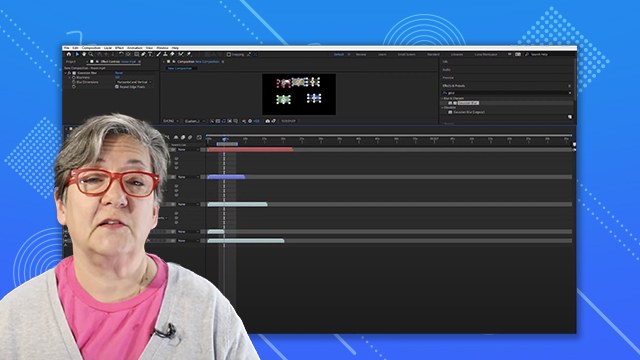
- Use the eyeball icon to hide/show layers.
- Shy layers to declutter the timeline.
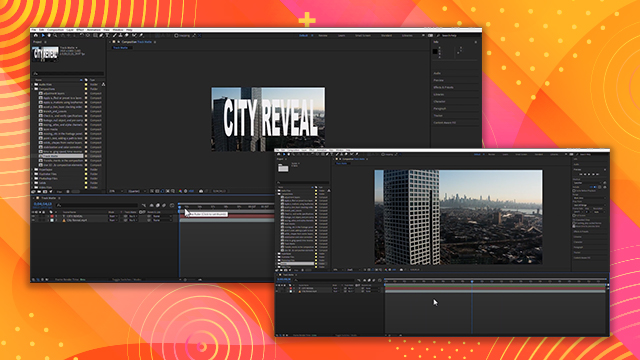
- Blending modes affect how layers interact visually.
- Shortcut for blending modes: Shift + Plus Sign.
- Keyframe opacity to create transparency effects.
- Solo layers to focus on specific elements.
- Toggle switches to access blending modes.
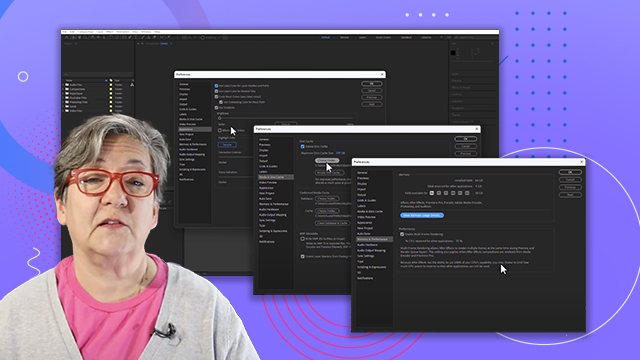
- Reset transform properties for clean adjustments.
- Use bezier curves for smoother animations.


 AdChoice