
Video effects
Apply and adjust a video effect or preset to a layer using properties in the Effect Controls panel and timeline.
This summary is AI generated
Learning Outcomes:
- Apply video effects to layers
- Adjust effect properties in After Effects
- Keyframe effects for dynamic changes
Level: Intermediate
Skills you'll gain:
After Effects, Keyframing, Effects, Adjustment
Key Insights
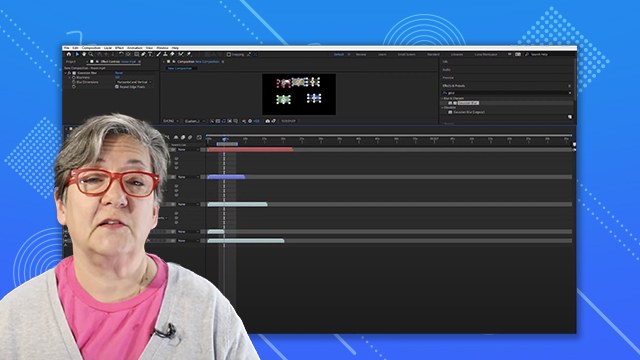
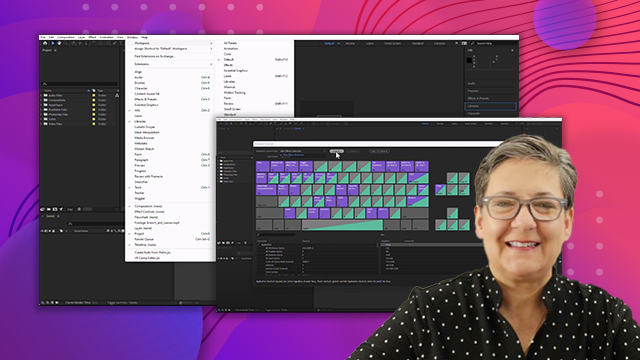
- Use 'E' to quickly access effects on a layer.
- Adjust effects in both the timeline and effect controls.
- Reset effects using the reset option in panels.
- Keyframe properties like edge thickness and light angle.
- Scrub through the timeline while holding Shift for snapping.
- Understand that effect controls and timeline are interchangeable.


 AdChoice