
Effects controls and layer panels
Identify, navigate, and manipulate elements such as the Effect Controls panel, Layer panel, etc.
This summary is AI generated
Learning Outcomes:
Learning outcomes not available.
Level: Intermediate
Skills you'll gain:
Skills not available.
Key Insights
Key insights not available.
Did the AI summary help? Let us know.
Learning outcomes
Learning outcomes not available.
Key insights
Key insights not available.
Skills
Skills not available.
Transcript
[00:00:00] [Music]
[00:00:00] thank you
[00:00:00] [Music]
[00:00:00] hello and welcome to this after effects
[00:00:00] certification preparation series of
[00:00:00] videos I'm Louisa Winters in this video
[00:00:00] I want to cover objective 2.2 a this is
[00:00:00] the third video that we've done about
[00:00:00] objective 2.2 a and it's just talking
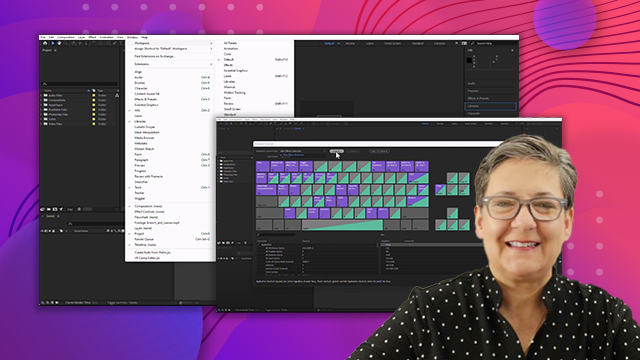
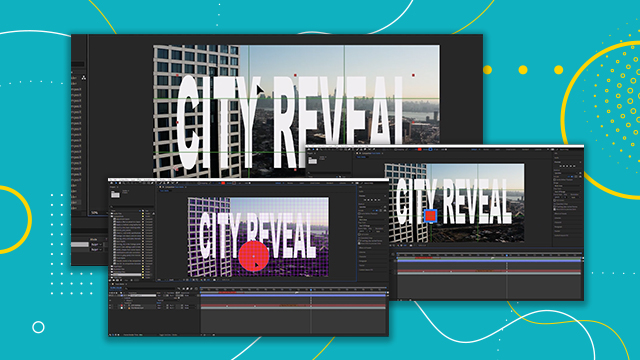
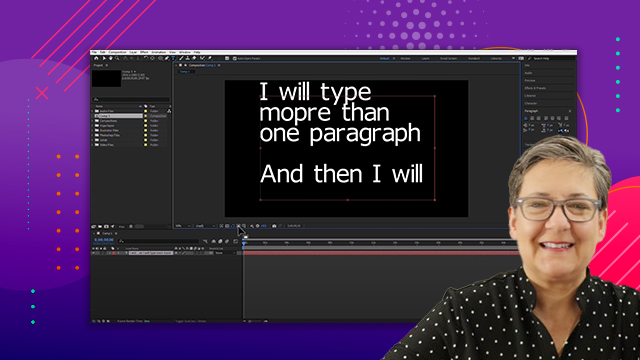
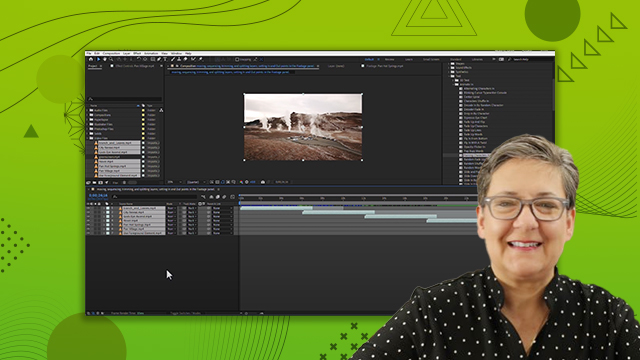
[00:00:00] about panels in this video I want to
[00:00:00] talk about the effect controls panel and
[00:00:00] the layer panel so let's go ahead and
[00:00:00] hop into after effects and let's start
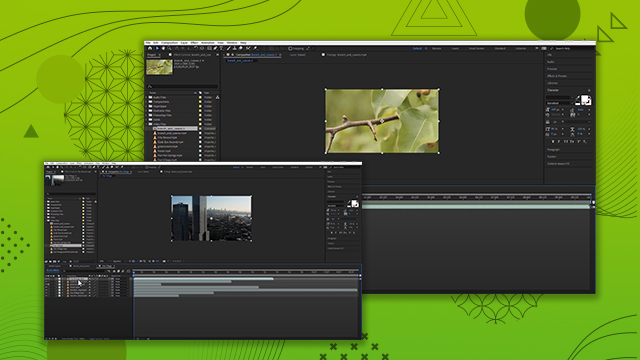
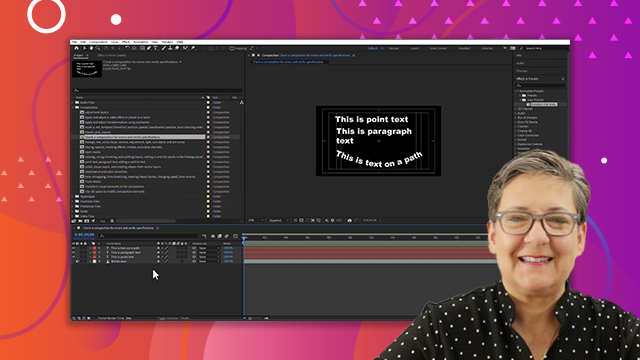
[00:00:00] with the effect controls panel the
[00:00:00] effect controls panel is usually here on
[00:00:00] the top left of the screen but right now
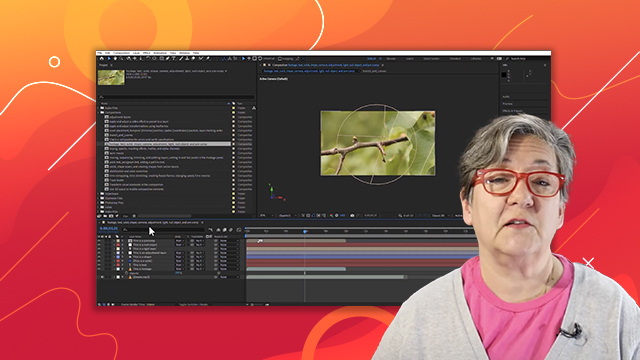
[00:00:00] it's not showing anything well it's not
[00:00:00] showing anything for two reasons number
[00:00:00] one effects are applied to layers so I
[00:00:00] don't have a single layer selected and
[00:00:00] number two whatever layer is selected
[00:00:00] doesn't have any effects so in here
[00:00:00] inadvertently I added a puppet effect to
[00:00:00] the branch and leaves I'm just going to
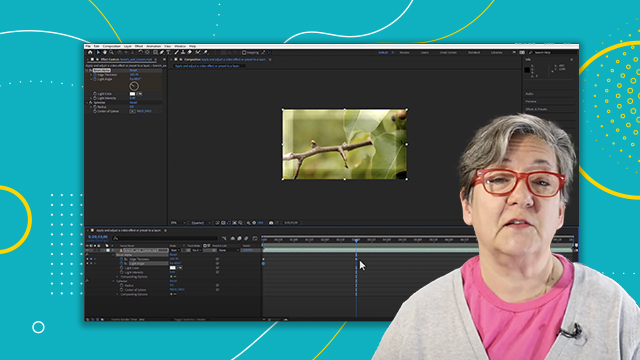
[00:00:00] go ahead and delete it so if we want to
[00:00:00] see something in the effect controls
[00:00:00] panel we need to add something that
[00:00:00] would be visible in the effect controls
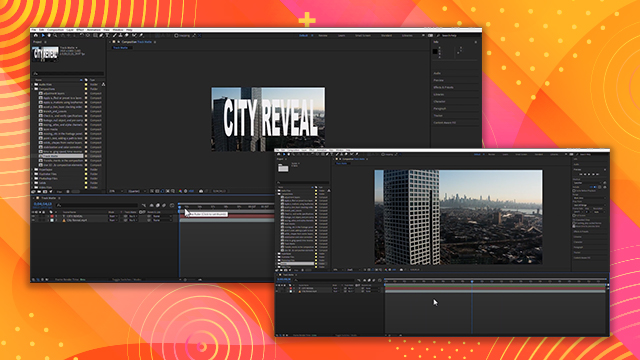
[00:00:00] panel so let's go to the effects and
[00:00:00] presets panel and let's add an effect
[00:00:00] this can be any kind of effect so just
[00:00:00] for now let's go to color correction and
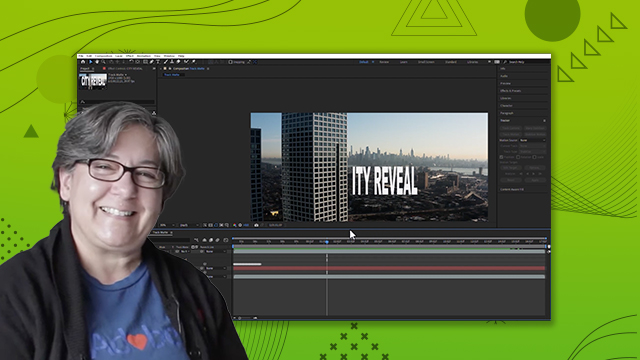
[00:00:00] let's go to say color balance I'm going
[00:00:00] to add a color balance effect to any of
[00:00:00] these clips in fact I'm just going to
[00:00:00] call it to this city city reveal or
[00:00:00] whatever it's called so here we go now
[00:00:00] that that layer is selected you see the
[00:00:00] color balance effect here in the effect
[00:00:00] controls panel and in here you can we
[00:00:00] haven't even talked about keyframes yet
[00:00:00] but you guys are not newbies in After
[00:00:00] Effects I mean if you're watching this
[00:00:00] it's because you're getting ready to
[00:00:00] take take the certification test so you
[00:00:00] already know what a keyframe is you can
[00:00:00] keyframe directly here in the effect
[00:00:00] controls panel or you can keyframe in
[00:00:00] the timeline so you know makes no
[00:00:00] difference to After Effects all I'm
[00:00:00] saying is you can do it here or you can
[00:00:00] do it here in the timeline so you can
[00:00:00] just change any of these properties of
[00:00:00] this effect so if you want to delete the
[00:00:00] effect click on its name and hey just
[00:00:00] press the delete key it's the same with
[00:00:00] a preset like if I go to a preset and
[00:00:00] now I want to go into
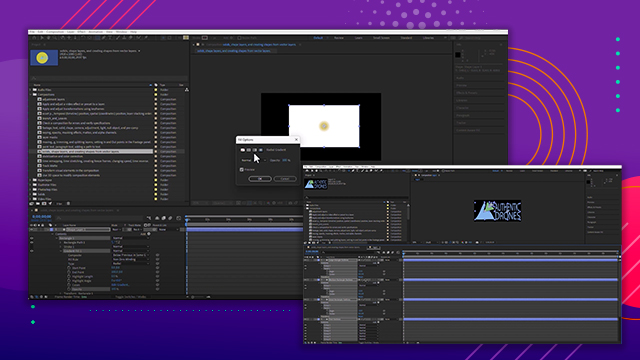
[00:00:00] say creative and I'm going to go to
[00:00:00] bloom brights and darks and I'm going to
[00:00:00] add this to this flag video here right
[00:00:00] there you go so this particular preset
[00:00:00] added these effects to that clip to that
[00:00:00] layer and I can change the blurriness I
[00:00:00] can change the input Channel I can
[00:00:00] change any of these things in here and I
[00:00:00] can also keyframe them in here as well
[00:00:00] to delete select them all right and then
[00:00:00] press the delete key to select all as
[00:00:00] Ctrl a on Windows command a on the Mac
[00:00:00] so you can see that it's a very
[00:00:00] appropriate to add things using the
[00:00:00] effects and presets panel just drag it
[00:00:00] to the clip and then in the effect
[00:00:00] controls panel you can modify whatever
[00:00:00] it is so let's go ahead and type in this
[00:00:00] search bar for a gaussian blur so I'm
[00:00:00] going to type the word Gauss and I'm
[00:00:00] going to apply this to all of my Clips I
[00:00:00] can select all of the clips and then I
[00:00:00] can double click the gaussian blur and
[00:00:00] it should be applied to all of them so
[00:00:00] notice that no matter which clip I
[00:00:00] select the gaussian blur appears in the
[00:00:00] effect controls which means that I
[00:00:00] applied this effect to all of the clips
[00:00:00] at the same time I can also select all
[00:00:00] of my clips and I can change the
[00:00:00] blurriness right notice that it's
[00:00:00] affecting only one of them if I want to
[00:00:00] select all of them and affect the
[00:00:00] blurriness of all of them I can select
[00:00:00] all of the layers press the letter e for
[00:00:00] effects and I can now change the
[00:00:00] blurriness of all of them at the same
[00:00:00] time so notice what I'm doing right I am
[00:00:00] expanding these and this is very
[00:00:00] important in After Effects so I want you
[00:00:00] to remember this not necessarily for the
[00:00:00] test but for you do you see how the
[00:00:00] names are selected that doesn't mean the
[00:00:00] effect is if I now do a click and drag I
[00:00:00] can now change the blurriness of all of
[00:00:00] them at the same time see now and here
[00:00:00] all of them are blurried
[00:00:00] so in After Effects it really really
[00:00:00] depends on who is selected what is
[00:00:00] selected for you to be able to adjust
[00:00:00] that yes you can adjust many things at
[00:00:00] the same time but they need to be
[00:00:00] selected all right so I'm just going to
[00:00:00] go ahead and collapse all of these in
[00:00:00] fact I'm going to go back to a default
[00:00:00] workspace so that should resize all of
[00:00:00] my panels to where I am more comfortable
[00:00:00] with them
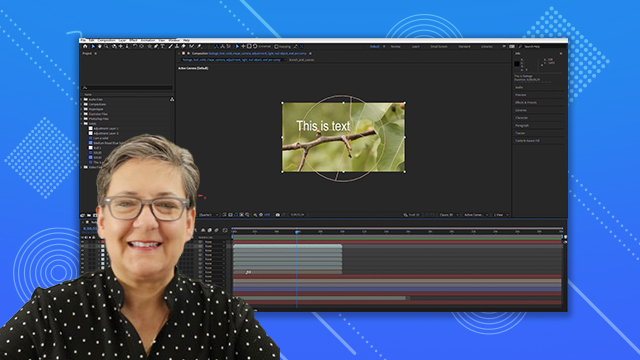
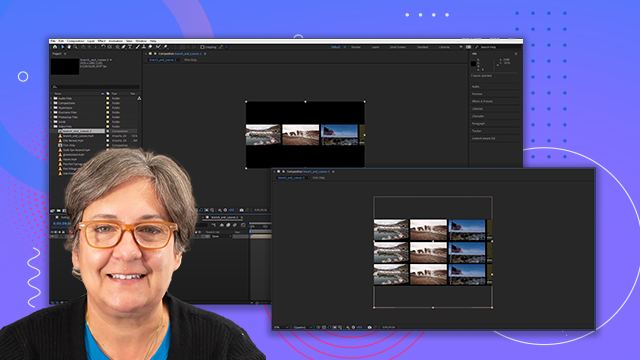
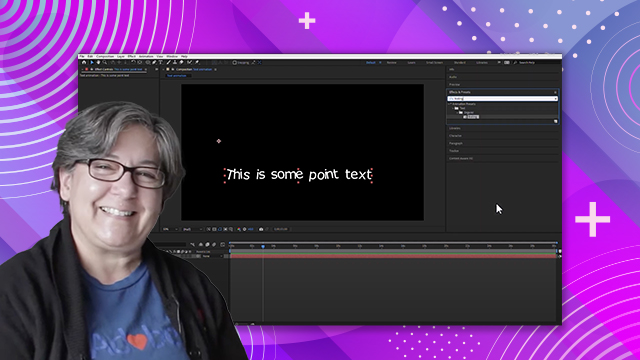
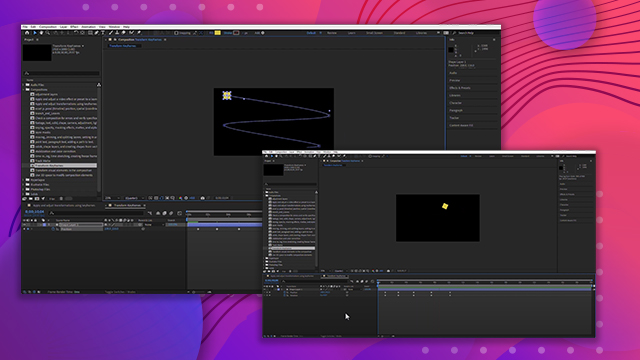
[00:00:00] so right now we've been working in the
[00:00:00] comp panel but we have not been working
[00:00:00] in the layer panel so if I double click
[00:00:00] any layer it opens in the layer panel
[00:00:00] this is important not just for the test
[00:00:00] for your work around I want you to make
[00:00:00] sure that you read the name of the panel
[00:00:00] see this one is comp composition this
[00:00:00] one is layer it says layer this looks
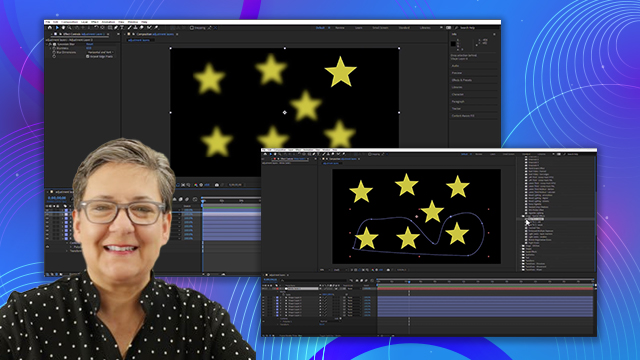
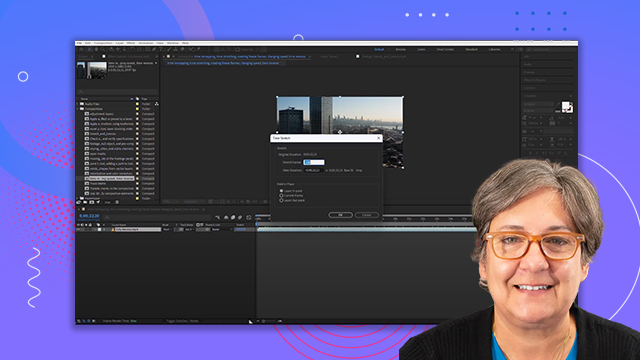
[00:00:00] different it has other options in here
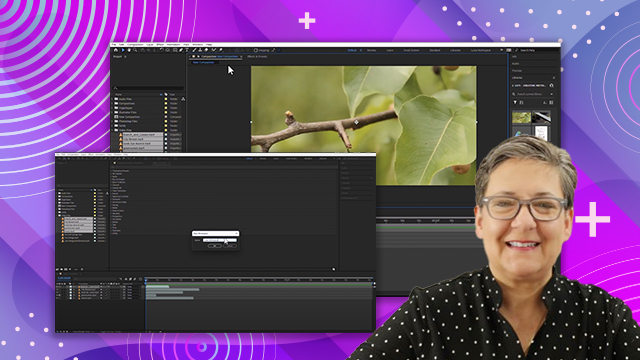
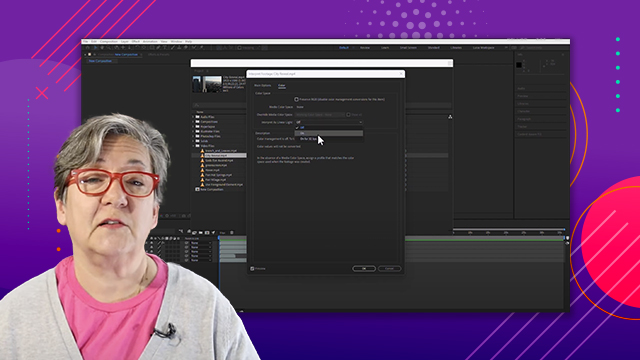
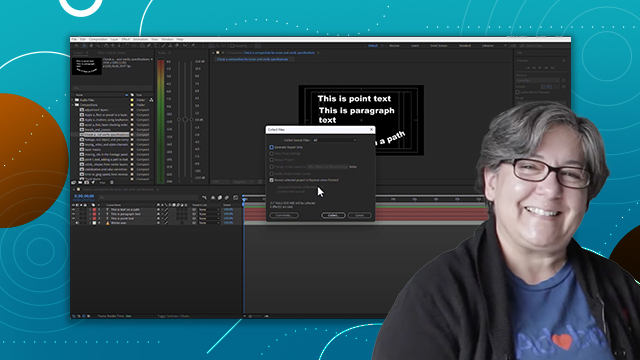
[00:00:00] like if I want to say track something
[00:00:00] here so I can right click this go to
[00:00:00] create I'm sorry track and stabilize
[00:00:00] track camera it's going to give me a
[00:00:00] warning it's going to say hey you can't
[00:00:00] do that in here you have to do it in the
[00:00:00] com panel right so if you ever get
[00:00:00] messages like that and you just go hey
[00:00:00] what's happening here right what's going
[00:00:00] on here then you know that it is that
[00:00:00] you're in the wrong panel so layer says
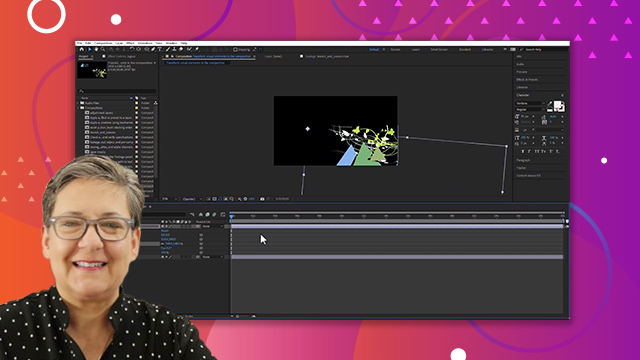
[00:00:00] layer here composition here and as soon
[00:00:00] as I am the comp yes the tracking starts
[00:00:00] happening blah blah blah blah if you
[00:00:00] want to delete effects say from all of
[00:00:00] your Clips at the same time select them
[00:00:00] all press the letter e you can click and
[00:00:00] drag like that again or you can just
[00:00:00] click on the individual effects and now
[00:00:00] you can delete them from the layers all
[00:00:00] right so there are ways for you to
[00:00:00] delete these effects a little bit you
[00:00:00] know quicker and all of that neither
[00:00:00] here nor there we're just preparing you
[00:00:00] for the test if you need to add an
[00:00:00] effect to a layer on the test I highly
[00:00:00] recommend that you go to the effects and
[00:00:00] presets panel you search for that effect
[00:00:00] make sure that you are adding the
[00:00:00] correct effect whatever that happens to
[00:00:00] be a gaussian blur and RGB hsl it
[00:00:00] doesn't matter search for it apply it to
[00:00:00] the layer in question and then change
[00:00:00] the settings to whatever you need to do
[00:00:00] in the effect controls panel that's
[00:00:00] going to be the easiest way to do that
[00:00:00] if you find yourself unable to track and
[00:00:00] stabilize or to do whatever it is make
[00:00:00] sure that you know which panel you are
[00:00:00] on if you are in the composition panel
[00:00:00] it's going to look a certain way and
[00:00:00] more important is going to say
[00:00:00] composition to the left of the name if
[00:00:00] you're in the layer panel it's going to
[00:00:00] look different see this this time ruler
[00:00:00] here that didn't exist on the other
[00:00:00] panel and most importantly is going to
[00:00:00] say layer to the left of its name all
[00:00:00] right
[00:00:00] so this brings us to the end of this
[00:00:00] video thank you for watching and see you
[00:00:00] on the next video
[00:00:00] [Music]
[00:00:00] thank you


 AdChoice