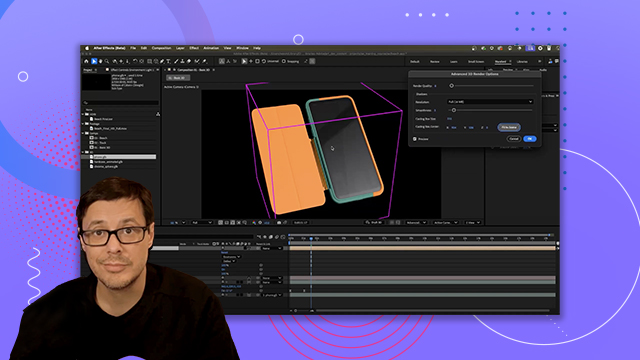
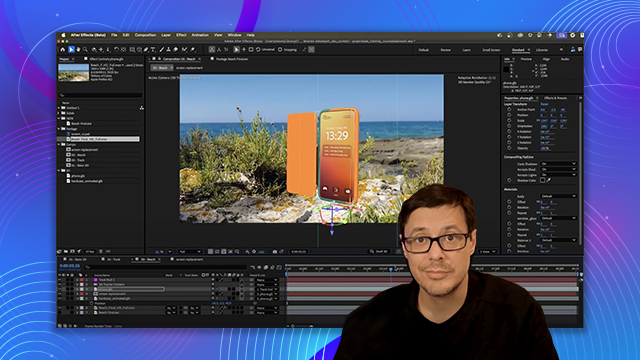
[00:00:00] So now let's finish off this scene by
[00:00:02] adding a depth of field effect. So what
[00:00:05] I'm going to do is take our beach comp
[00:00:07] and I'm just going to nest that into a
[00:00:09] new comp. And I'm going to come over
[00:00:11] here to my effects and presets. And
[00:00:14] under 3D channel, there's an option here
[00:00:16] for 3D channel extract. So we'll apply
[00:00:18] this 3D channel extract. And what this
[00:00:21] will do if I you can see it here if I
[00:00:22] start to adjust this black point is that
[00:00:25] it will actually create depth
[00:00:26] information from the 3D data in the
[00:00:28] scene. And so this is super powerful and
[00:00:31] really great to create a depth mask for
[00:00:33] various lens blur effects. So what I'll
[00:00:36] do is, you know, just set a value. The
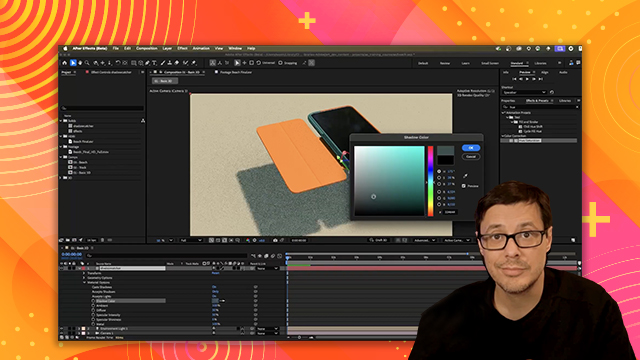
[00:00:38] other thing I like to do in this case is
[00:00:39] I'm just going to grab a levels here.
[00:00:41] And let's apply the levels. And I'm just
[00:00:44] going to make a quick adjustment here to
[00:00:46] the levels to create here basically a
[00:00:49] depth map that is focusing on the phone.
[00:00:52] Now my shadow super noisy. Again, I
[00:00:55] haven't increased the quality of my
[00:00:57] shadows at this time, so we'll worry
[00:00:58] about that on the very last step. Okay,
[00:01:01] so next thing I want to do in this case
[00:01:03] is h take care of the background. Now,
[00:01:06] the only 3D object I have in my scene
[00:01:08] was the shadow catcher and the phone.
[00:01:11] So, I need to kind of fake a background
[00:01:13] in this case. And what I'll do is just
[00:01:15] come over and create a solid. And I'm
[00:01:18] just going to call this background.
[00:01:20] And let's look in our effects and
[00:01:24] presets for a gradient ramp. And we're
[00:01:28] going to apply this.
[00:01:30] And now I'm just going to play around
[00:01:31] with these values a little bit here. So
[00:01:34] let's grab something like this.
[00:01:37] And we're going to set the the blending
[00:01:39] mode here to add. So now it's just a
[00:01:43] matter of adjusting these values a
[00:01:44] little bit. So let's get something maybe
[00:01:47] close to here. Let's actually do this.
[00:01:50] And I said, just couple little quick
[00:01:52] adjustments. I think this is going to
[00:01:55] work.
[00:01:56] Uh, there we go. All right. So, very
[00:01:59] quick and dirty, we have a depth mat.
[00:02:02] So, with these two layers selected, I'm
[00:02:04] just going to pre-ompose these two guys.
[00:02:08] And we're going to call this depth. And
[00:02:10] we're going to move all the attributes
[00:02:11] into a new composition. And we'll click
[00:02:14] okay. All right. So, here we have our
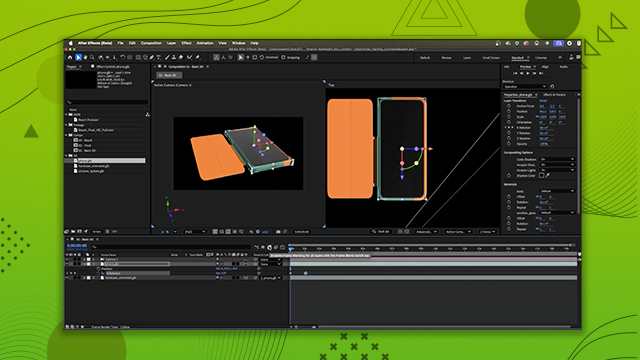
[00:02:17] depth. Let's go back to our project. And
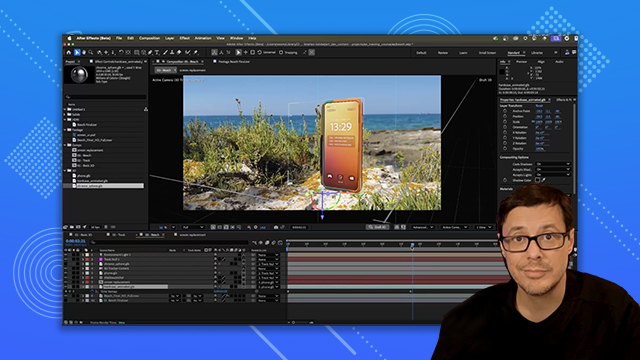
[00:02:19] I'm going to take here my beach and
[00:02:21] bring this into the top layer. Okay. So,
[00:02:25] with the beach layer selected, let's
[00:02:27] come over and grab a camera lens blur
[00:02:30] effect and apply that. Now, for the blur
[00:02:34] map, we want to choose that new depth
[00:02:36] pass that we just created. And I'll just
[00:02:38] increase this blur radius just a little
[00:02:40] bit. So, we'll get something like that.
[00:02:42] You can see how the depth effect is now
[00:02:44] starting to work. And we can just now
[00:02:46] play around with the focal distance. So,
[00:02:48] we'll just make a quick adjustment here
[00:02:50] to where we have our background blurred
[00:02:53] and that foreground, which is going to
[00:02:55] be that foreground rock element and our
[00:02:57] phone pretty much in focus. It's a it's
[00:03:00] a little intense right now. So, let's
[00:03:02] just back off that blur radius. Again,
[00:03:04] just a little bit of a subtle effect is
[00:03:06] all we're looking for. And there we go.
[00:03:08] Quick depth of field effect using the 3D
[00:03:11] channel extract to pull that depth
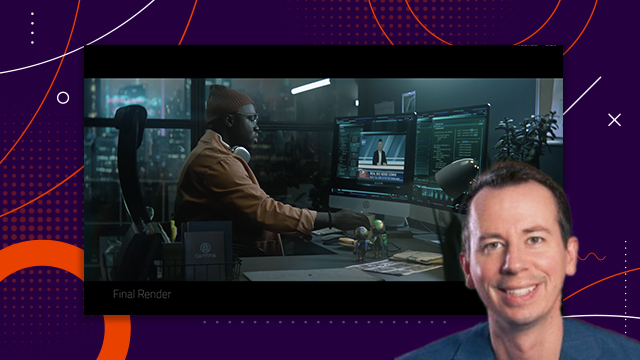
[00:03:13] information from our 3D data. Here's a
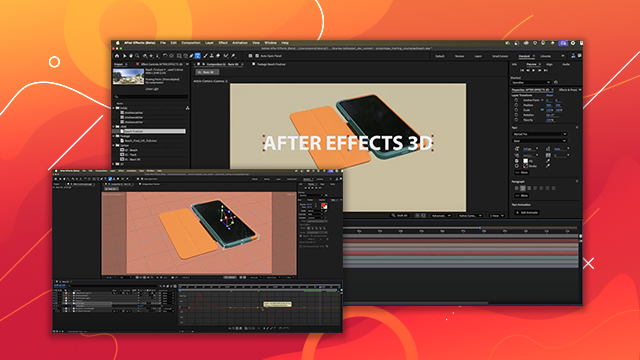
[00:03:15] final render. I've added some simple
[00:03:17] text and some color grading. So, I've
[00:03:19] hope you've enjoyed this video and
[00:03:20] learned a lot. There's so much you can
[00:03:22] do with 3D and After Effects and the
[00:03:23] feature is constantly improving. Thanks
[00:03:26] a lot for watching and I'll see you next
[00:03:27] time.


 AdChoice