
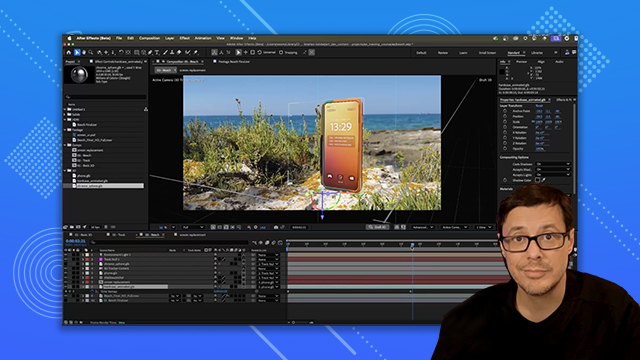
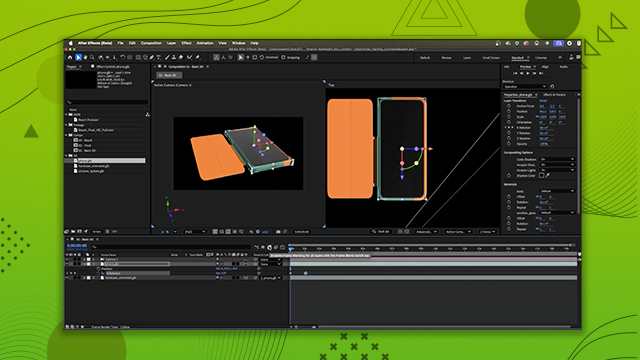
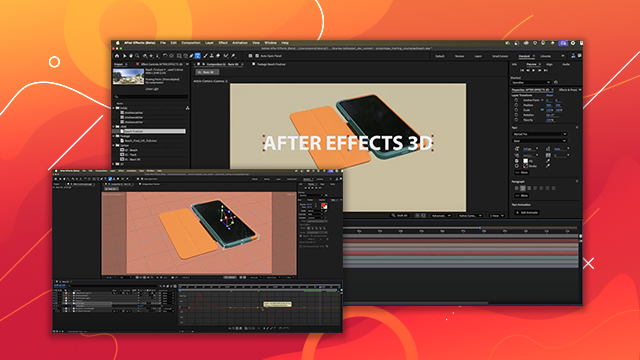
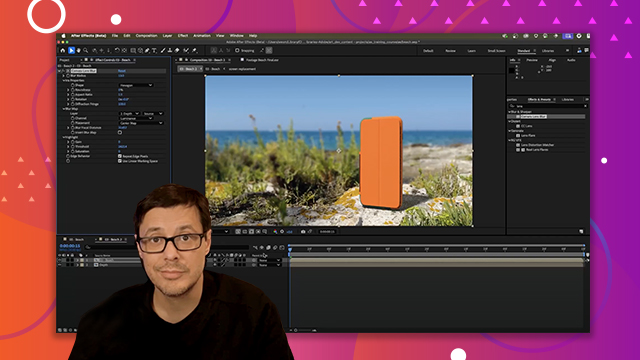
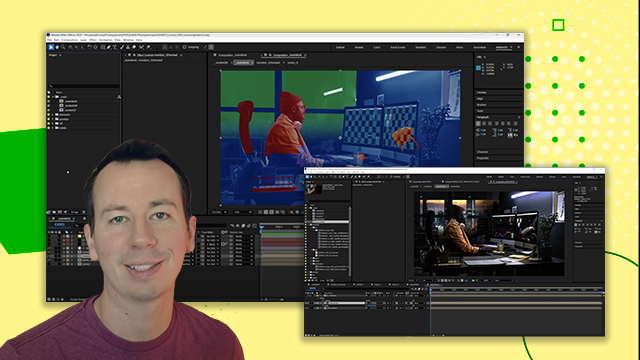
Working with Tracked Footage
Explore techniques for integrating 3D elements with video by using motion tracking.
This summary is AI generated
Learning Outcomes:
- Set origin point using 3D camera tracker
- Parent 3D objects to track null
- Adjust anchor points for proper rotation
Level: Advanced
Skills you'll gain:
After Effects, 3D tracking, Object parenting, Anchor point adjustment
Key Insights
- Use the 3D camera tracker for scene integration.
- Lasso select track points to set origin accurately.
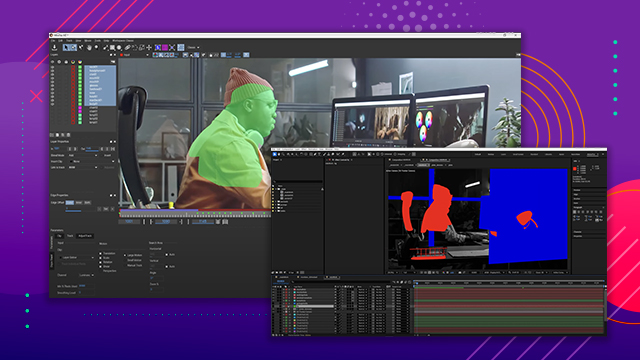
- Create a null object for easier 3D object management.
- Adjust anchor points in After Effects for better control.
- Utilize draft mode to see all elements clearly.
- Parent objects to track null for synchronized movement.
- Scale and position 3D objects for realistic placement.
- Check alignment in multiple views for accuracy.


 AdChoice