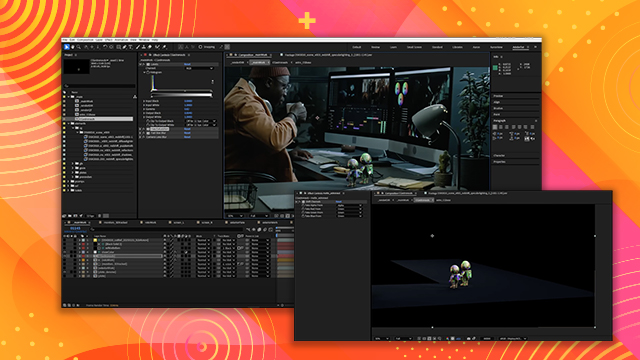
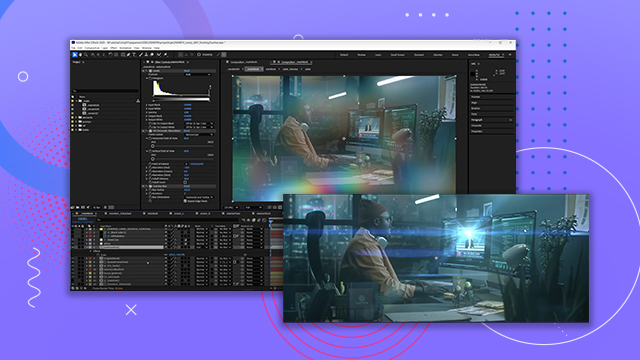
Roto Overview
Learn how to use Mocha for your roto work to track smaller pieces in your composition.
This summary is AI generated
Learning Outcomes:
- Use Mocha for efficient rotoing
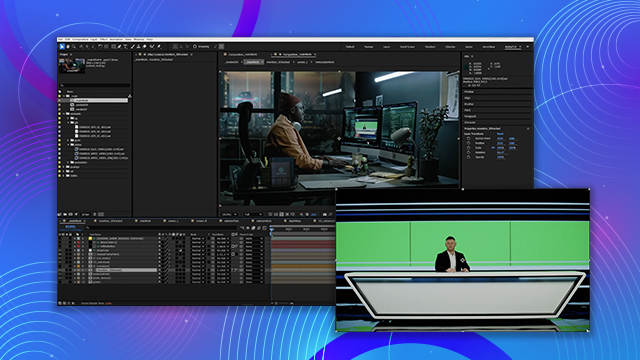
- Create masks for After Effects layers
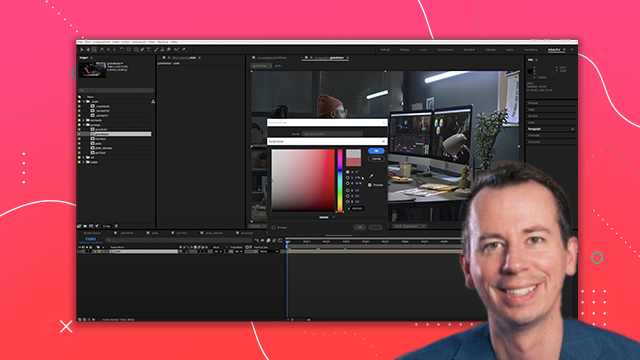
- Organize roto elements with color coding
Level: Advanced
Skills you'll gain:
Roto, Mocha, After Effects, Masking
Key Insights
- Track smaller pieces for better accuracy in Mocha.
- Disable completed layers to optimize system performance.
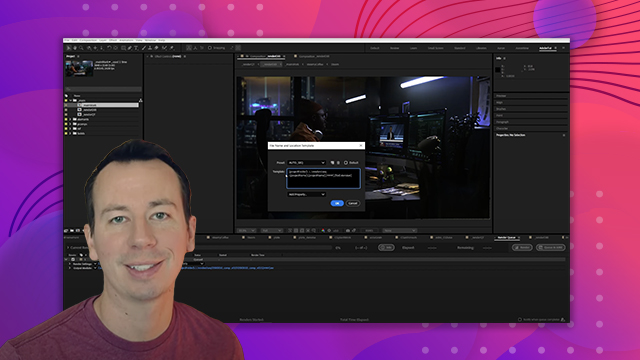
- Generate AE masks for faster workflow.
- Match solid resolution with rotoed layer resolution.
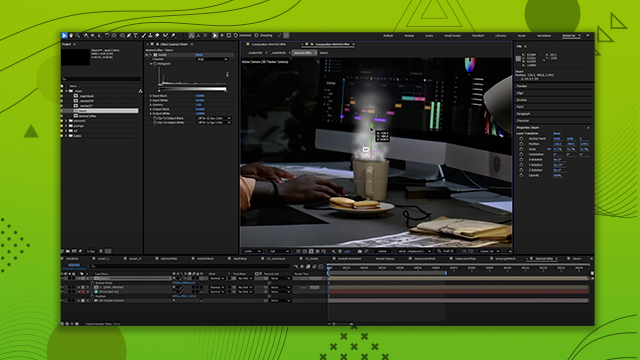
- Utilize 3D camera data for precise roto placement.
- Color code roto elements for easier identification.
- Separate roto elements into different color channels.
- Use 3D nulls to assist in positioning solids.


 AdChoice