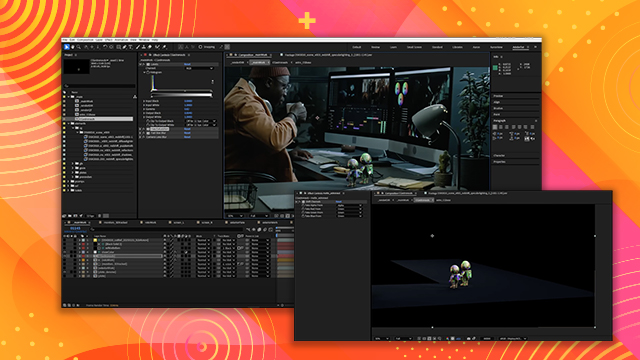
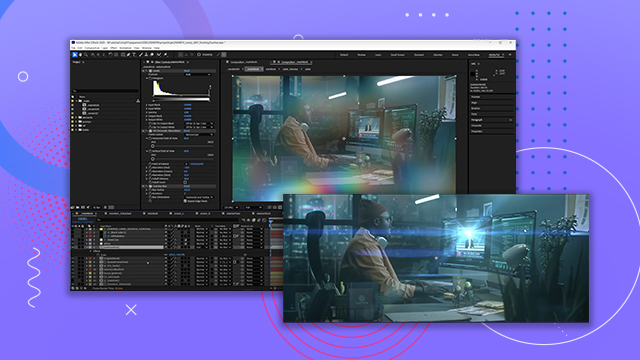
3D Tracking Overview
Learn how to quickly set up the shot with 3D Tracking using After Effects 3D Camera Tracker. You’ll also learn how to set up nulls, ground planes and solids to help with image placement.
This summary is AI generated
Learning Outcomes:
- Track 3D camera movements effectively.
- Clean up erroneous markers for better tracking.
- Use CC Power Pin for monitor placement.
Level: Advanced
Skills you'll gain:
After Effects, 3D Tracking, Camera, Compositing
Key Insights
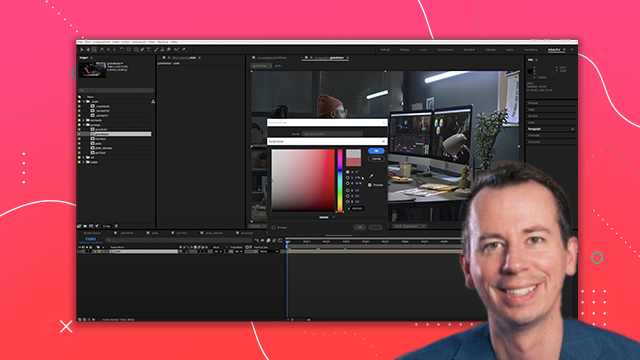
- Convert footage to sRGB for optimal tracking results.
- Increase marker size for better visibility.
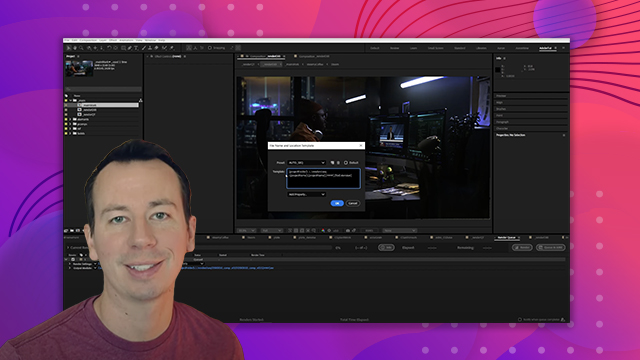
- Delete uncharacteristic markers to improve track accuracy.
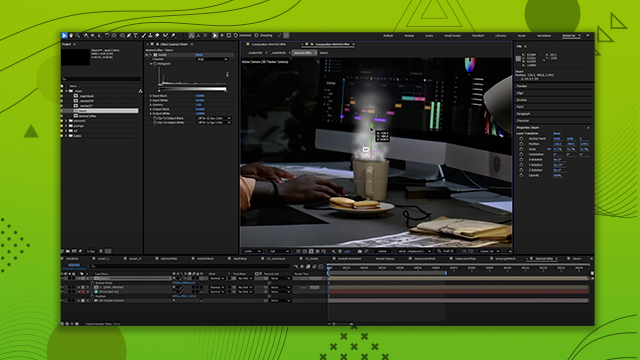
- Set the origin on a flat surface for stability.
- Use checkerboards on solids to review tracking.
- Check for jittery motion during playback.
- Limit the number of NLES to avoid UI lag.
- Scale the scene for better object visibility.
- Keyframe corner positions to maintain monitor alignment.


 AdChoice