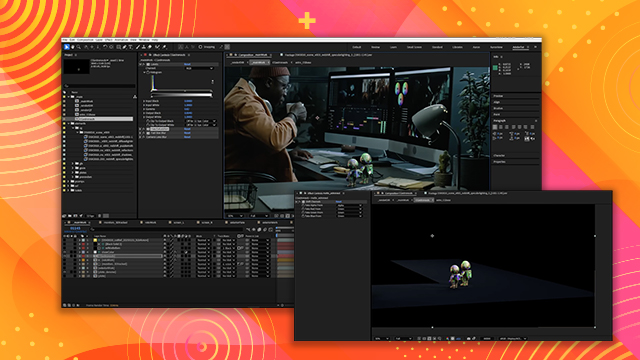
Setting Up Your Workspace
Learn how to set up your composition for the correct specs and organization.
This summary is AI generated
Learning Outcomes:
- Set up color management in After Effects
- Import and interpret footage correctly
- Apply adjustment layers for color correction
Level: Advanced
Skills you'll gain:
After Effects, Color Management, Compositing, Color Correction
Key Insights
- Use linear ASUS CG color for compositing.
- Switch to OCIO color management for better control.
- Ensure working color space matches production elements.
- Organize media with a structured folder system.
- Match comp frame numbers with production plates.
- Apply official show color using CDL and LUT.
- Convert color spaces accurately during the workflow.
- Toggle display color correction for final adjustments.
- Use reference clips to ensure color accuracy.
- Understand the importance of color space specifications.


 AdChoice