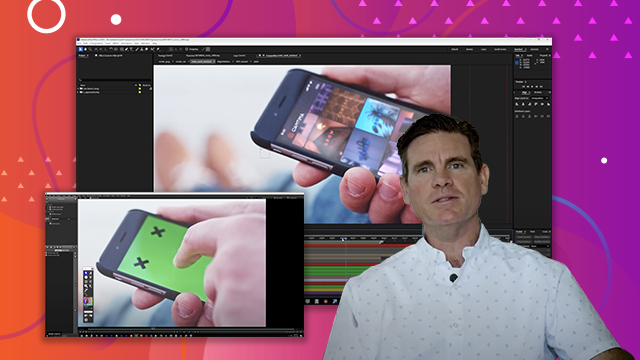
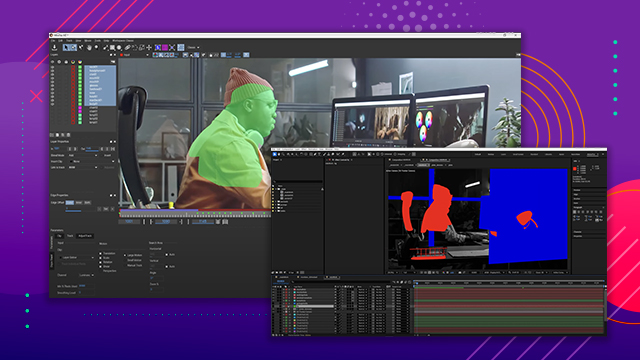
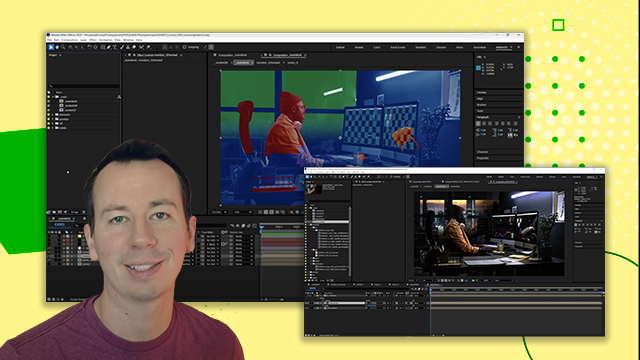
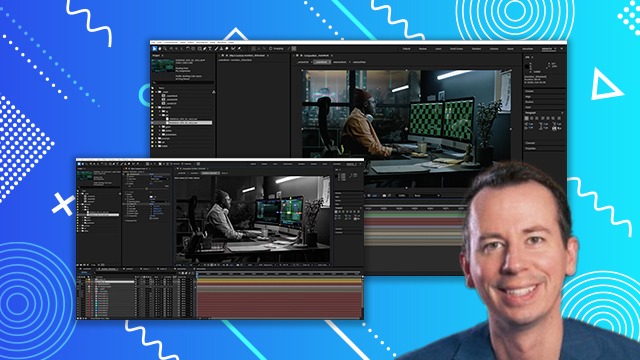
Intro & Tutorial Overview
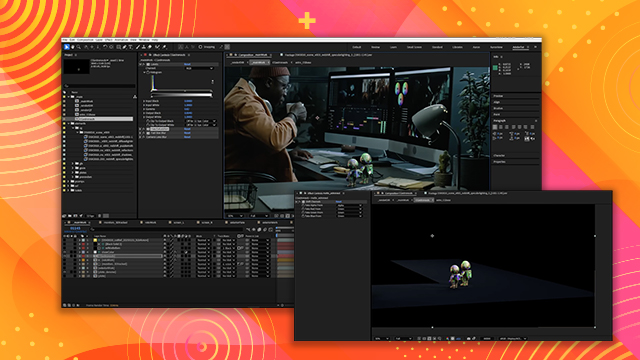
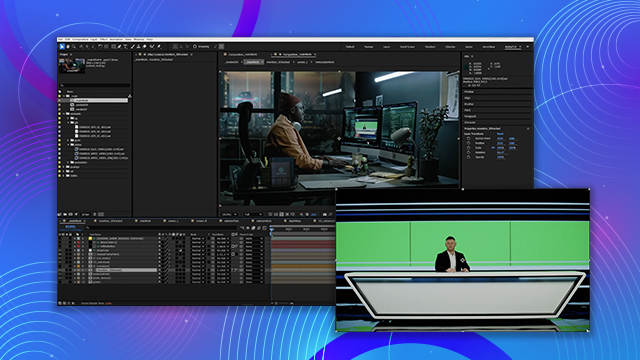
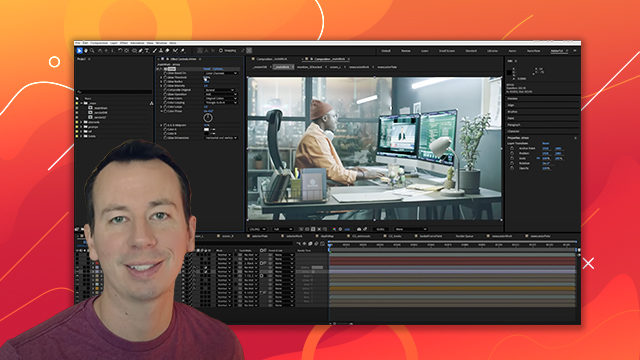
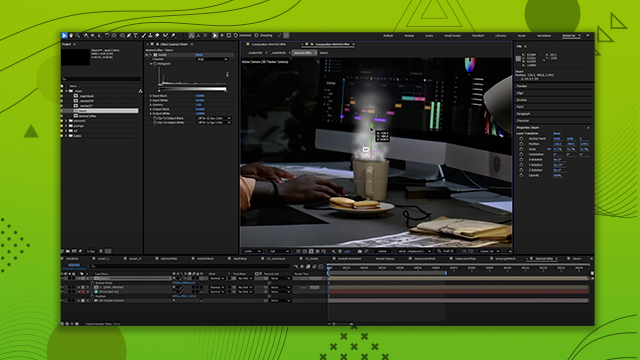
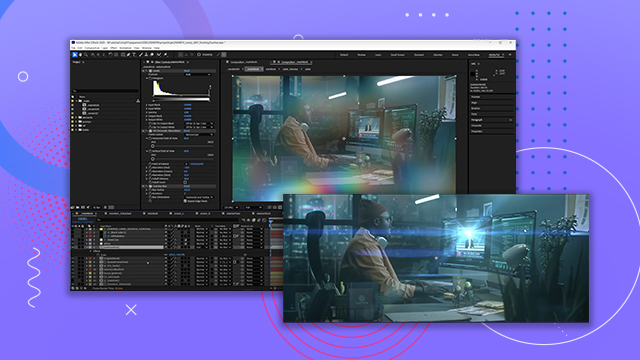
Aaron Eaton demonstrates a variety of techniques and tricks to composite a shot from start to finish without leaving After Effects. This chapter kicks off with the tutorial overview of what is covered in this two-hour course.
This summary is AI generated
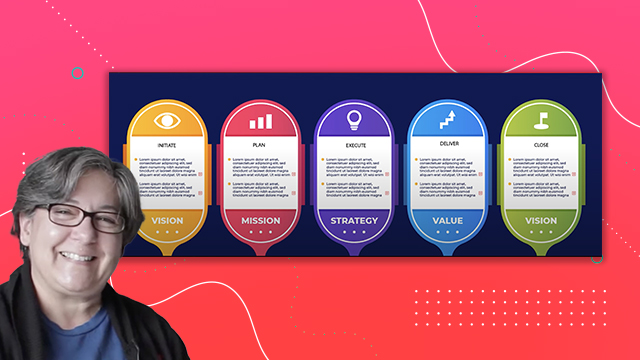
Learning Outcomes:
- Understand feature film compositing techniques
- Apply 3D tracking and roto techniques
- Layer set extension elements effectively
Level: Advanced
Skills you'll gain:
After Effects, Compositing, 3D Tracking, Roto
Key Insights
- Use editorial reference clips for bidding and planning.
- Test color pipeline with reference footage.
- Ensure animated elements are timed correctly.
- Incorporate 3D objects to fix continuity errors.
- Add foreground elements for depth and atmosphere.
- Utilize pre-installed effects in Adobe After Effects.
- Speed up workflows with free plugins like FX console.
- Use Neat Video Reduce Noise for plate degraining.

 AdChoice