
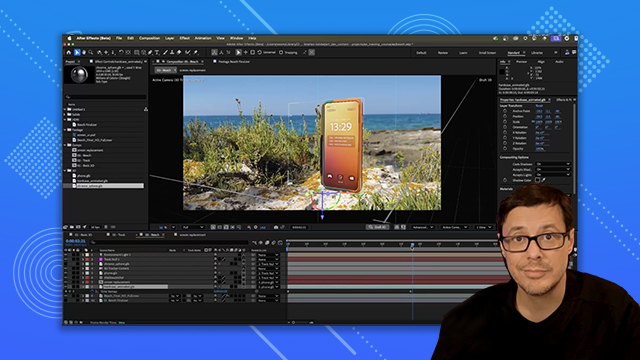
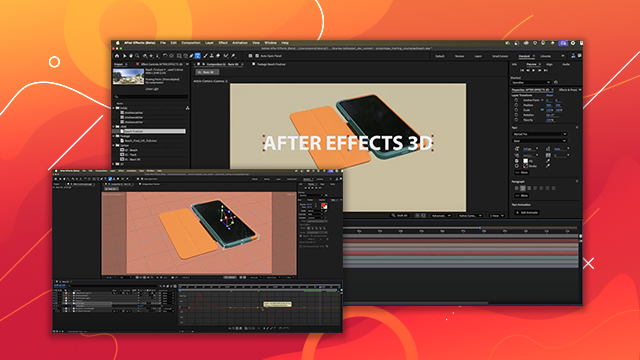
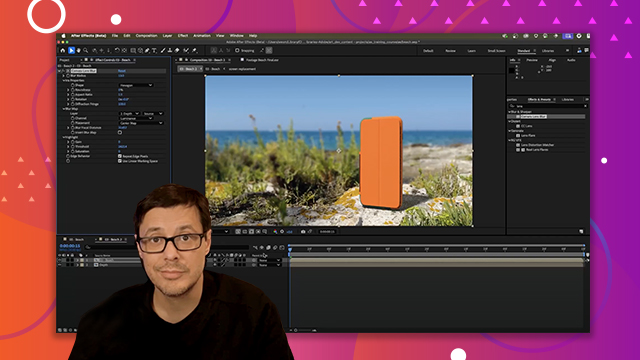
Shadows and Realism
Explore techniques for grounding 3D objects in a scene with realistic shadows.
This summary is AI generated
Learning Outcomes:
- Create a shadow catcher in After Effects
- Adjust shadow settings for realistic effects
- Change background color for shadow visibility
Level: Advanced
Skills you'll gain:
After Effects, 3D, Shadow, Composition
Key Insights
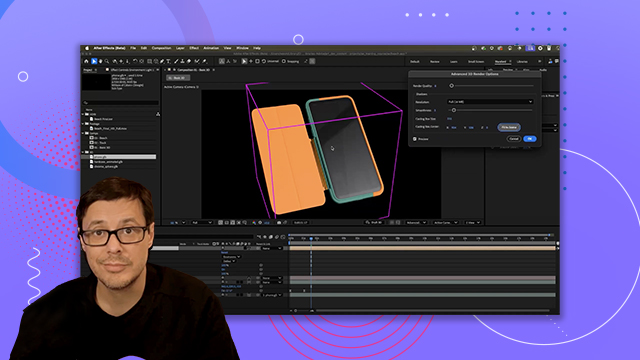
- Use a new solid layer as a shadow catcher.
- Enable 3D layer for shadow interaction.
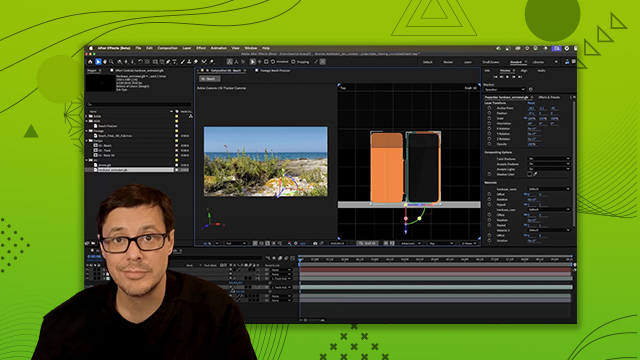
- Rotate and position the shadow catcher accurately.
- Adjust material options to accept only shadows.
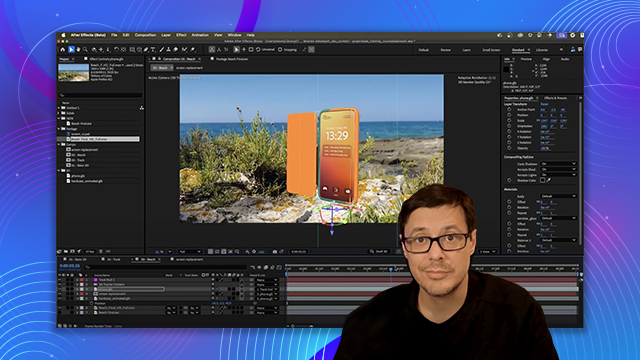
- Change composition background color for better shadow display.
- Tint shadows for enhanced visual effects.
- Utilize infinite environments for product renderings.
- Experiment with shadow color for subtle effects.


 AdChoice