
Introduction and Project Setup
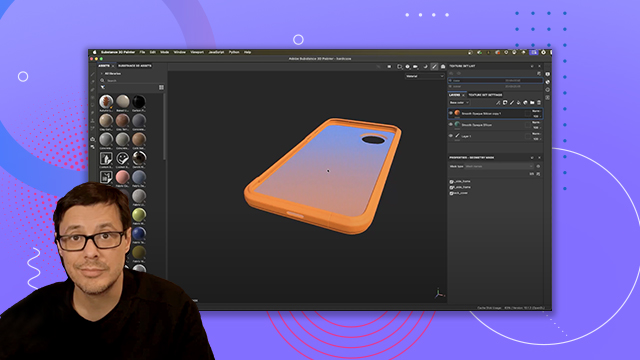
Overview of Substance Painter's workflow, UI, and initial project setup, introducing the essentials for 3D texturing workflows.
This summary is AI generated
Learning Outcomes:
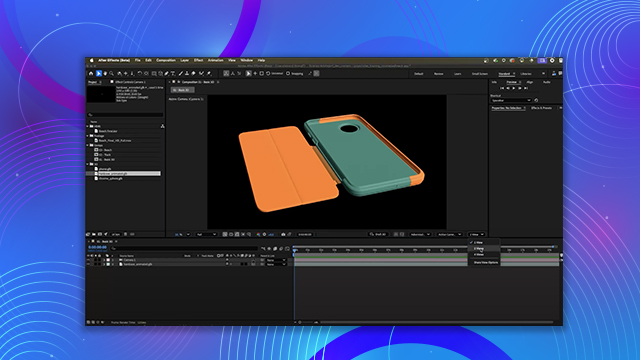
- Navigate the 3D view in Substance Painter.
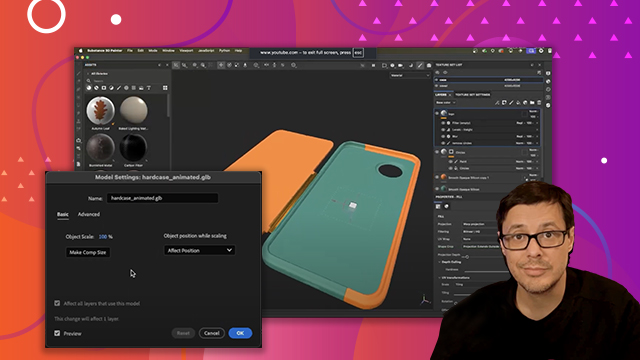
- Create a new project with a 3D model.
- Understand material and layer stack concepts.
Level: Advanced
Skills you'll gain:
Substance Painter, 3D Modeling, Texturing, Navigation
Key Insights
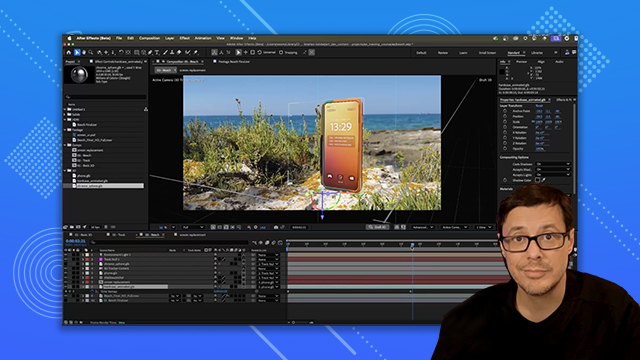
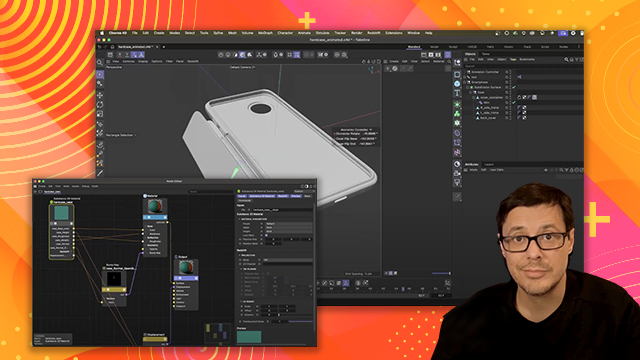
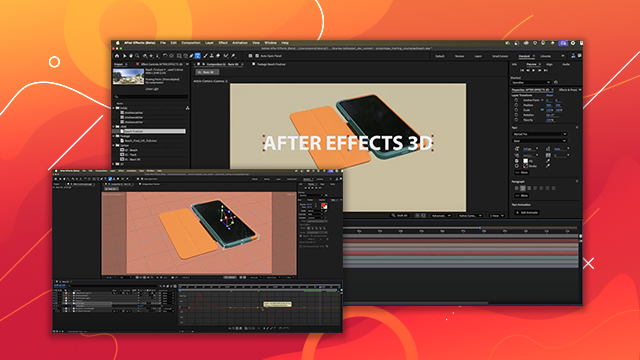
- Use Substance 3D Viewer to preview 3D models.
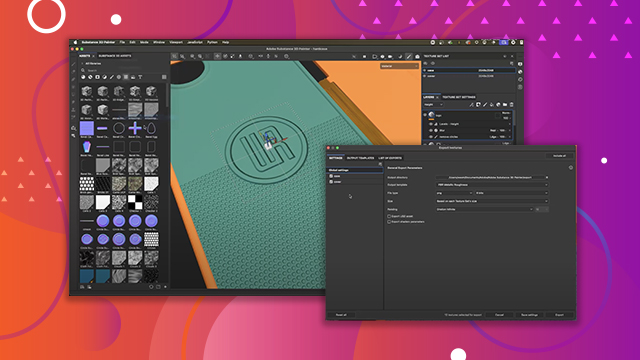
- Select the appropriate template for new projects.
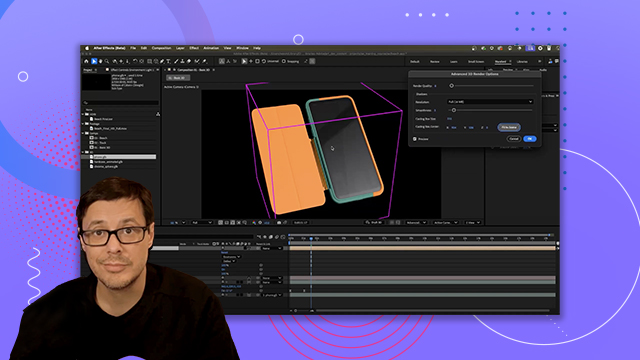
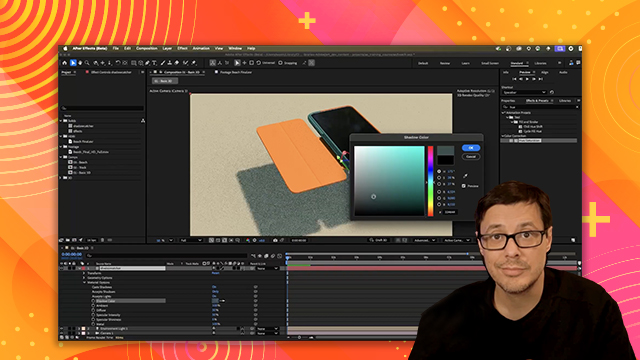
- Set document resolution for optimal performance.
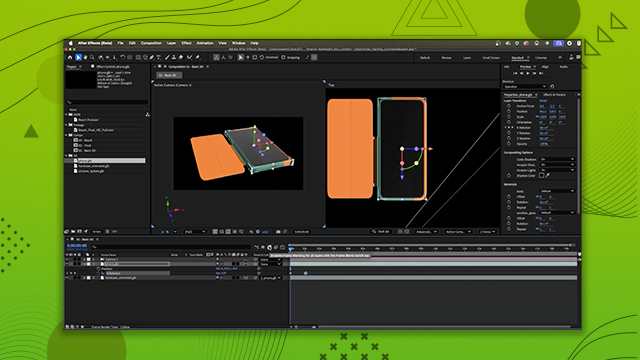
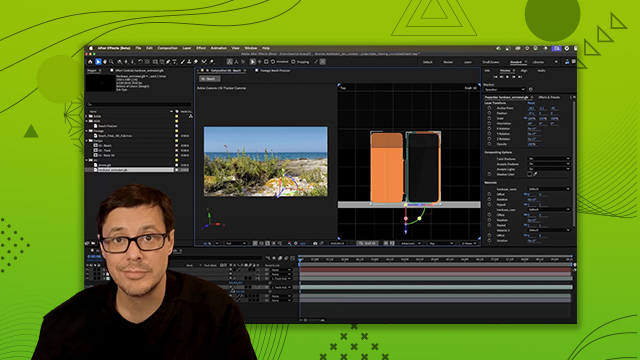
- Understand the importance of UV mapping.
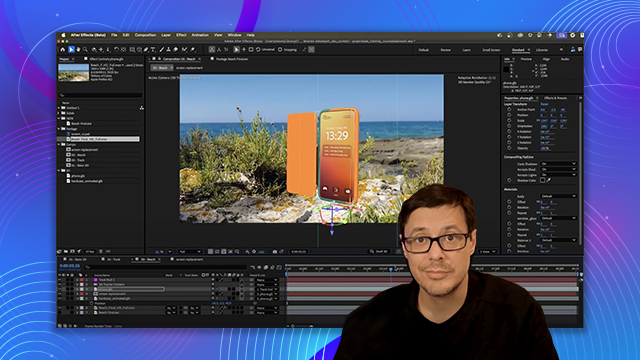
- Utilize the texture set list for material management.
- Employ non-destructive resolution independence in texturing.
- Learn navigation controls for 3D view manipulation.
- Ensure auto unwrap is disabled if UVs are pre-made.
- Use layer stacks for managing different materials.


 AdChoice