
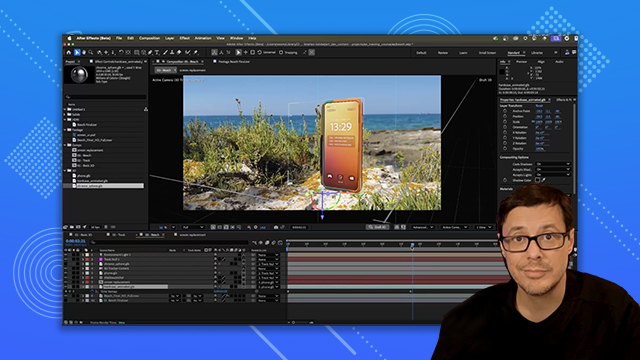
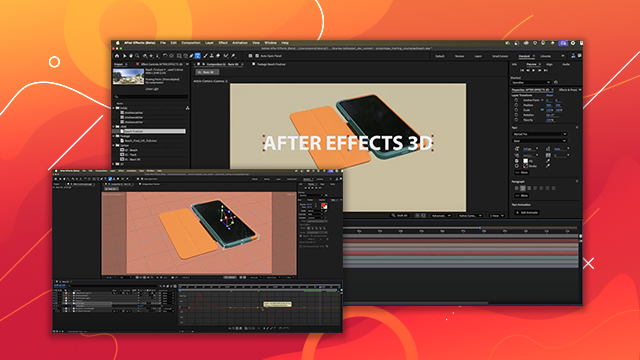
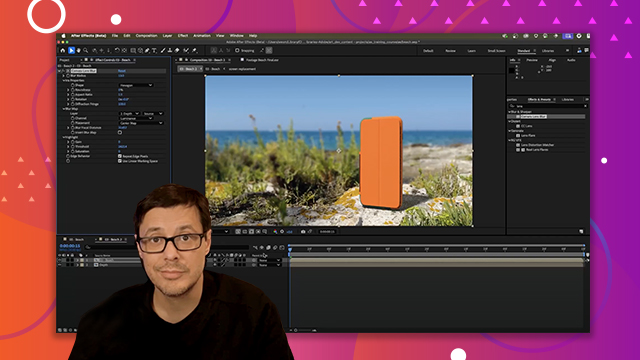
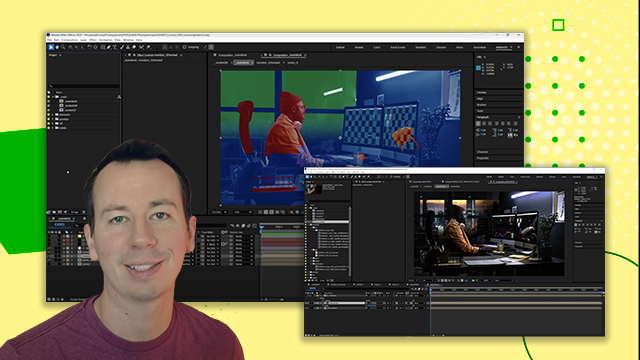
Screen Replacement
Learn how to replace screens in footage with custom content, blending it naturally into the scene using compositing tools.
This summary is AI generated
Learning Outcomes:
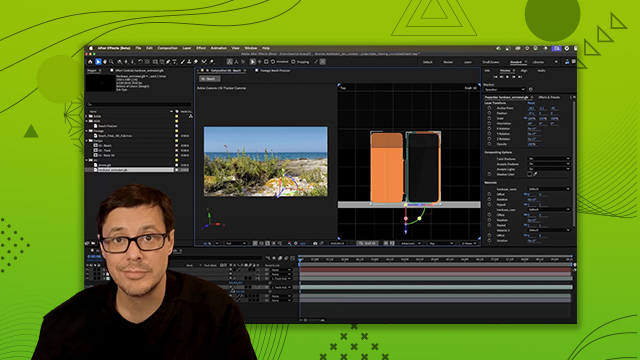
- Create a screen replacement in After Effects.
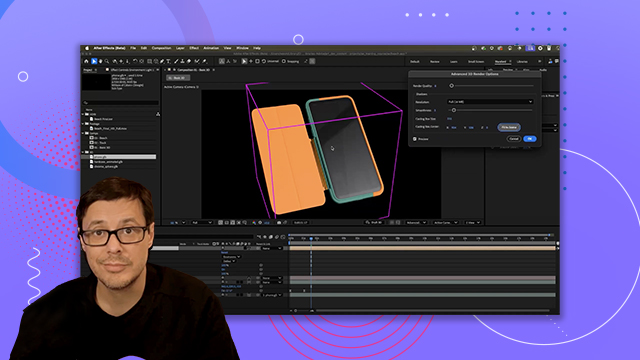
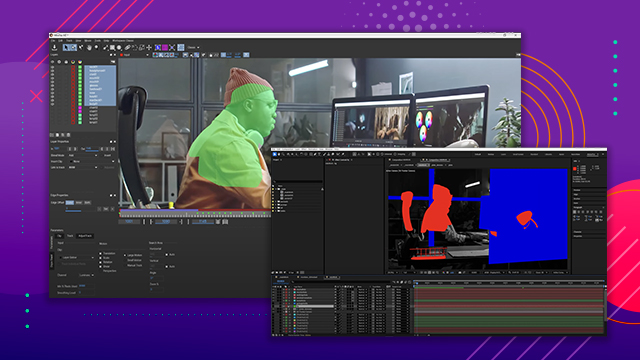
- Use 3D layers for realistic effects.
- Animate objects within a composition.
Level: Advanced
Skills you'll gain:
After Effects, 3D Animation, Masking, Lighting
Key Insights
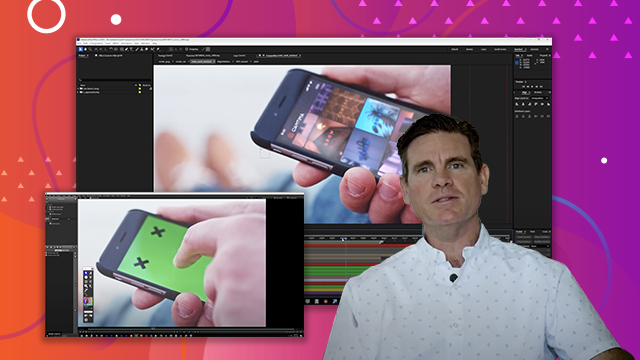
- Match the aspect ratio of the screen solid to the phone.
- Use the pen tool for precise masking.
- Pre-compose layers for better organization.
- Utilize essential graphics for easy graphic changes.
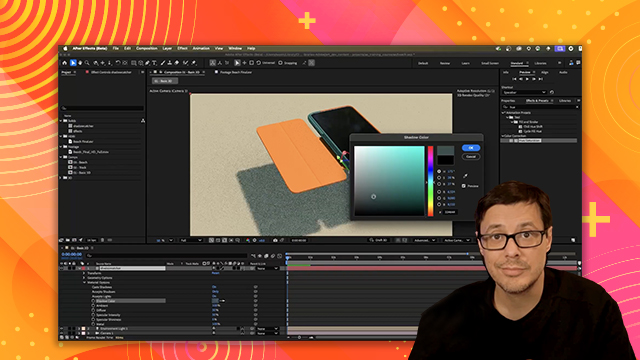
- Adjust lighting and shadows for realism.
- Parent layers to maintain relative positioning.
- Use time remapping for animation control.
- Experiment with blending modes for visual effects.
- Sample colors for shadows to match the background.


 AdChoice