
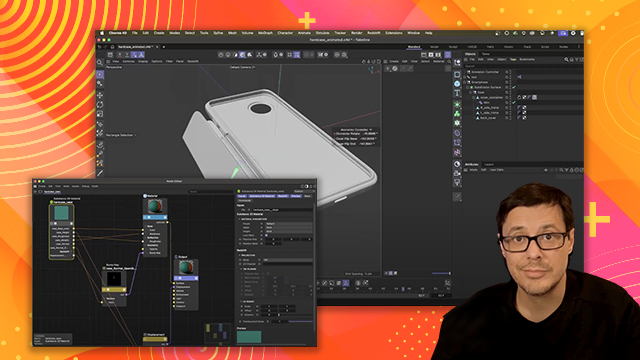
Working with Custom Materials
Building and refining custom texture effects using masks, selections, and layer operations to get precise material placement on 3D models
This summary is AI generated
Learning Outcomes:
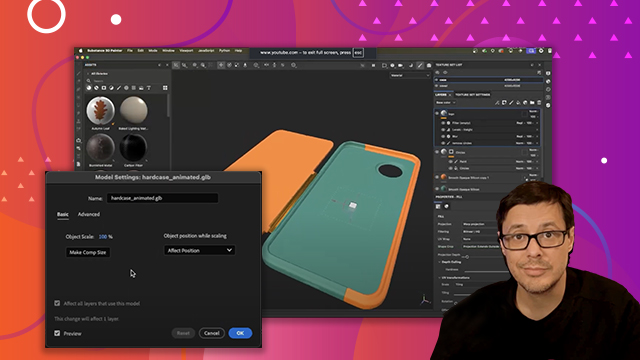
- Create a custom metal material from scratch
- Utilize layer masking techniques effectively
- Apply geometry masks for precise detailing
Level: Advanced
Skills you'll gain:
Substance Painter, Layer Masking, Material Creation, Texturing
Key Insights
- Use fill layers to define material properties.
- Adjust roughness for reflective surfaces.
- Understand layer stack processing order.
- Utilize view modes to manage blending channels.
- Employ paint effects for layer masking.
- Control brush properties for precise painting.
- Use polygon fill tool for accurate masking.
- Switch between black and white masks easily.
- Apply triplanar projection to reduce texture distortion.
- Create and manage color swatches for consistency.


 AdChoice