
Fundamentals of Applying Textures
Core texturing concepts including how to apply, manipulate, and visualize materials on 3D models using Painter's non- destructive layer workflow
This summary is AI generated
Learning Outcomes:
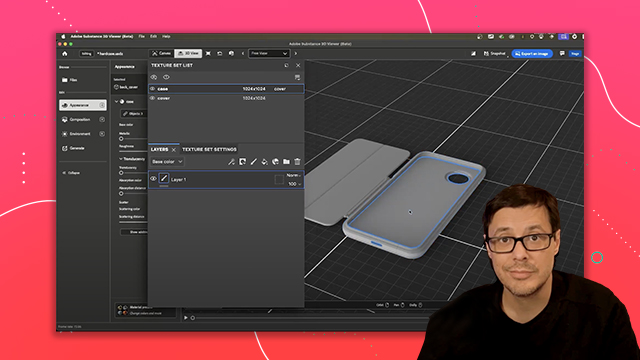
- Understand paintable and fill layers in Substance Painter.
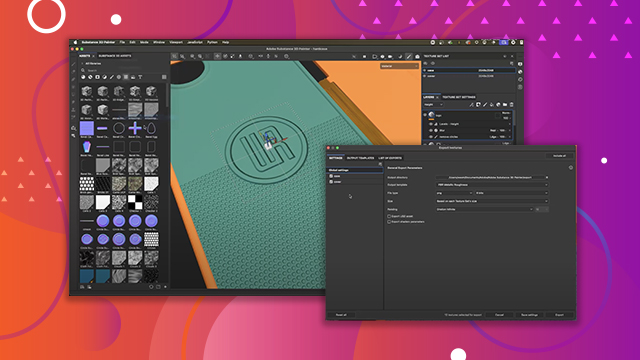
- Apply materials using the Substance 3D assets library.
- Manipulate brush settings for effective painting.
Level: Advanced
Skills you'll gain:
Substance Painter, Texturing, 3D Modeling, Material Application
Key Insights
- Differentiate between paintable layers and fill layers.
- Use the properties panel to adjust brush and material settings.
- Explore advanced features like UDIM for complex texturing.
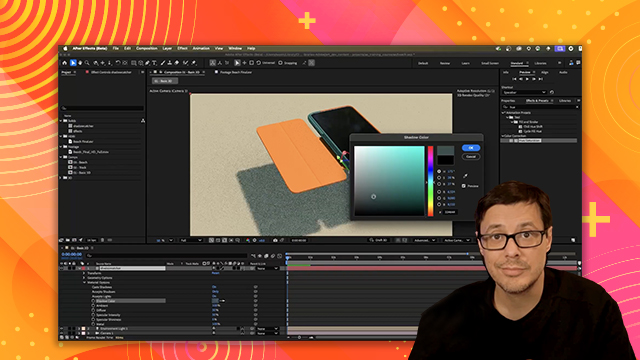
- Utilize the color picker to select colors from outside the application.
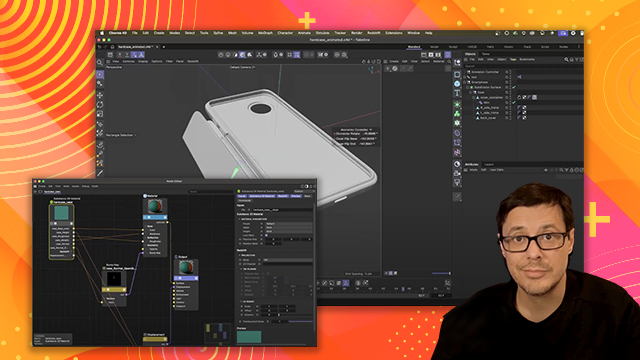
- Change material projection methods between UV and triplaner.
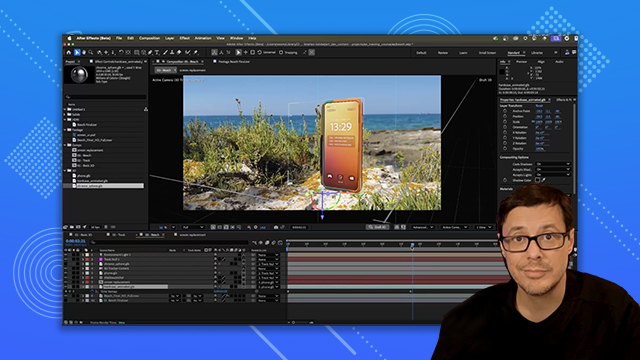
- Adjust lighting in the viewport to enhance material visibility.
- Use keyboard shortcuts for efficient brush size adjustments.
- Experiment with different brushes to achieve desired effects.
- Understand the importance of environment alignment for lighting.


 AdChoice