
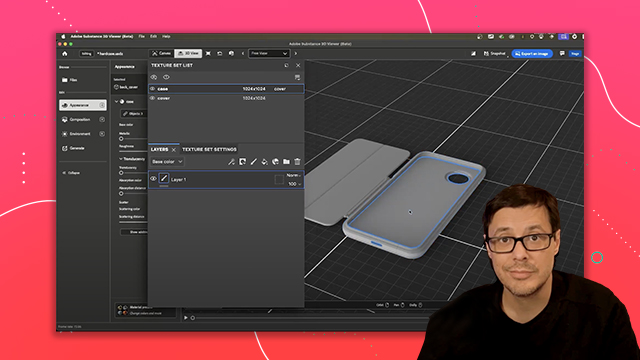
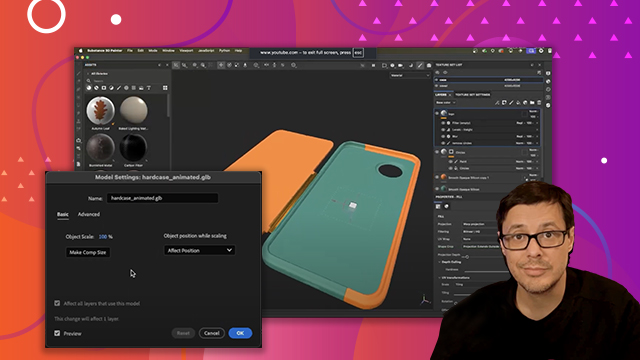
Advanced Texturing Techniques
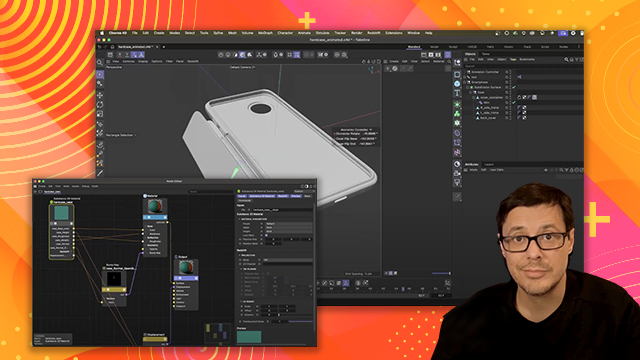
Creating complex details using procedural textures, projection options, and importing vector graphics from Adobe Illustrator
This summary is AI generated
Learning Outcomes:
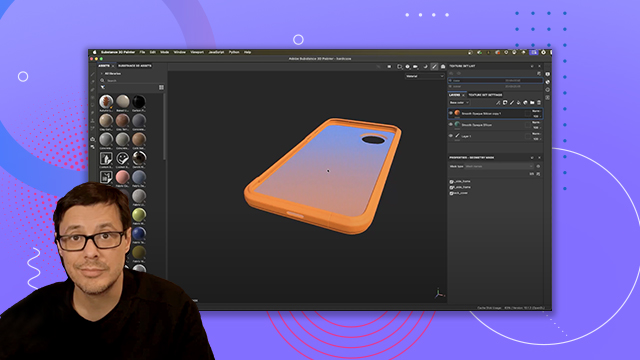
- Apply textures using Substance Painter
- Utilize layer masks for complex designs
- Adjust material properties for desired effects
Level: Advanced
Skills you'll gain:
Substance Painter, Texturing, Layering, Masking
Key Insights
- Use texture filters to find specific maps quickly.
- Drag and drop textures directly onto surfaces.
- Change projection modes for better texture application.
- Utilize keyboard shortcuts for efficiency in scaling and rotating.
- Adjust projection depth to control texture visibility.
- Add multiple layers for complex masking effects.
- Use paint effects to modify height information without overwriting layers.
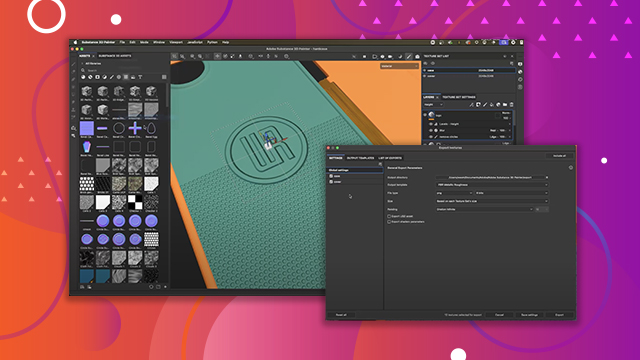
- Apply filters to enhance texture appearance.
- Utilize levels adjustments for precise control over effects.
- Import various file types seamlessly into Substance Painter.


 AdChoice