
Final Steps and Exporting
Notes on preparing and optimizing textures for use in After Effects and various 3D applications, including resolution management, export options, and techniques for optimizing textures
This summary is AI generated
Learning Outcomes:
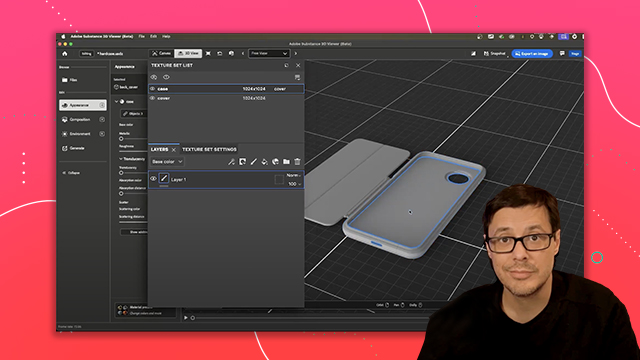
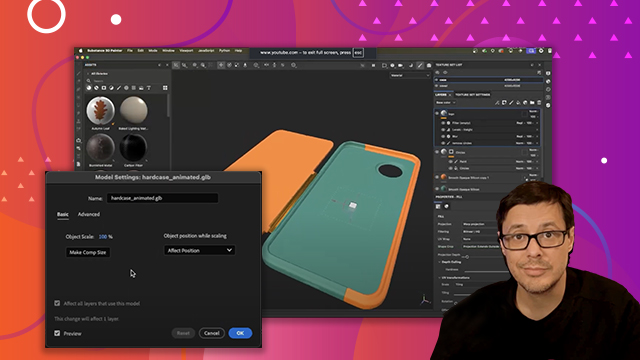
- Understand resolution settings in Substance Painter.
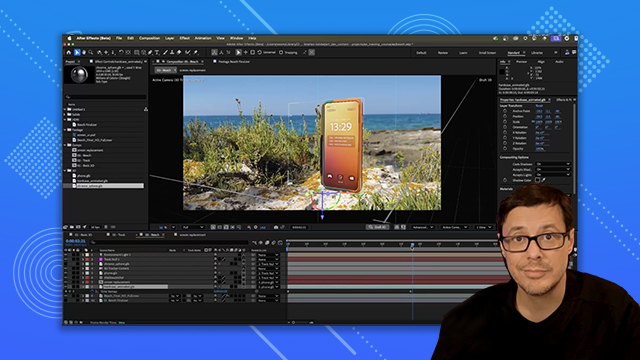
- Export textures efficiently for 3D applications.
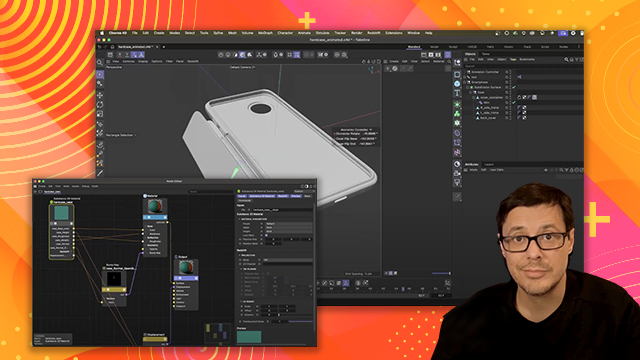
- Utilize vector graphics for scalable designs.
Level: Advanced
Skills you'll gain:
Substance Painter, Texturing, Resolution, Exporting
Key Insights
- Resolution can be adjusted without losing data in Substance Painter.
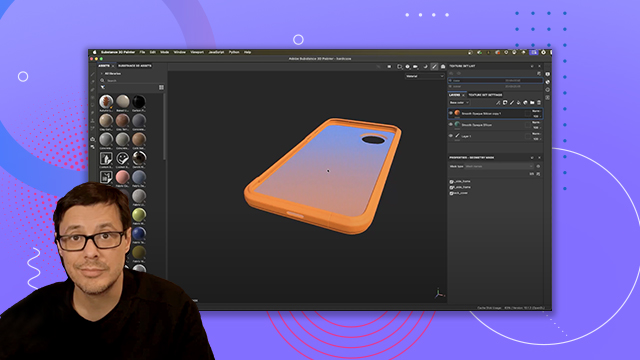
- Higher resolutions improve texture detail for close-up shots.
- Substance Painter maintains a history of changes for easy adjustments.
- Exporting textures can be customized based on project needs.
- Using vector graphics ensures quality when scaling textures.
- Padding settings help prevent visual artifacts in game engines.
- Substance Archive files simplify texture management in 3D applications.
- Working at lower resolutions can enhance viewport performance.
- Check resolution settings regularly to avoid surprises during export.
- Different file formats are available for various workflows.


 AdChoice