
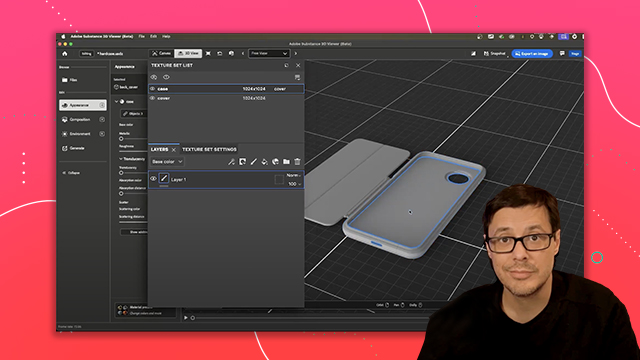
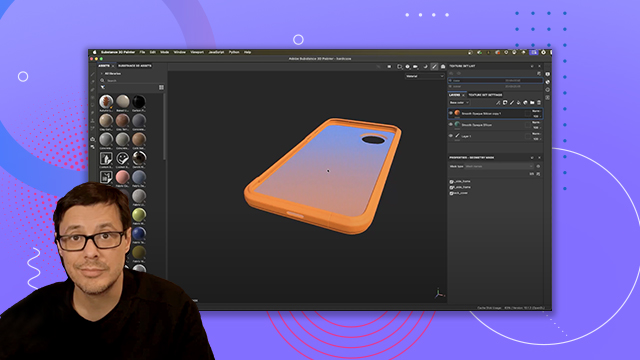
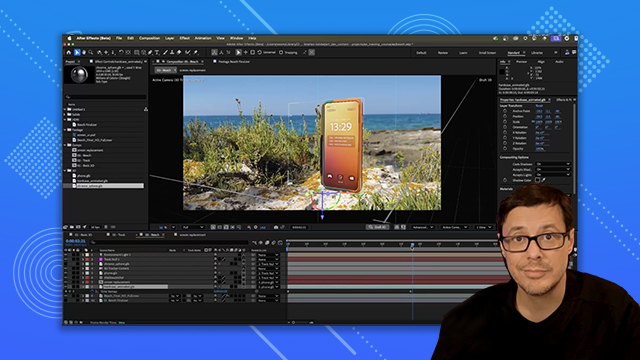
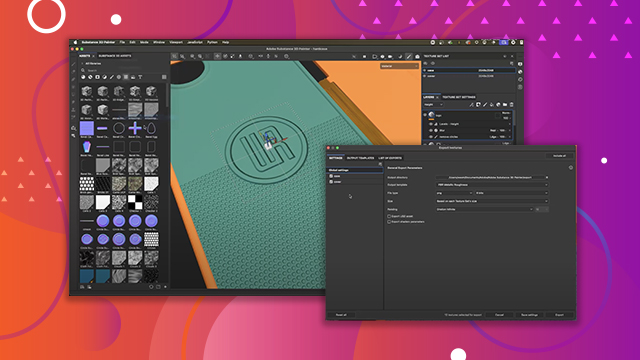
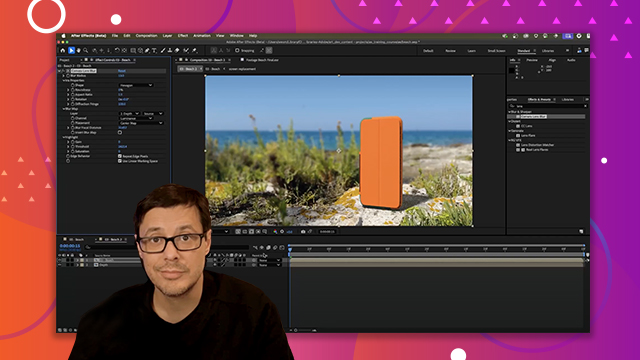
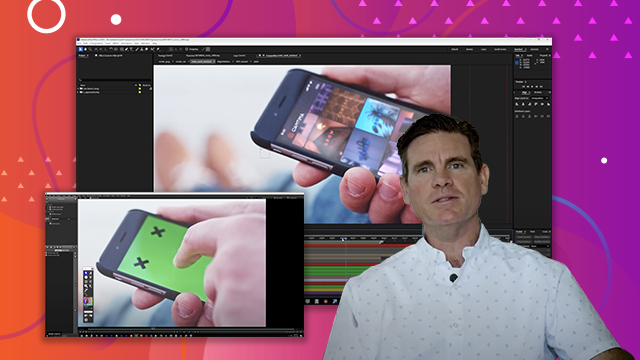
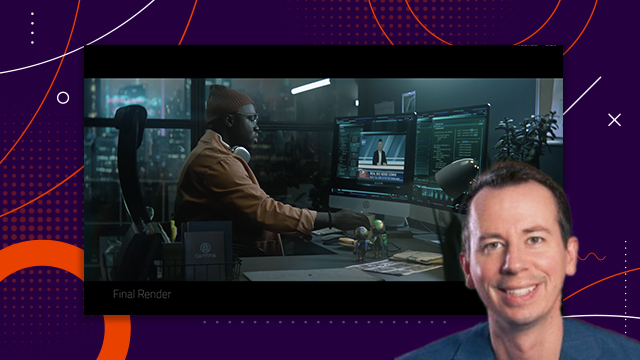
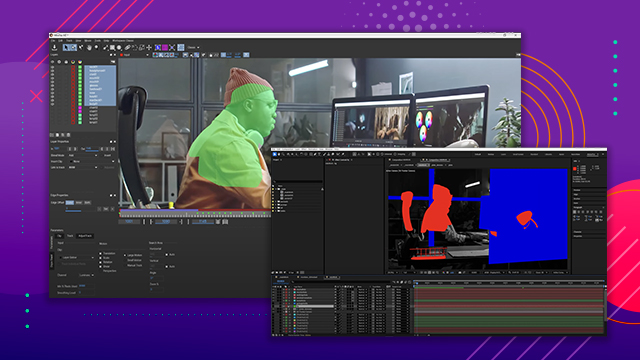
Advanced 3D Workflows
Learn how to combine 3D with real-world footage and managing complex projects.
This summary is AI generated
Learning Outcomes:
- Understand 3D bin functionality in After Effects
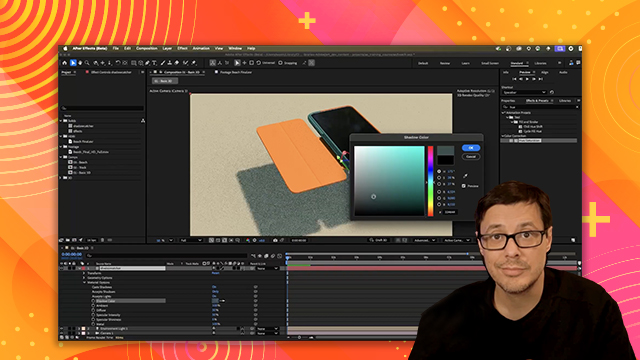
- Apply effects to 3D models using adjustment layers
- Utilize time remapping for embedded animations
Level: Advanced
Skills you'll gain:
After Effects, 3D Animation, Keyframing, Compositing
Key Insights
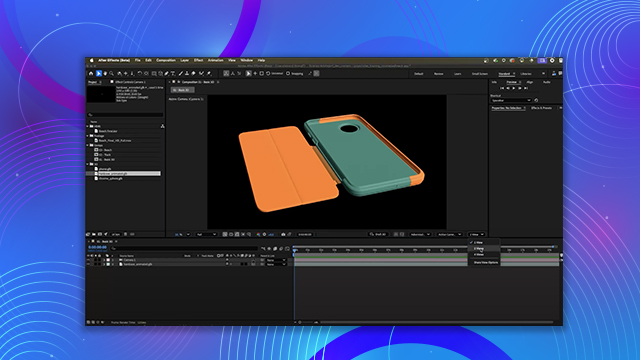
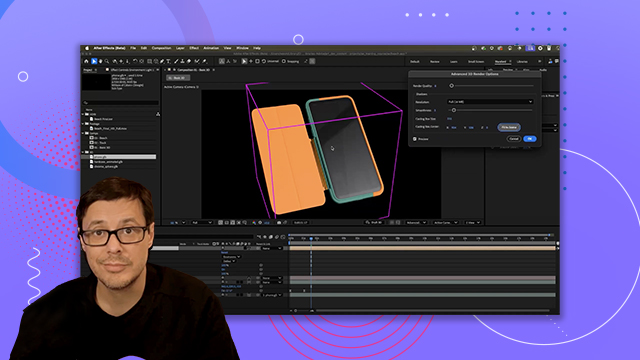
- 3D bins allow for compositing multiple 3D layers.
- 2D layers can break 3D bins, affecting shadow casting.
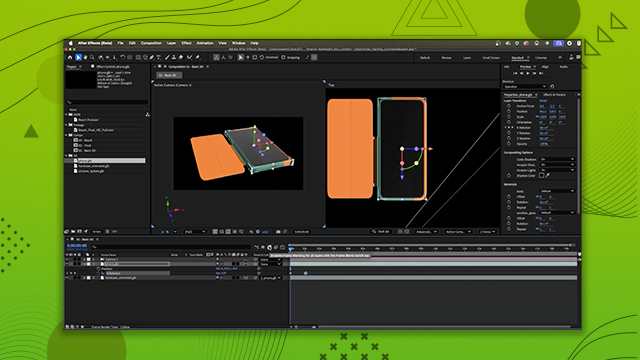
- Use adjustment layers to apply effects to 3D models.
- CC Composite is easier for blending 3D layers.
- Draft 3D mode speeds up animation previews.
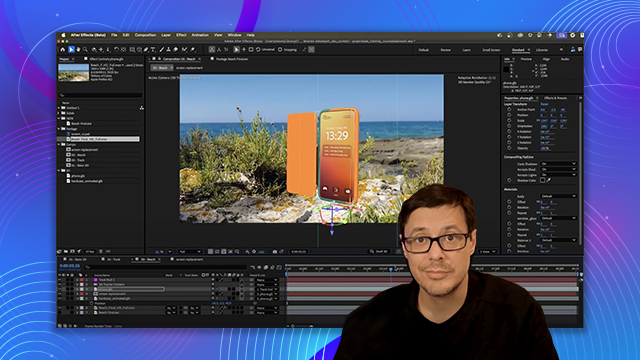
- Time remapping enables control over embedded animations.
- Keyframing allows for precise timing adjustments.
- Easing keyframes enhances animation fluidity.
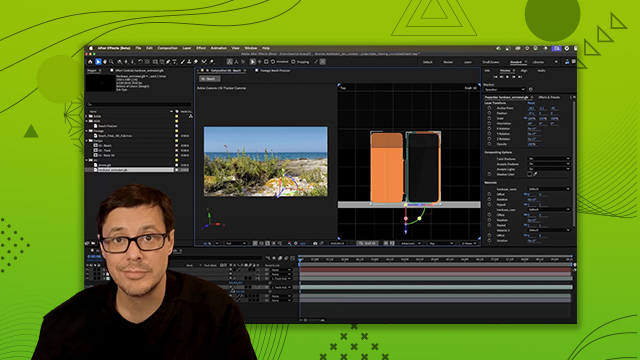
- Track mats can help manage overlapping 3D objects.
- Understanding layer stacking is crucial for rendering.


 AdChoice