
Troubleshooting & FAQs
Get more info on the most commonly asked questions and learn how trouble shoot potential problems.
This summary is AI generated
Learning Outcomes:
- Identify common troubleshooting steps in Premiere Pro.
- Reset application preferences to resolve issues.
- Manage media cache for optimal performance.
Level: Advanced
Skills you'll gain:
Premiere Pro, Troubleshooting, Video Editing, Media Management
Key Insights
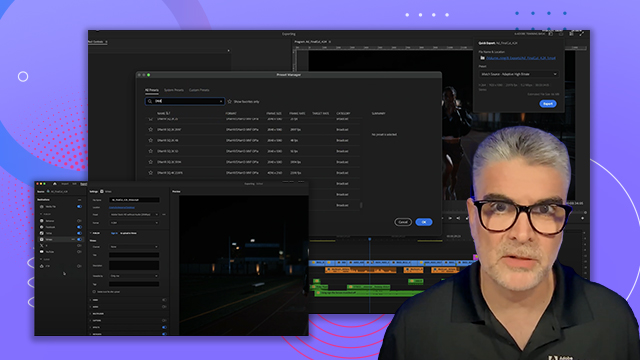
- Delete and rebuild media cache to fix playback issues.
- Reset app preferences if program behaves strangely.
- Disable third-party plugins to troubleshoot startup crashes.
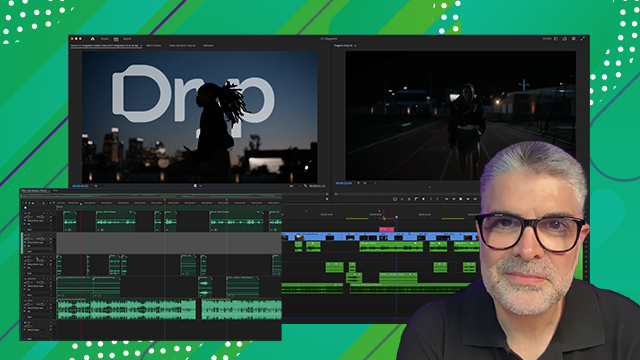
- Use proxy workflow for editing high-resolution footage.
- Transcode compressed video files for smoother editing.
- Check system specs to ensure compatibility with new releases.
- Adjust audio sample rate to 48 Hz for video editing.
- Close unused panels to free up system resources.
- Use two-step export for complex timelines to avoid failures.
- Visit Adobe community forums for additional support.

 AdChoice