
Productions
Learn how to collaborate with others for long-form post-production workflows.
This summary is AI generated
Learning Outcomes:
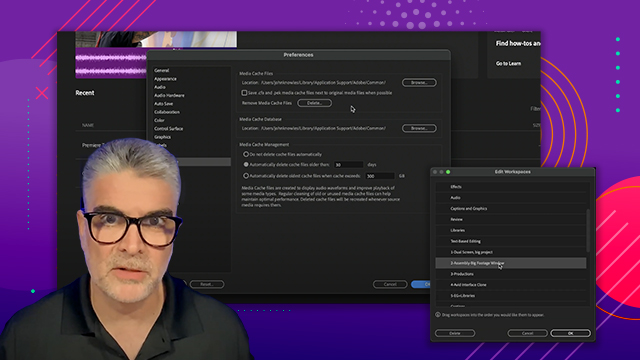
- Understand how to create a Premiere Pro production
- Organize projects for collaborative workflows
- Utilize cross project referencing effectively
Level: Advanced
Skills you'll gain:
Premiere Pro, Collaboration, Organization, Project Management
Key Insights
- Productions allow multiple editors to work simultaneously.
- Organize projects into smaller, manageable files.
- Use folder structures to enhance workflow efficiency.
- Cross project referencing prevents media duplication.
- Utilize cloud storage for remote collaboration.
- Maintain separate media and project files for clarity.
- Use numbered folders for better organization.
- Monitor project locks to avoid editing conflicts.
- Employ 'reveal in project' for easy clip access.
- Regularly save all projects to maintain metadata integrity.


 AdChoice