
Project setup & media import
Learn how to set up your projects and import media.
This summary is AI generated
Learning Outcomes:
- Create a new project in Premiere Pro
- Import and link media files effectively
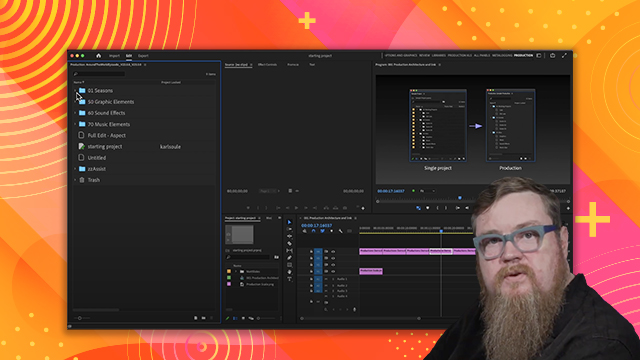
- Manage project files and sequences efficiently
Level: Advanced
Skills you'll gain:
Premiere Pro, Media Management, Project Organization, Sequence Creation
Key Insights
- Premiere projects are format agnostic regarding frame rates and resolutions.
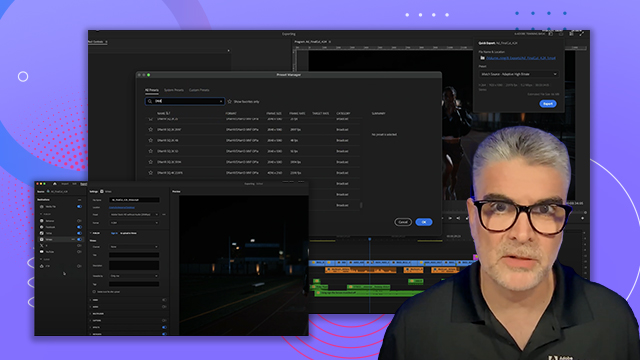
- Use the import screen to organize and manage media files.
- Linking media is the default method in Premiere Pro.
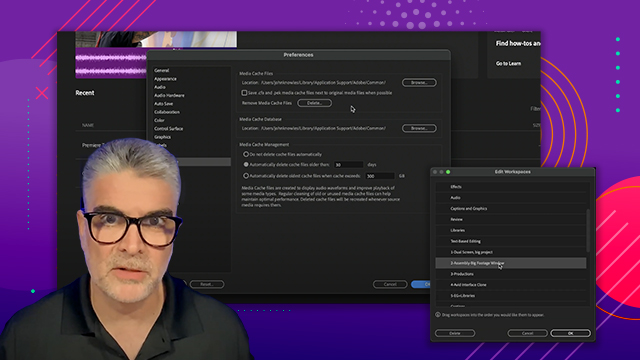
- Copying media to a central location is optional but recommended.
- Utilize the project manager for consolidating and transcoding files.
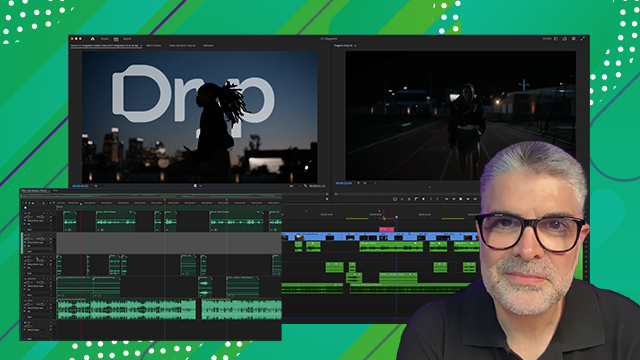
- Sequences inherit properties from imported clips automatically.
- Premiere allows editing from various storage locations, including memory cards.
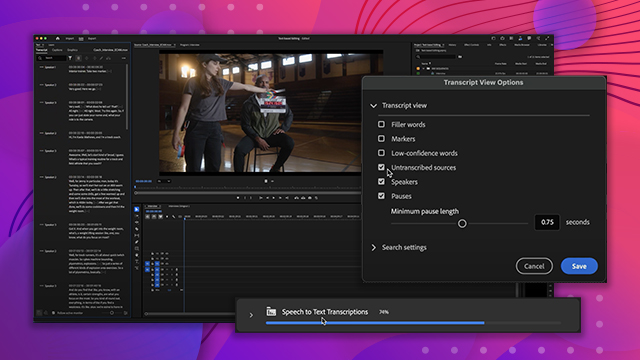
- Use the text panel for automatic transcription of spoken words.
- Maintain separate media storage for better project organization.
- Relink offline clips easily through the link media function.
 AdChoice