
Audio editing & mixing
Learn how to work with audio including editing, mixing, adding effects and using AI to enhance your videos.
This summary is AI generated
Learning Outcomes:
- Edit audio clips effectively in Premiere Pro.
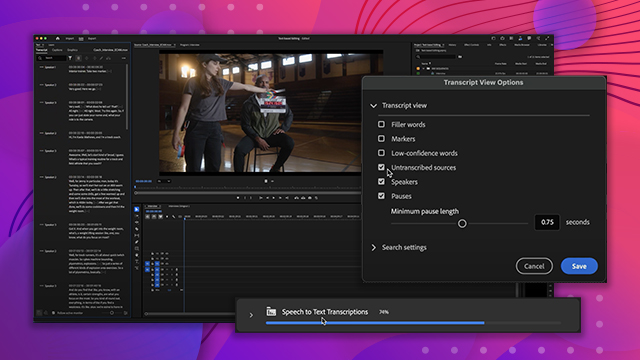
- Utilize AI tools for audio enhancement.
- Apply audio effects and transitions seamlessly.
Level: Advanced
Skills you'll gain:
Premiere Pro, Audio Editing, Mixing, Effects
Key Insights
- Label audio tracks for better organization.
- Use keyboard shortcuts for efficient editing.
- Adjust gain and volume separately for precision.
- Normalize audio levels to maintain consistency.
- Utilize the Essential Sound panel for quick adjustments.
- Employ auto-ducking to balance dialogue and music.
- Manipulate audio clips with L cuts and J cuts.
- Apply effects to entire tracks using the track mixer.
- Use remix feature to adjust music length without cutting.
- Explore new features in Premiere Pro beta for audio.
 AdChoice