
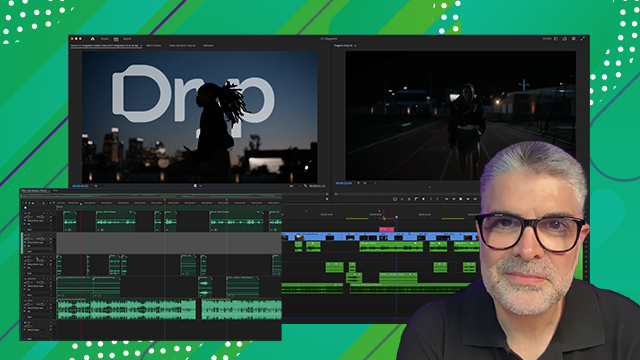
Text and Graphics
Learn to create titles, lower-third graphics, subtitles, and save Motion Graphic Templates (MOGRTs).
This summary is AI generated
Learning Outcomes:
- Create lower thirds and titles in Premiere Pro.
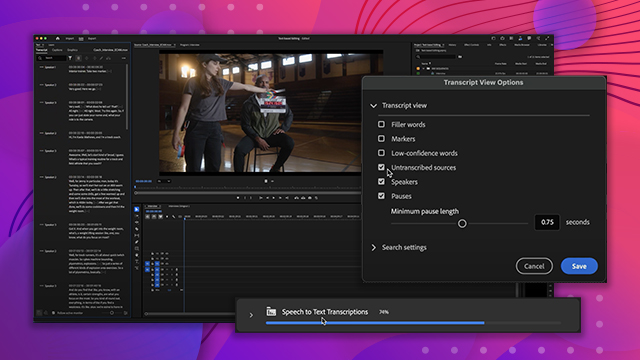
- Style subtitles using the properties panel.
- Utilize graphics templates for efficient design.
Level: Advanced
Skills you'll gain:
Premiere Pro, Text, Graphics, Animation
Key Insights
- The properties panel consolidates text and graphic controls.
- Use the type tool for easy text creation and editing.
- Pinning graphics allows for dynamic resizing with text.
- Utilize title safe guidelines for visibility across devices.
- Create and apply linked styles for consistent typography.
- Export graphics as motion graphics templates for reuse.
- Use responsive design to protect animations during resizing.
- Apply effects like drop shadows and backgrounds to text.
- Group elements in the layer stack for easier manipulation.
- Use the text panel for efficient subtitle creation and styling.

 AdChoice