
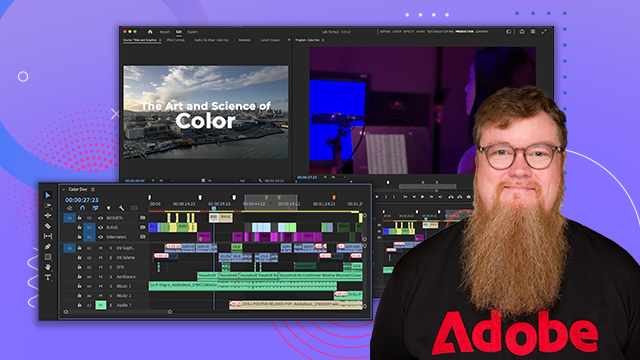
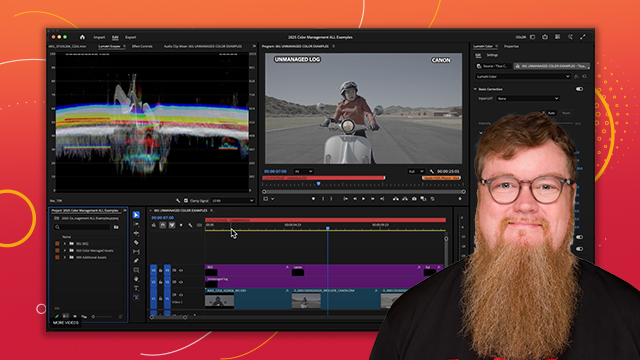
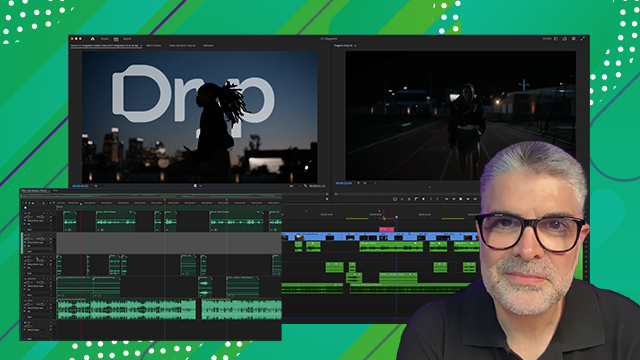
Color correction & grading
Learn the basics of color correction and the Lumetri color panel.
This summary is AI generated
Learning Outcomes:
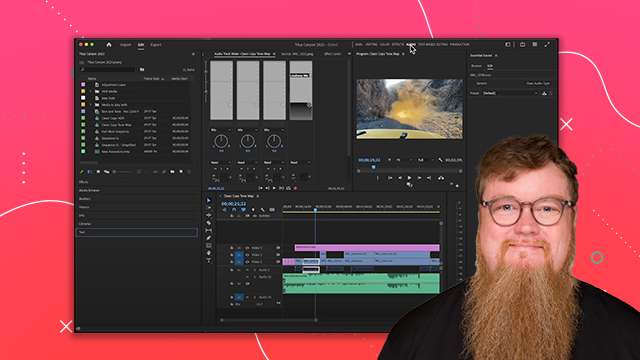
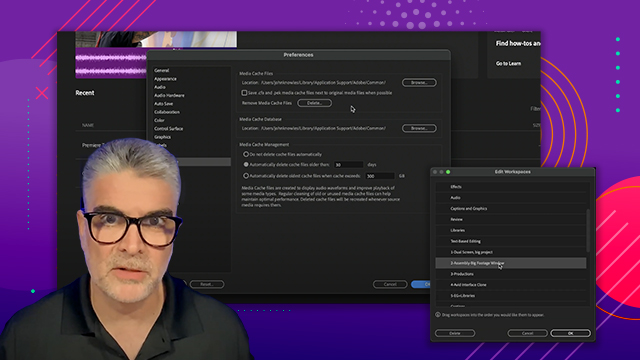
- Change workspace to access color tools.
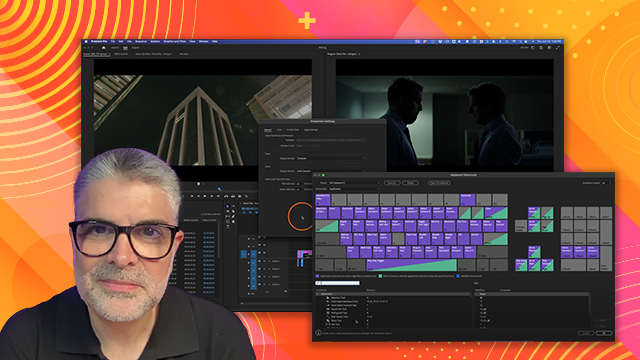
- Utilize Lumetri Color panel for adjustments.
- Apply color corrections using Scopes.
Level: Advanced
Skills you'll gain:
Premiere Pro, Color Correction, LUTs, Scopes
Key Insights
- Activate color workspace for dedicated color tools.
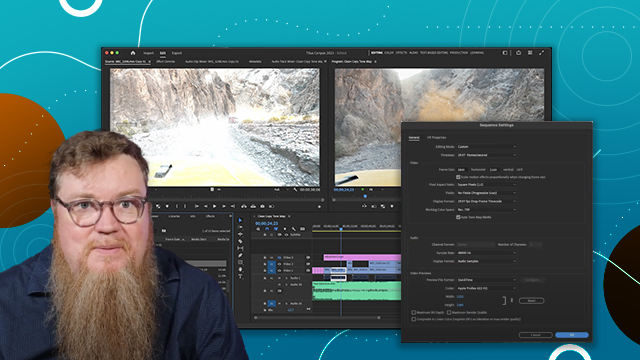
- Use comparison view for shot analysis.
- Adjust color settings for different color spaces.
- Utilize auto-detect features for log color space.
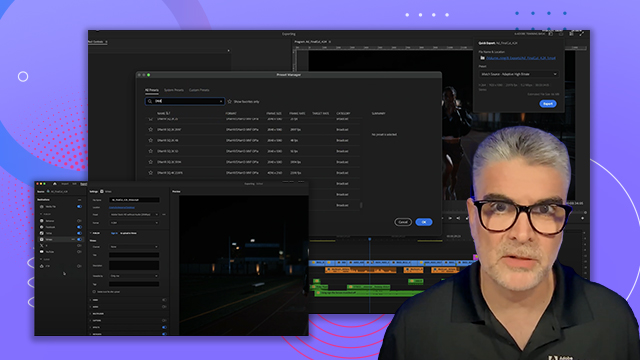
- Apply technical and creative LUTs for grading.
- Use Scopes to monitor color and exposure.
- Stack multiple Lumetri effects for complex corrections.
- Color correct at the source level for consistency.
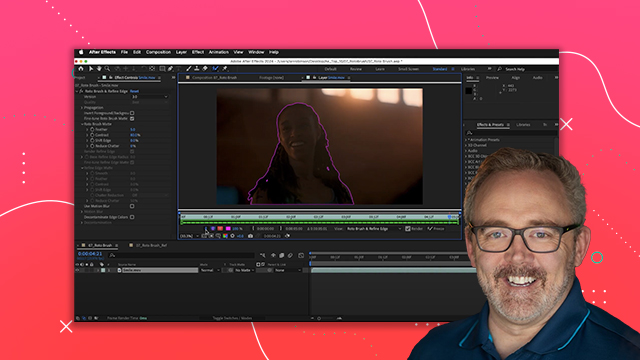
- Utilize masks for selective color adjustments.
- Experiment with HSL secondary for targeted corrections.

 AdChoice