
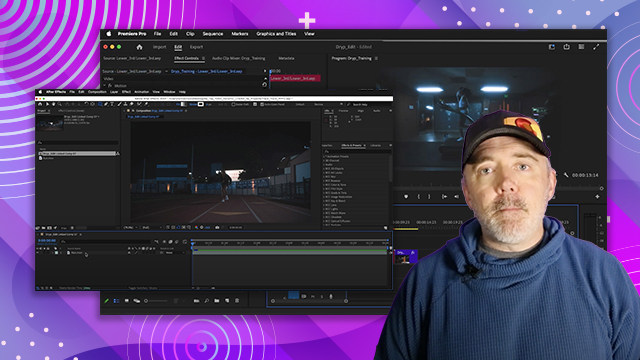
Transcription, Translation and Text-based Editing
Learn how to create a transcript, turn it into captions and translate them into another language. You'll also learn how to use Text-Based Editing to quickly generate a rough cut.
This summary is AI generated
Learning Outcomes:
- Transcribe audio clips automatically in Premiere Pro.
- Edit transcripts for accuracy and clarity.
- Create and export captions from transcripts.
Level: Advanced
Skills you'll gain:
Premiere Pro, Transcription, Editing, Captioning
Key Insights
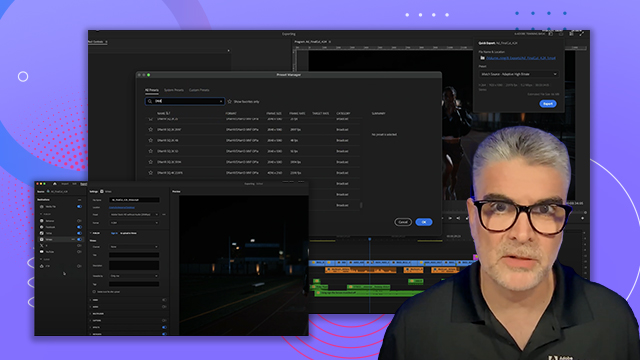
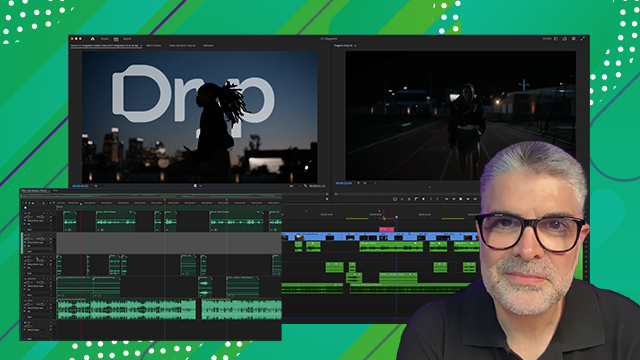
- Utilize the text-based editing workspace for efficient workflow.
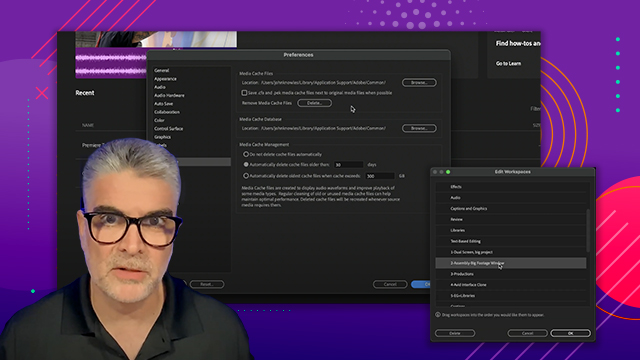
- Enable automatic transcription for all imported clips in preferences.
- Label speakers during transcription for better organization.
- Use the transcript panel to edit and correct text easily.
- Delete unwanted segments directly from the sequence view.
- Generate static transcripts for specific timeline segments.
- Translate captions into multiple languages using cloud processing.
- Export captions in various formats including SRT and QuickTime.
- Adjust font and style for captions in the properties panel.
- Ensure captions are finalized before further editing.
 AdChoice