
Editing
Learn the basic differences between Avid Media Composer and Premiere Pro. You'll also learn how to customize your keyboard and UI to fit your needs.
This summary is AI generated
Learning Outcomes:
- Understand terminology differences between Avid and Premiere Pro.
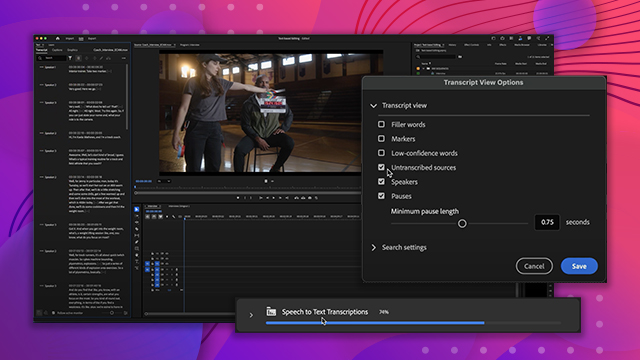
- Customize Premiere Pro interface for efficient editing.
- Utilize keyboard shortcuts for faster editing workflows.
Level: Advanced
Skills you'll gain:
Editing, Premiere Pro, Customization, Keyboard Shortcuts
Key Insights
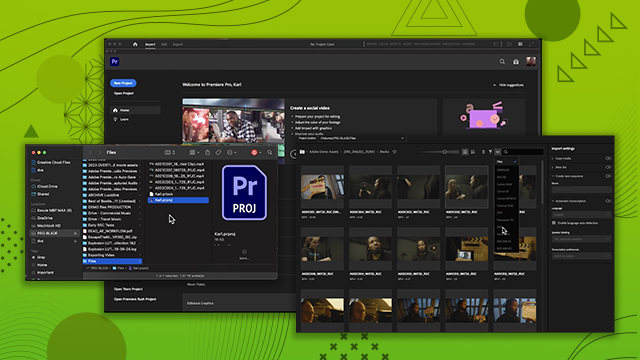
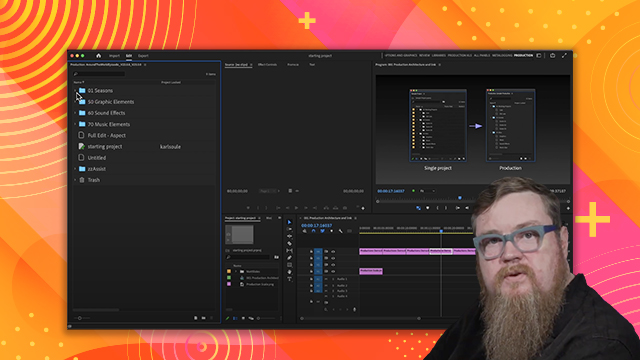
- Avid bins are equivalent to Premiere Pro projects.
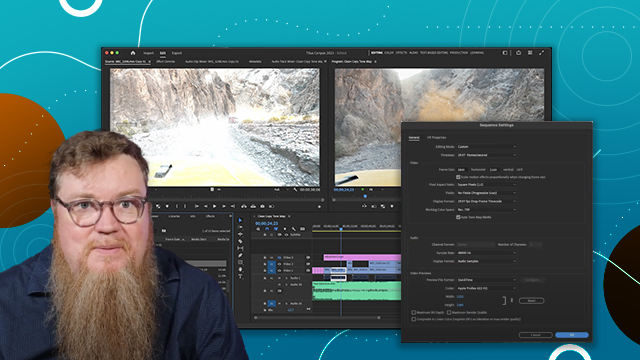
- Premiere Pro allows multiple sequences with different settings.
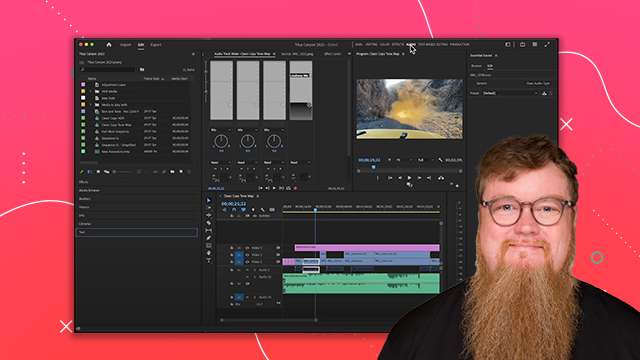
- Panels in Premiere Pro can be docked or floated.
- Keyboard shortcuts can be customized for efficiency.
- Editing can be done using various methods: mouse, keyboard, or shortcuts.
- Targeting affects clips already on the timeline.
- Use the trim window for precise edits.
- Asymmetrical edits can be achieved by changing ripple directions.
- Source record style editing can be approximated in Premiere Pro.
- Practice editing with sample projects to improve skills.
 AdChoice