Learning outcomes not available.
Key insights not available.
Skills not available.
[00:00:00] [Music]
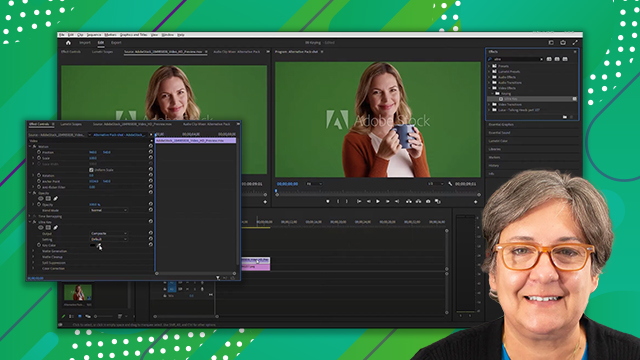
[00:00:00] welcome to this premiere pro tutorial on
[00:00:00] modifying clips i'm luisa winters let's
[00:00:00] start by opening the project named o3
[00:00:00] modifying clips included with your
[00:00:00] project files
[00:00:00] if you have not downloaded these please
[00:00:00] go ahead and do so now
[00:00:00] now that we have the project open let's
[00:00:00] switch to the editing workspace for this
[00:00:00] click on the workspace switcher button
[00:00:00] and choose editing
[00:00:00] if you are already on the editing
[00:00:00] workspace you can click on the button
[00:00:00] again and choose reset to saved layout
[00:00:00] now let's play the timeline this is the
[00:00:00] edit that we did on the last movie using
[00:00:00] techniques of marking in and out points
[00:00:00] and using insert and overwrite edits
[00:00:00] [Music]
[00:00:00] now we are going to fine tune this
[00:00:00] sequence
[00:00:00] let's mute the music clip for that click
[00:00:00] on this icon here on the timeline it
[00:00:00] looks like a little m
[00:00:00] let's also lock the a1 track that way
[00:00:00] any changes we make in the timeline will
[00:00:00] not affect this track
[00:00:00] to lock the track click on this lock
[00:00:00] icon here and now you see these diagonal
[00:00:00] lines on the track which are your visual
[00:00:00] indication that the track is locked
[00:00:00] now let's take a better look at this
[00:00:00] track let's make it a little taller
[00:00:00] for that double-click on the track
[00:00:00] header and the track height will be
[00:00:00] extended let's do this with both v1 and
[00:00:00] a1
[00:00:00] now let's work with some markers
[00:00:00] first let's open the markers panel
[00:00:00] if you cannot see it here in the same
[00:00:00] panel as the project panel
[00:00:00] then go to window
[00:00:00] markers and you will see it
[00:00:00] now that we have the markers panel open
[00:00:00] i'd like to go over the difference
[00:00:00] between a timeline marker and a clip
[00:00:00] marker
[00:00:00] you see if we select the timeline you
[00:00:00] will see that we already have a marker
[00:00:00] in here but the moment we select a clip
[00:00:00] that doesn't have a marker we see that
[00:00:00] there are no markers
[00:00:00] you can see the timeline marker in here
[00:00:00] this is this little green icon
[00:00:00] let's go to the timeline marker that we
[00:00:00] see here it is a time code 928
[00:00:00] we can navigate here by typing the time
[00:00:00] code number or by placing the playhead
[00:00:00] on top of the marker
[00:00:00] or we could just double click the marker
[00:00:00] on the marker panel this moves the
[00:00:00] playhead to where the marker is and it
[00:00:00] opens the marker options panel
[00:00:00] in here we can see where we can rename
[00:00:00] the marker and we can also see that we
[00:00:00] can extend the duration of this marker
[00:00:00] let's do that you can change the
[00:00:00] duration by scrubbing this value here
[00:00:00] let's click ok to close this panel
[00:00:00] you can already see that the marker is a
[00:00:00] little bit longer in the timeline we can
[00:00:00] also click and drag here in the timeline
[00:00:00] to extend the duration of this marker so
[00:00:00] that it covers the entire clip
[00:00:00] let's zoom into this clip press the plus
[00:00:00] key
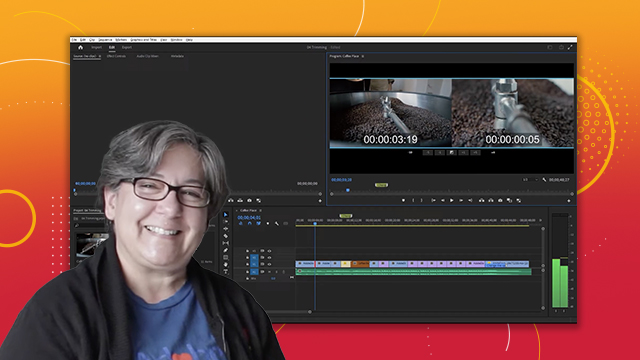
[00:00:00] now let's change the speed of the clip
[00:00:00] to be 200 percent
[00:00:00] we can do this a couple of ways one of
[00:00:00] them is to right click the clip and
[00:00:00] choose speed duration
[00:00:00] now in here you can type 200 and the
[00:00:00] clip will go twice as fast let's do that
[00:00:00] type a 200 in here
[00:00:00] notice the other options that we see
[00:00:00] we can type a duration we can reverse
[00:00:00] the clip so that it plays backwards and
[00:00:00] we can also ripple edit so that no gaps
[00:00:00] will be left on the timeline
[00:00:00] let's not select any of those and simply
[00:00:00] click ok
[00:00:00] now in the timeline we see that the clip
[00:00:00] is half the duration this is because it
[00:00:00] is playing twice as fast but let's go
[00:00:00] ahead and click and drag to extend the
[00:00:00] duration of this clip so that again it
[00:00:00] plays until the next clip appears
[00:00:00] now let's select the clip that plays
[00:00:00] right after this one and change the
[00:00:00] label color
[00:00:00] to do that
[00:00:00] just right click on the clip and choose
[00:00:00] label
[00:00:00] from here choose brown and you got it
[00:00:00] now let's rename it coffee beans
[00:00:00] to rename it right click on it and
[00:00:00] choose rename type coffee beans and
[00:00:00] click ok
[00:00:00] now let's play around this edit
[00:00:00] let's start at around here and play
[00:00:00] and let's go again from around here
[00:00:00] and play
[00:00:00] we see that the speed of the beans is
[00:00:00] now better when played with the other
[00:00:00] clips
[00:00:00] zoom out by pressing the backslash key
[00:00:00] and let's select the last clip
[00:00:00] notice that this clip already has a clip
[00:00:00] marker
[00:00:00] the clip marker says to change the speed
[00:00:00] of this clip to 200 percent
[00:00:00] so let's right click it
[00:00:00] choose speed duration
[00:00:00] and when the speed duration dialog comes
[00:00:00] up type 200
[00:00:00] click ok and you got it
[00:00:00] so you saw that we can have clip markers
[00:00:00] and you can also have timeline or
[00:00:00] sequence markers
[00:00:00] let's go ahead and double click this
[00:00:00] clip here so that it opens in the source
[00:00:00] panel
[00:00:00] you can see the marker in here you can
[00:00:00] double click it in here and the marker
[00:00:00] settings dialog will open up
[00:00:00] click ok
[00:00:00] we can also see the marker right here in
[00:00:00] the markers panel i use markers all the
[00:00:00] time they help me keep myself organized
[00:00:00] and i can also give instructions and or
[00:00:00] directions to anyone who may be editing
[00:00:00] this program after me
[00:00:00] this brings us to the end of this video
[00:00:00] on modifying clips in premiere pro i'm
[00:00:00] luisa winters thank you for watching and
[00:00:00] see you next time
[00:00:00] [Music]
[00:00:00] you


 AdChoice