
Trimming
Learn how to trim clips in Adobe Premiere Pro. You'll discover how easy it is to make a video clip shorter or longer.
This summary is AI generated
Learning Outcomes:
- Understand trimming techniques in Premiere Pro
- Utilize ripple and rolling edit tools effectively
- Apply the slip tool for precise edits
Level: Intermediate
Skills you'll gain:
Premiere Pro, Trimming, Editing, Adjustment
Key Insights
- Trimming adjusts the in and out points of clips.
- Ripple edits shorten the program duration automatically.
- Rolling edits allow simultaneous adjustment without changing duration.
- The slip tool changes clip start and end points without altering duration.
- Keyboard shortcuts enhance editing efficiency in Premiere Pro.
- Undo changes easily with Ctrl Z or Command Z.
- Zooming in and out helps in precise editing.
- Use the selection tool for repositioning and resizing clips.
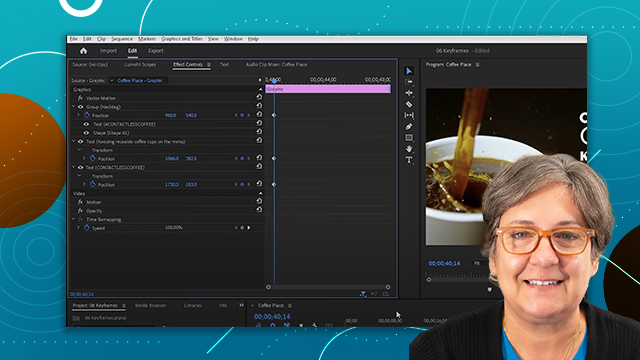
- Effect controls panel allows for specific adjustments to clip properties.


 AdChoice