
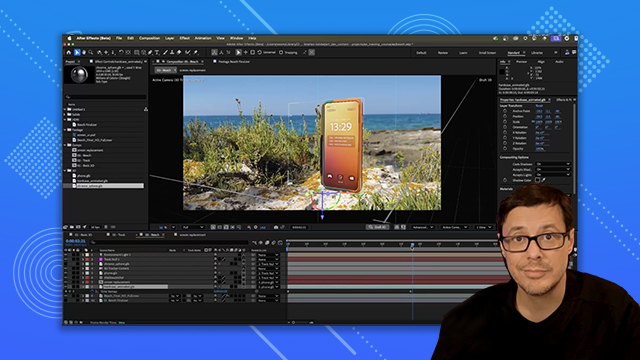
User Interface Tour & Basic Animation Techniques
Learn to navigate the After Effects interface, structure your projects and create basic animations from existing Photoshop designs.
This summary is AI generated
Learning Outcomes:
- Understand After Effects interface and workspace
- Create and manipulate keyframes for animation
- Import and organize multimedia files effectively
Level: Beginner
Skills you'll gain:
After Effects, Animation, Keyframes, Compositing
Key Insights
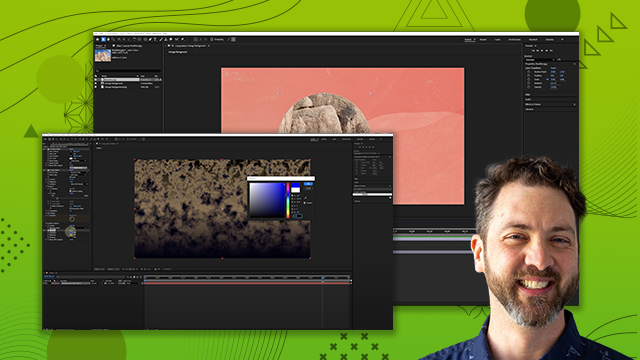
- After Effects is ideal for adding motion to designs.
- Keyframes hold specific values at specific times for animation.
- Use the Anchor Point tool to control scaling and rotation.
- Organize project files in folders for better management.
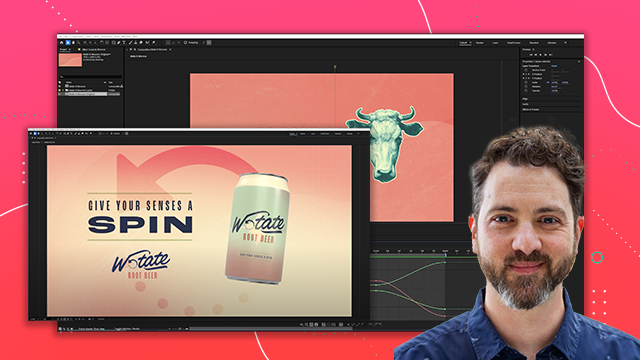
- Utilize blending modes to composite video layers effectively.
- Adjust composition settings for standard video formats.
- Parent layers to ensure synchronized movement in animations.
- Use effects like levels to enhance visual elements.
- Understand frame rates for smoother motion in animations.
- Preview animations frequently to refine timing and effects.


 AdChoice