
Working with Adobe Media Encoder
Learn how to publish and correct areas of your edit that may effect your output in Adobe Premiere Pro.
This summary is AI generated
Learning Outcomes:
- Export media files using Adobe Media Encoder
- Choose presets for different export formats
- Add multiple outputs for rendering
Level: Intermediate
Skills you'll gain:
Premiere Pro, Exporting, Media Encoder, Rendering
Key Insights
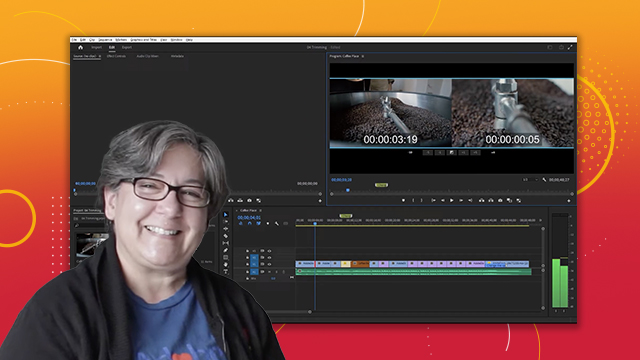
- Switch to the editing workspace for better navigation.
- Use the export tab to access media file options.
- Select appropriate presets for quality and format.
- Preview exports before finalizing to ensure accuracy.
- Mark in and out points for partial exports.
- Render multiple outputs simultaneously in Media Encoder.
- Utilize QuickTime format for specific export needs.
- Save exported files to desired locations easily.


 AdChoice