
Effects
Learn how to apply effects to your video clips in Adobe Premiere Pro enabling you apply various effects such as cropping or transitions.
This summary is AI generated
Learning Outcomes:
- Apply effects to clips in Premiere Pro
- Use transitions for smoother edits
- Create and utilize adjustment layers
Level: Intermediate
Skills you'll gain:
Premiere Pro, Effects, Transitions, Adjustment Layers
Key Insights
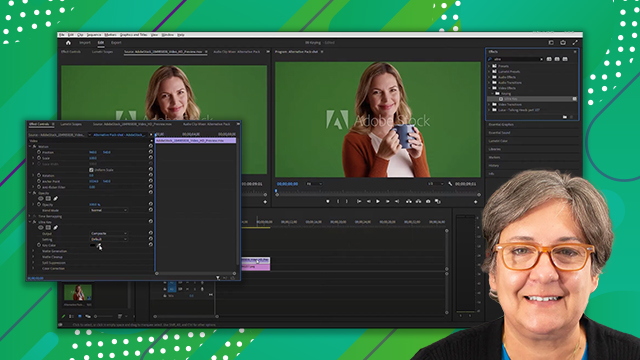
- Switch to the effects workspace for better access.
- Use the effects panel to search and apply effects.
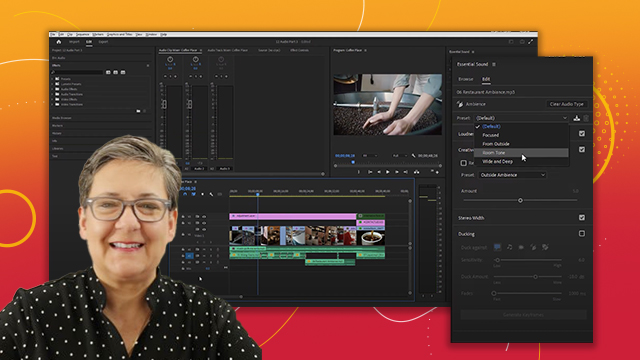
- Adjust effect settings in the effect controls panel.
- Understand different types of transitions and their applications.
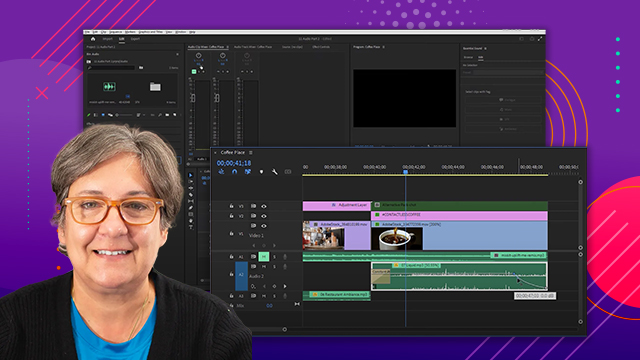
- Utilize adjustment layers to apply effects to multiple clips.
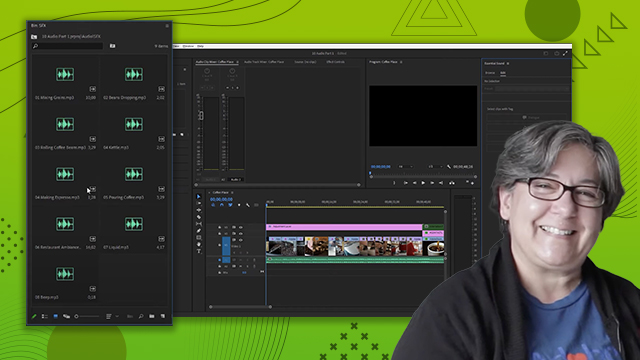
- Organize project panels for efficient workflow.
- Toggle effects on and off to see changes clearly.
- Set specific durations and types for transitions.
- Loop playback to review transitions effectively.


 AdChoice