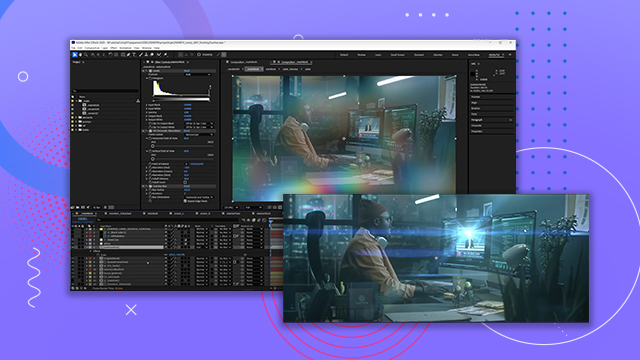
[00:00:02] Before we get creative, let's first
[00:00:03] change a couple project settings. For
[00:00:06] this tutorial, we will be compositing in
[00:00:07] linear ASUS CG color. We'll switch to
[00:00:10] OCIO color management and use the latest
[00:00:12] configuration file. Let's make sure that
[00:00:14] the working color space is set to scene
[00:00:16] linear ASUS CG. Note that the default
[00:00:18] display color space is set to sRGB. Once
[00:00:21] we're in our comp, the display color
[00:00:23] space adjustment will help us easily
[00:00:25] view our linear ASUS CG work on our sRGB
[00:00:28] monitor and can easily be toggled on and
[00:00:30] off. Once we set up our show's specific
[00:00:33] color using adjustment layers in the
[00:00:35] comp, we'll be able to set the display
[00:00:38] correction to none and view our comp
[00:00:40] with the final show color instead. This
[00:00:42] will include shot specific creative
[00:00:44] color from a CDL and also the official
[00:00:47] lot for the show. For this tutorial, we
[00:00:49] will be working at 24 frames pers. So,
[00:00:51] it might be a good idea to change your
[00:00:53] After Effects preferences to interpret
[00:00:55] footage at 24 frames per second when
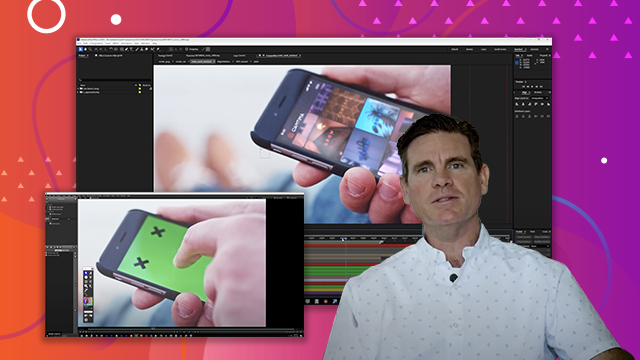
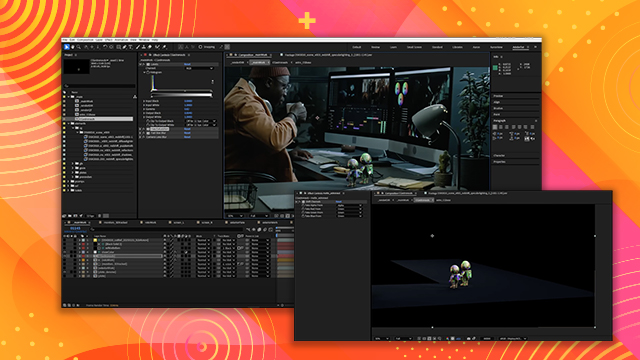
[00:00:57] imported. Let's go ahead and import the
[00:01:00] media for the tutorial. Don't forget to
[00:01:02] import all of the passes of the CG
[00:01:04] element.
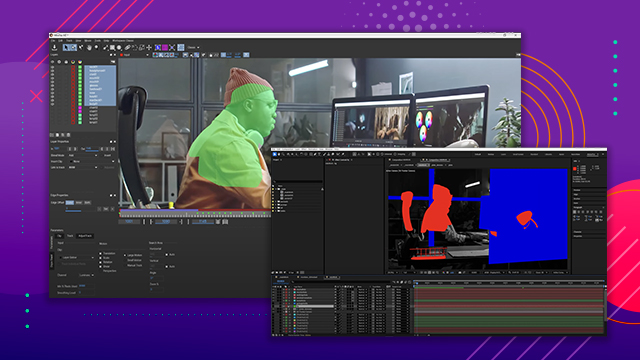
[00:01:08] We'll make sure that we interpret
[00:01:09] footage with each element, specifying
[00:01:11] the color space that each footage or
[00:01:13] graphic is in. After Effects will
[00:01:15] automatically convert the media from
[00:01:16] that color space into linear ASUS CG,
[00:01:19] which is our working color space for
[00:01:20] this tutorial. It's important to find
[00:01:22] out from the production team or whoever
[00:01:24] generated the plates or elements what
[00:01:25] color space they're in. In our scenario,
[00:01:27] the plates from production are all in
[00:01:29] ASUS 2065 and the CG and graphics
[00:01:31] elements are already in ASUS CG. I'm
[00:01:34] going to quickly create a folder
[00:01:36] structure that I like to use to keep
[00:01:37] everything organized while I work.
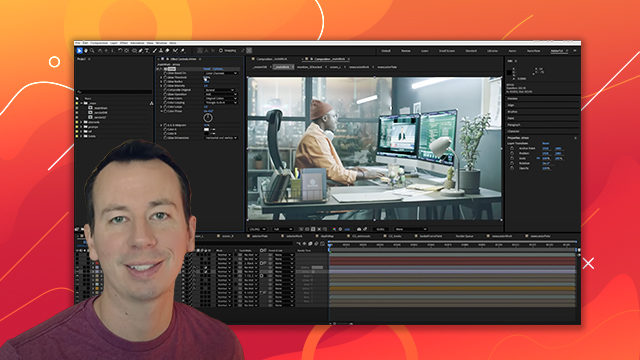
[00:01:51] After making a new pre-MP using our
[00:01:53] master plate, we can double check that
[00:01:54] our comp frame numbers are matching the
[00:01:56] frame numbering of the plate. In the
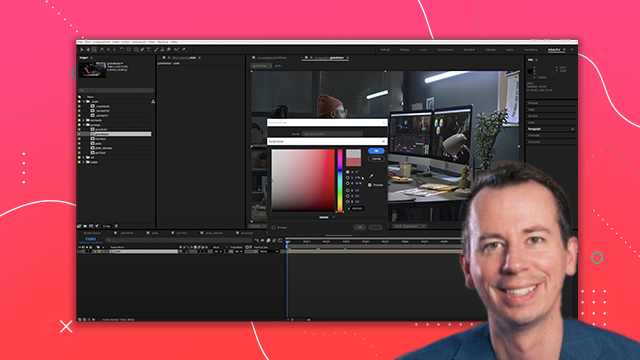
[00:01:59] next step, we'll quickly create an
[00:02:00] adjustment layer that applies the
[00:02:02] official show color using a shot
[00:02:03] specific CDL and a show L provided by
[00:02:06] production.
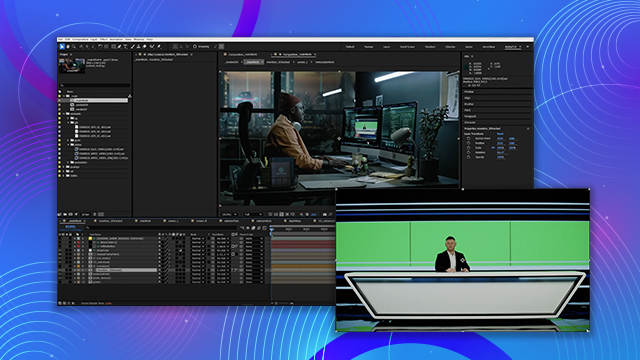
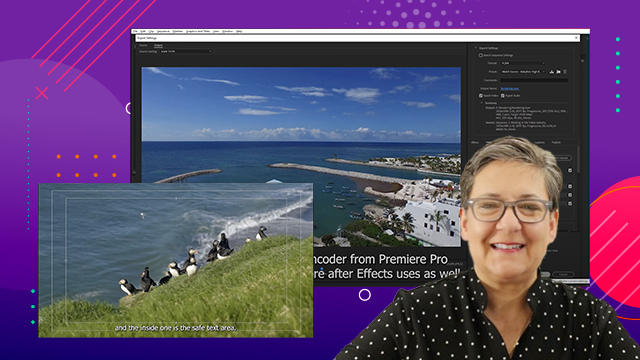
[00:02:10] We'll import the QuickTime reference
[00:02:11] clip sent to us by editorial and we can
[00:02:14] use that to make sure that the color
[00:02:15] we're applying matches perfectly.
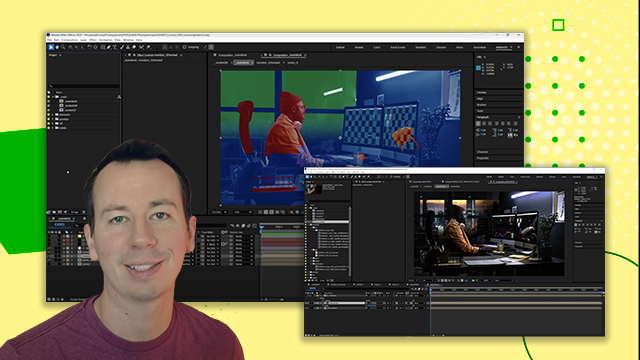
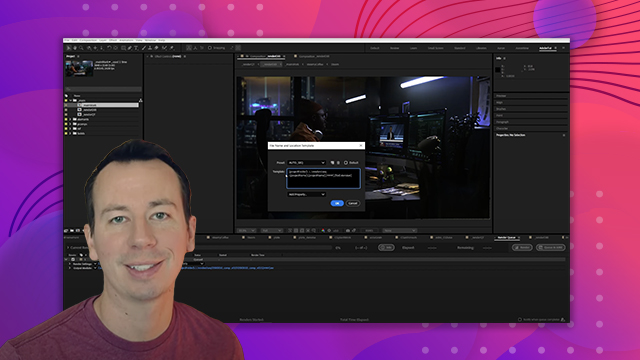
[00:02:22] For this step, we'll need to set the
[00:02:24] display color correction to none. The
[00:02:26] color will be controlled using our own
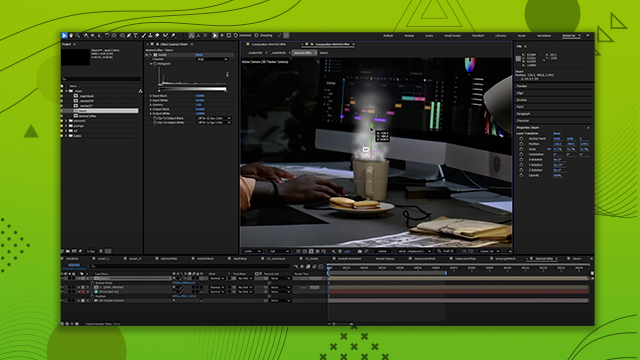
[00:02:27] adjustment layer. We'll be applying
[00:02:30] several OCIO effects to complete the
[00:02:32] conversion from ACCG into the final show
[00:02:34] color. First, we have a conversion from
[00:02:37] our working space of ASUS CG to ASUS
[00:02:40] 2065, the same color space the plate
[00:02:42] came in. Second, we'll do a conversion
[00:02:45] from ASUS 2065 into a log format that
[00:02:48] was specified by production. In our
[00:02:51] case, air log C4.
[00:02:53] From this color space, we'll be able to
[00:02:55] then safely apply the shot CDL, which
[00:02:58] was provided by production and has some
[00:03:00] creative color baked into it. And then
[00:03:02] finally the show let itself which
[00:03:04] converts the log looking image into a
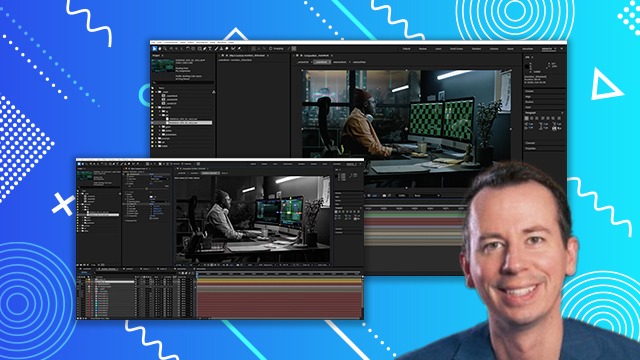
[00:03:06] final colored work of art. With the show
[00:03:09] let turned on it's easier to see what
[00:03:10] the CDL is doing. And now if we toggle
[00:03:13] on and off the edit reference that we
[00:03:15] brought in to compare. If we did it
[00:03:17] right the color should look the same.


 AdChoice