
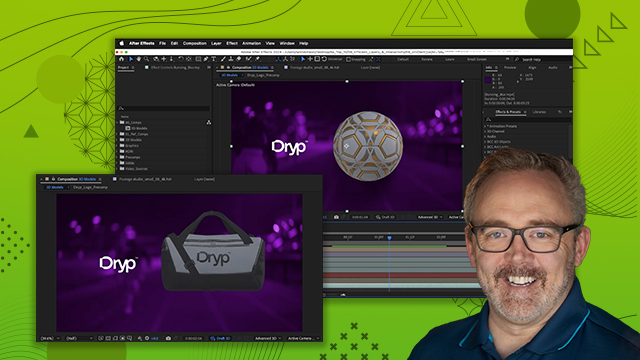
Working with 3D Models
Import 3D models and animate them to produce commercials, social media graphics and more.
This summary is AI generated
Learning Outcomes:
- Import 3D models into After Effects.
- Optimize settings for fast playback.
- Adjust lighting and shadows for realism.
Level: Advanced
Skills you'll gain:
After Effects, 3D Modeling, Lighting, Animation
Key Insights
- Supported 3D model formats include glb, gltf, and obj.
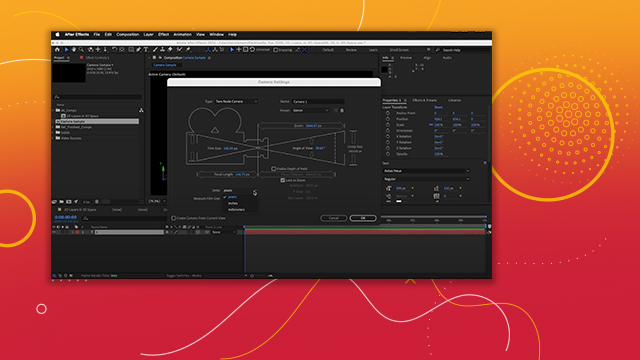
- Use model settings to adjust scale and position.
- Enable 3D on layers to manipulate models effectively.
- Utilize environment lights for realistic lighting effects.
- Adjust render quality to improve playback speed.
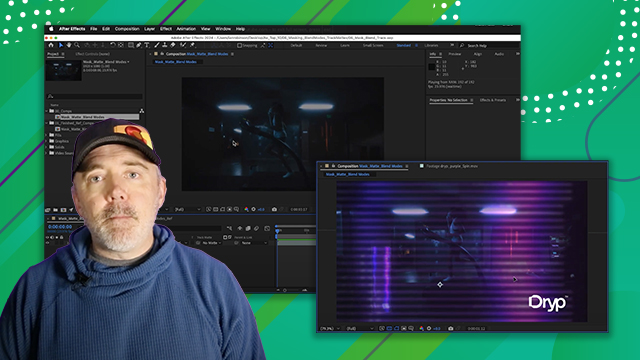
- Use calculations to apply effects to 3D models indirectly.
- Draft 3D can speed up performance but disables shadows.
- Ensure shadow catchers are properly positioned for realism.
- Use HDR images for environment lighting.
- Understand that effects cannot be applied directly to 3D models.


 AdChoice